

The search for the best brownie recipe is over– these homemade brownies are rich, chewy, and ultra-fudgy. After just one bite, you'll know why these brownies disappear so quickly from the dessert table. The best part: made in just 1 bowl!
In This Post
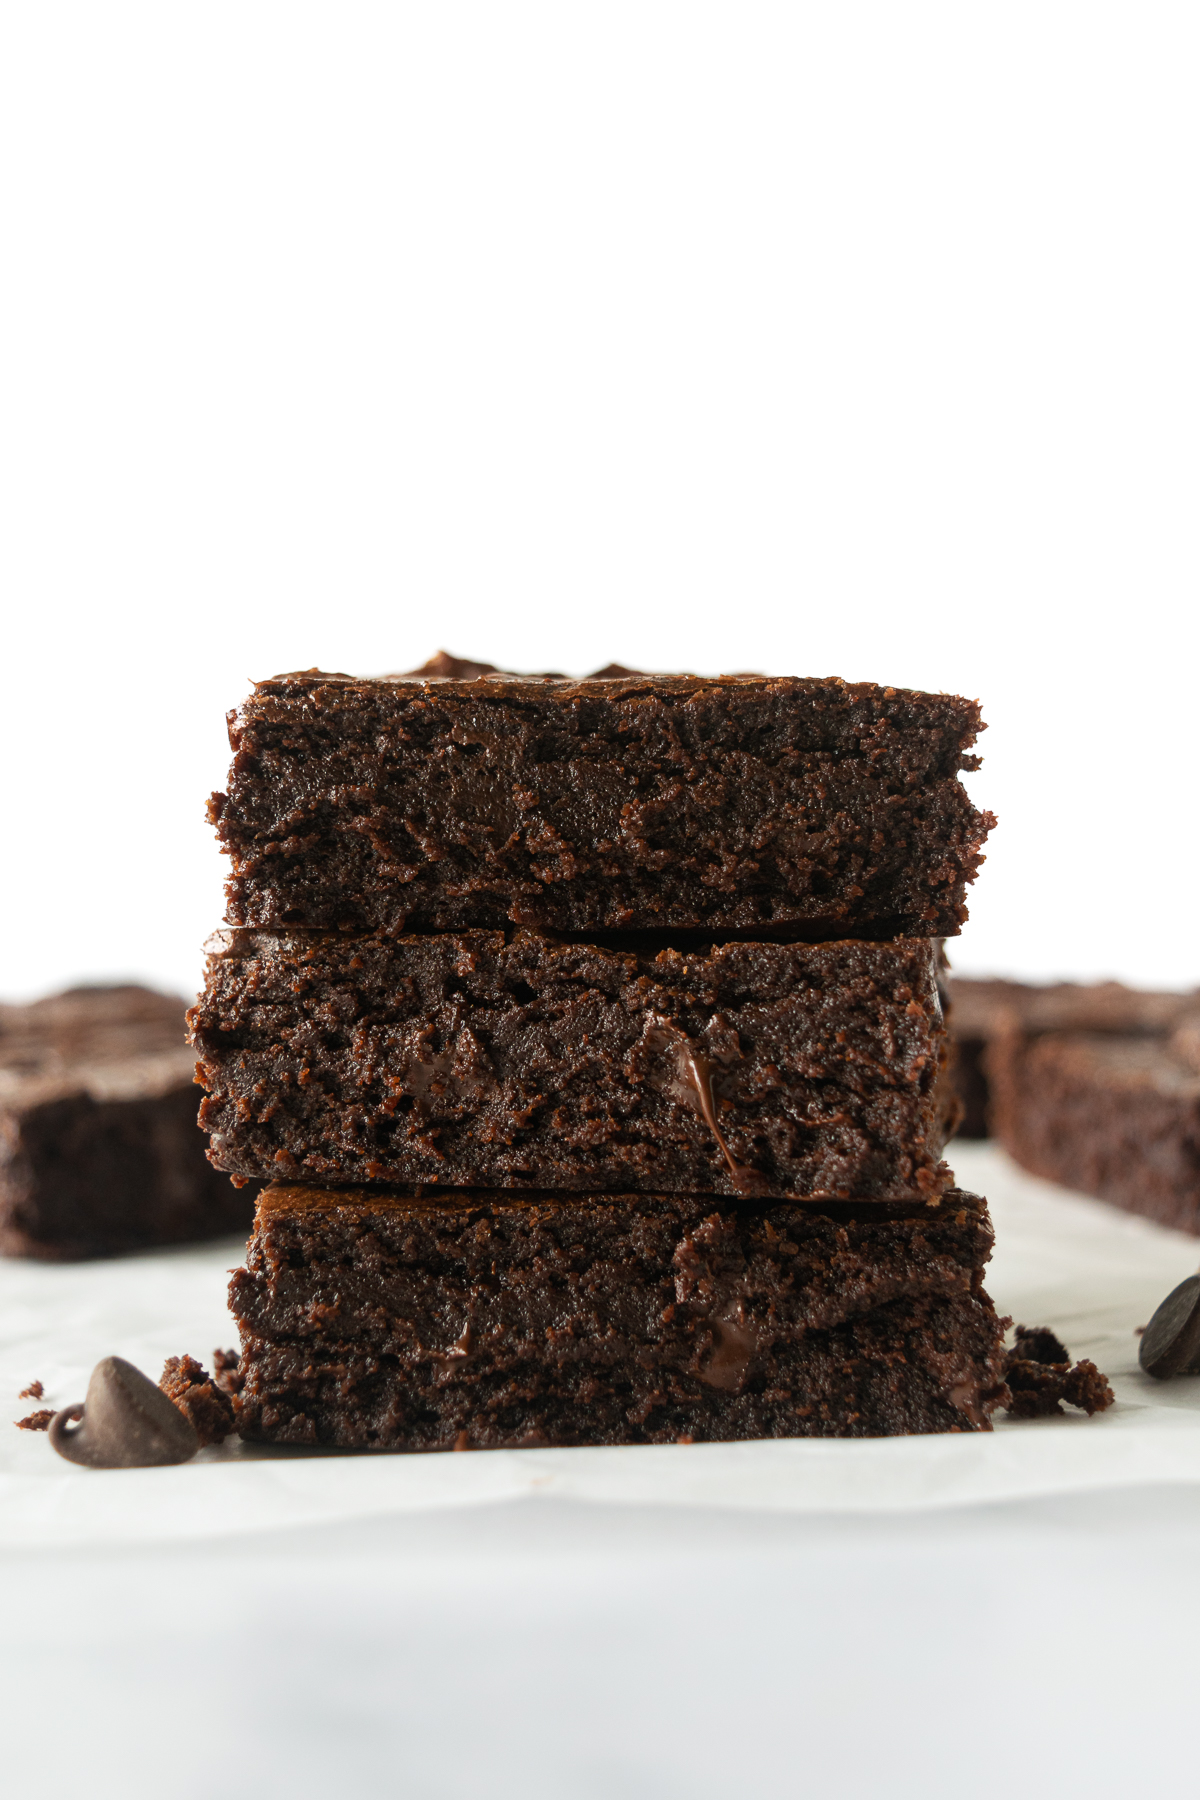
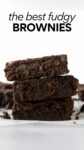
There's nothing like super fudgy, extra chocolatey and chewy homemade brownies to take you right back to your childhood. They might have started from box mix back then, but they always hit the spot. Now, I've ditched the box mix– this is the only brownie recipe I make thanks to its ease (and heavenly when I slather frosting on top.)
The Best Homemade Brownies
- Rich, chewy and ultra-fudgy
- Extra chocolatey
- Easy to make, nothing complicated
- Minimal clean up– 1 bowl brownie batter
- Yields the perfect amount of brownies
- Delicious plain, but awesome with vanilla ice cream
- Can easily be frozen into individual bars for when you have a sweet tooth (you'll thank me later!)
Grab These Ingredients
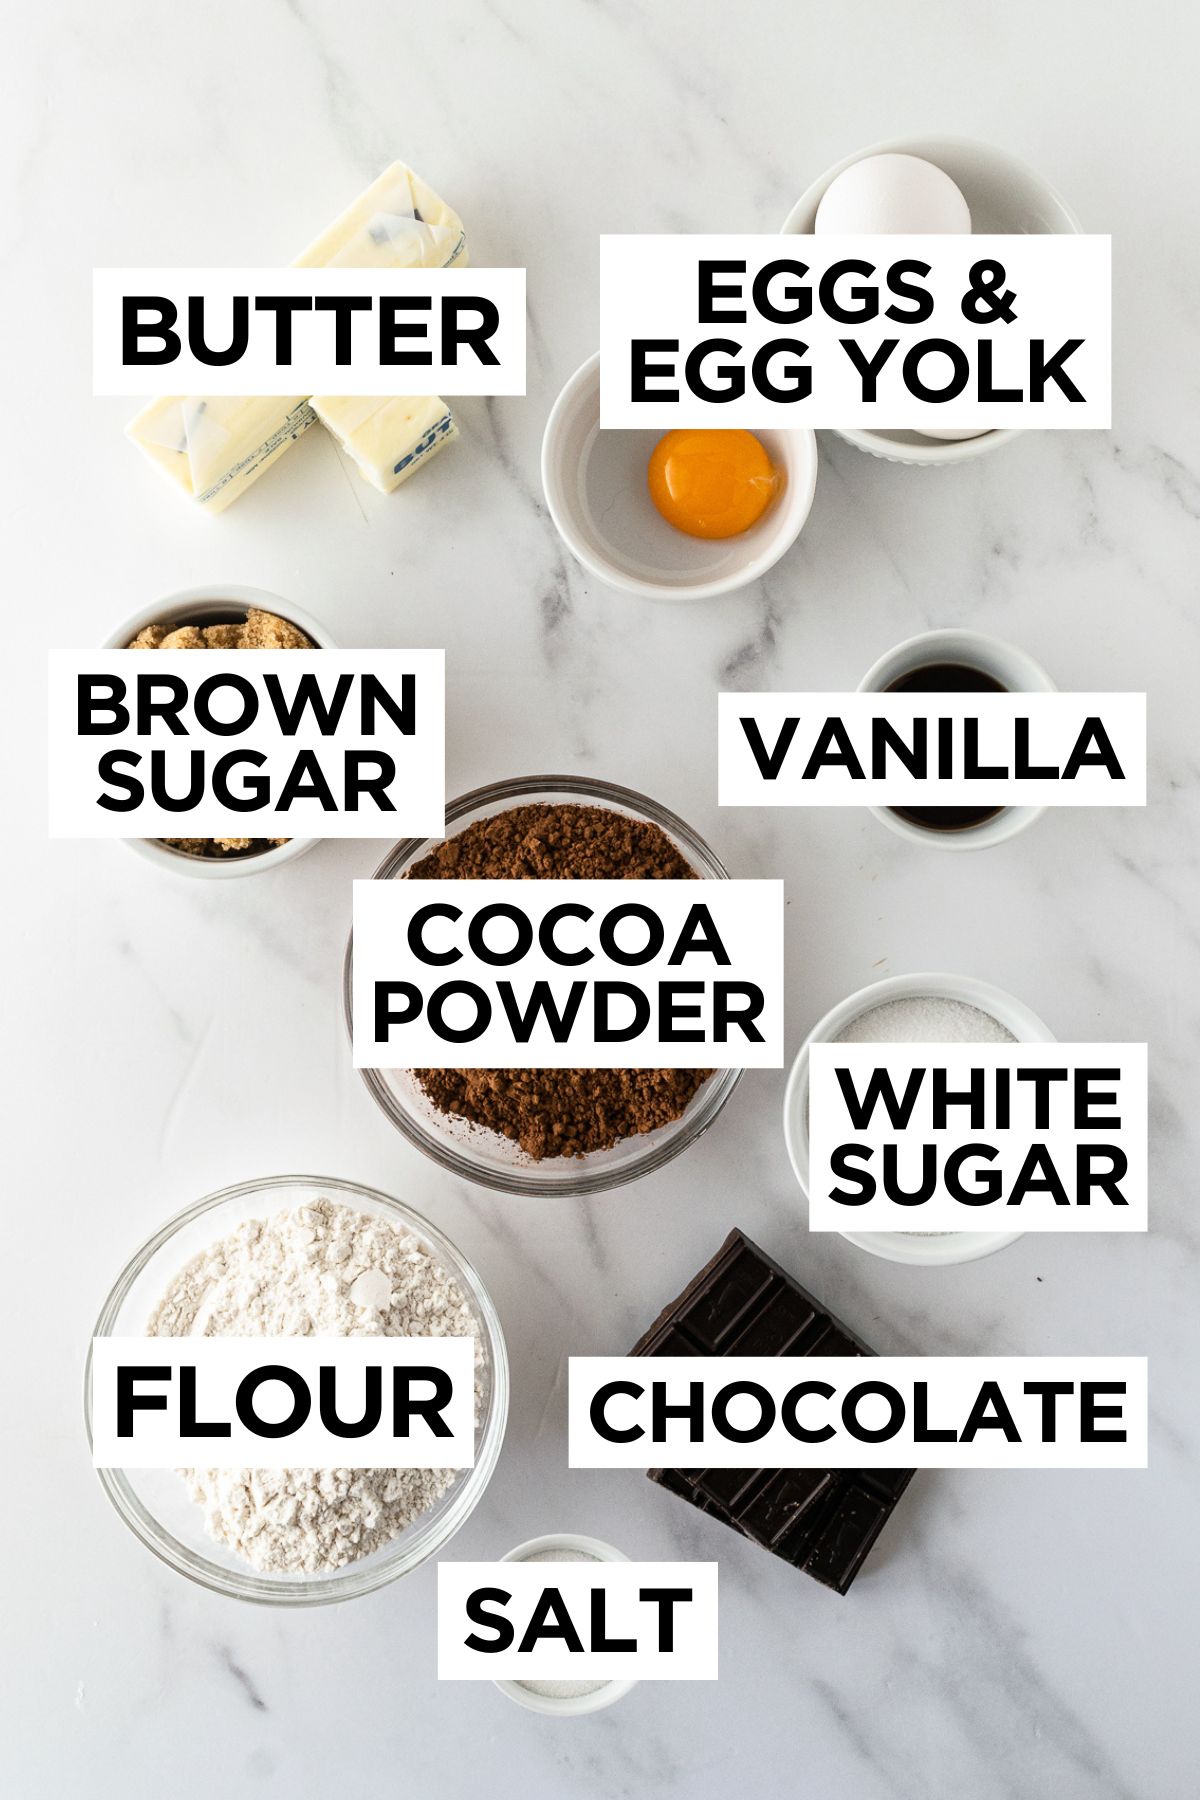
- Butter: For flavor!
- Chocolate: There's 3 types of chocolate in this brownie recipe– cocoa powder, melted chocolate and chocolate chunks (or chocolate chips.) This not only makes makes sure that the brownies are fudgy but ALSO chewy.
- Sugar: This recipe using both brown sugar and granulated sugar, totaling 1 cup of sugar. The sugar not only sweetens the brownies, but adding brown sugar adds more flavor and keeps the brownies soft (just like it does in cookies.)
- Eggs: We're using 2 eggs and 1 egg yolk helping bind ingredients, add richness and provide structure to the brownies.
- Flour: The cocoa powder takes place of some flour, so while it doesn't look like much, it's just enough! The more flour in brownies, the cakier they will taste and we want dense brownies.
- Vanilla Extract: Always for flavor!
There's no baking powder or baking soda in this brown recipe. Adding leaveners will lift the brownies up and create a cakier brownie (not what you want.) You want dense brownies.
Step by Step: How to Make Brownies
The full printable recipe is below, but let's walk through the recipe before you get started.
- Melt the Butter & Chocolate Together: Start off with a microwave-safe bowl (large enough for all ingredients if you want to only use 1 bowl.) Melt together in 30 second increments, stirring between each, until melted.
- Whisk in Sugar, Eggs & Vanilla Extract: Vigorously whisk together the warm butter and chocolate mixture with the sugar, eggs and vanilla. This will give you the classic crinkly tops we all know and love.
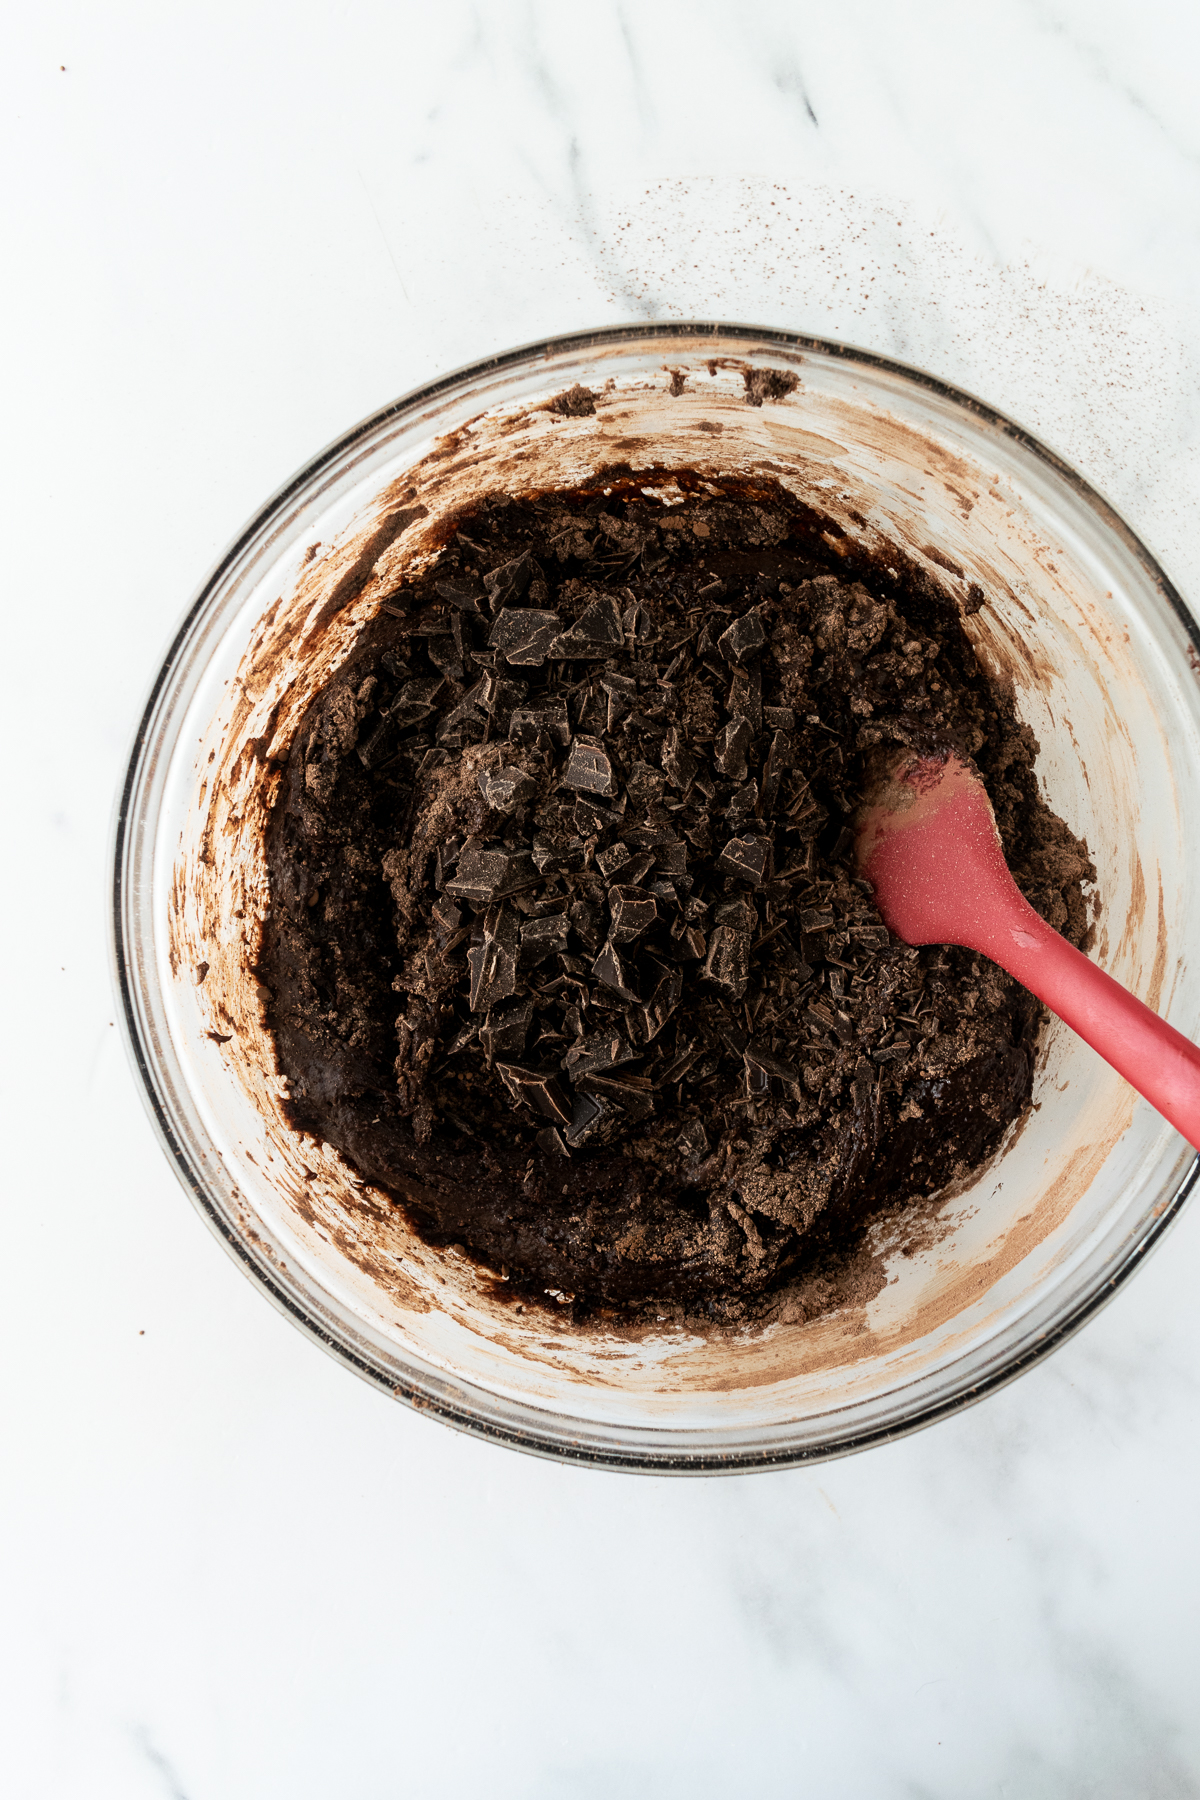
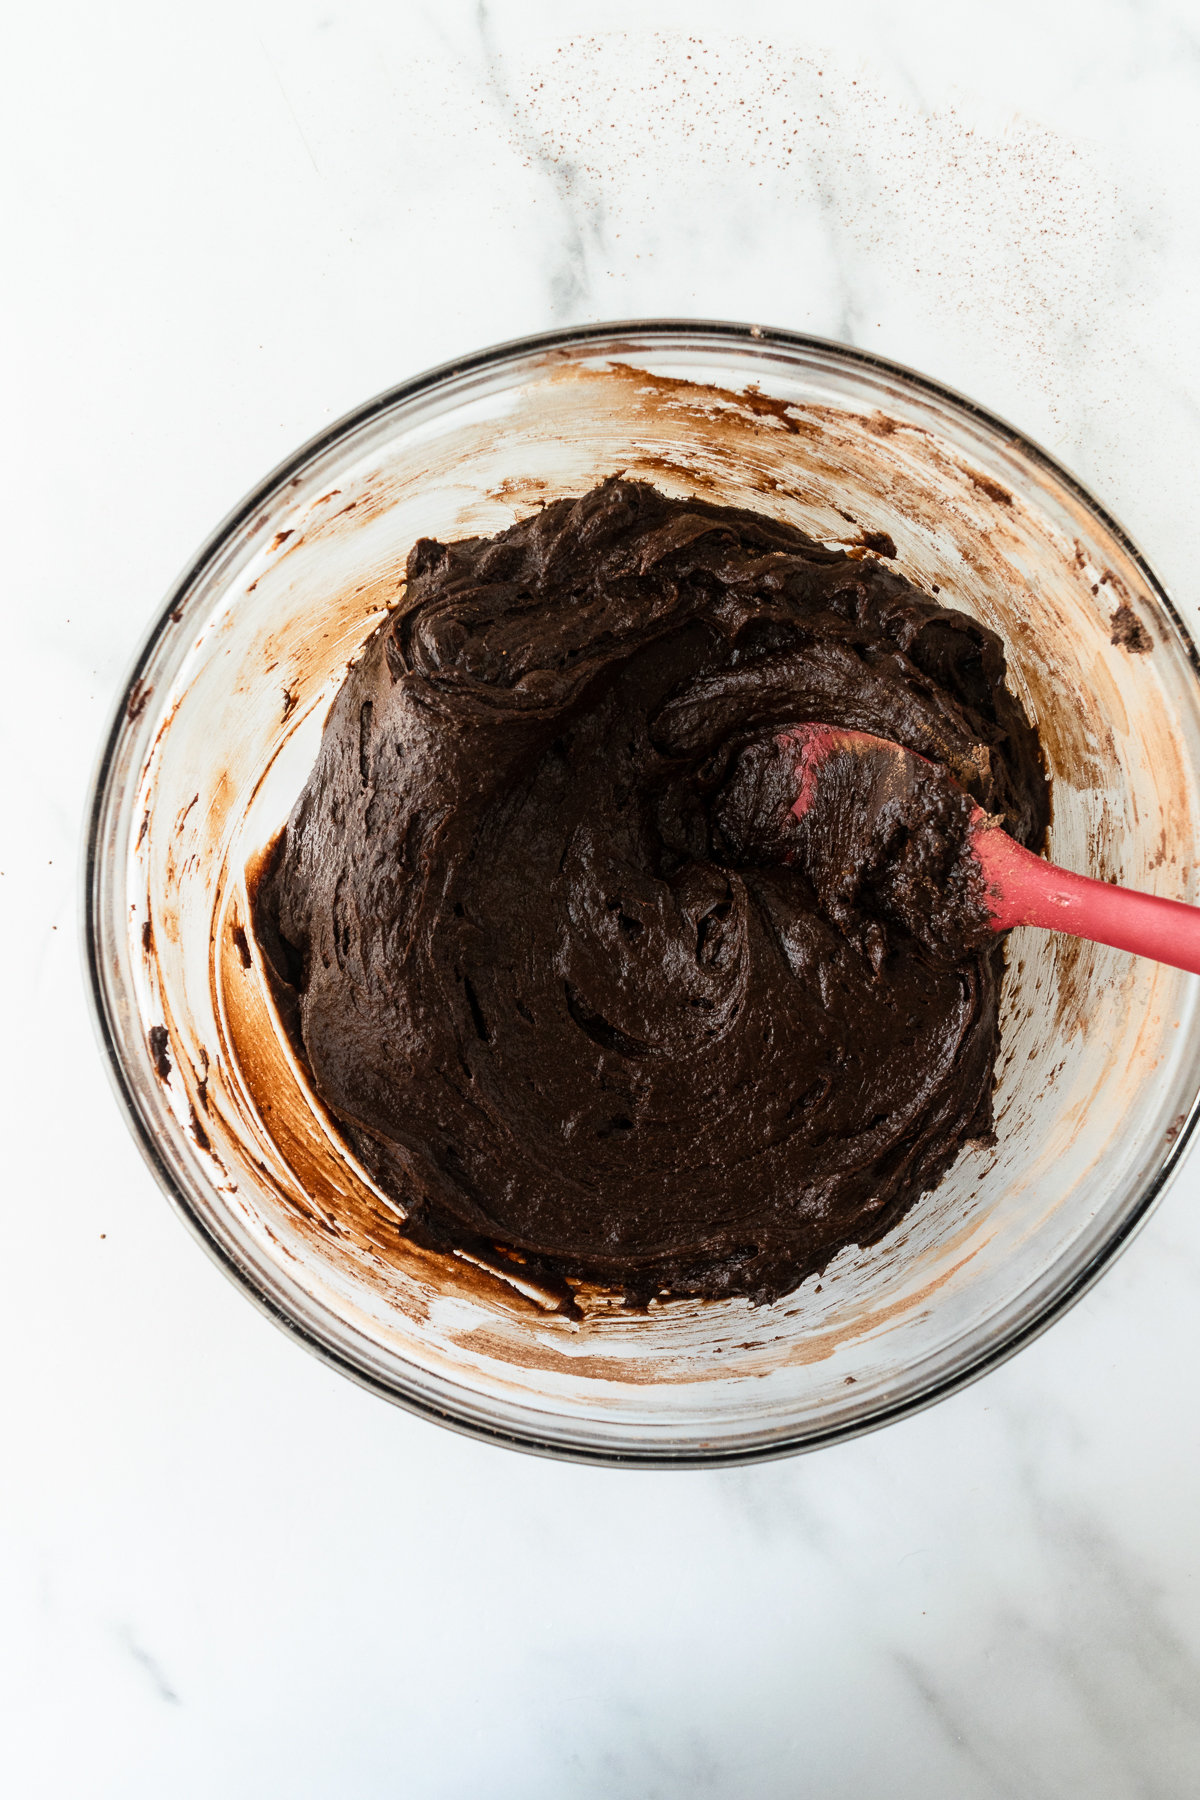
- Fold in Cocoa Powder, Flour & Salt: Gently fold the dry ingredients. You want to combine the ingredients well without overmixing. Once the dry ingredients are almost just about combined...
- Fold in Chocolate Chunks: Add the chocolate chunks and fold until combined. The brownie batter is thick so use those arm muscles!
Success Tips (Follow These Closely)
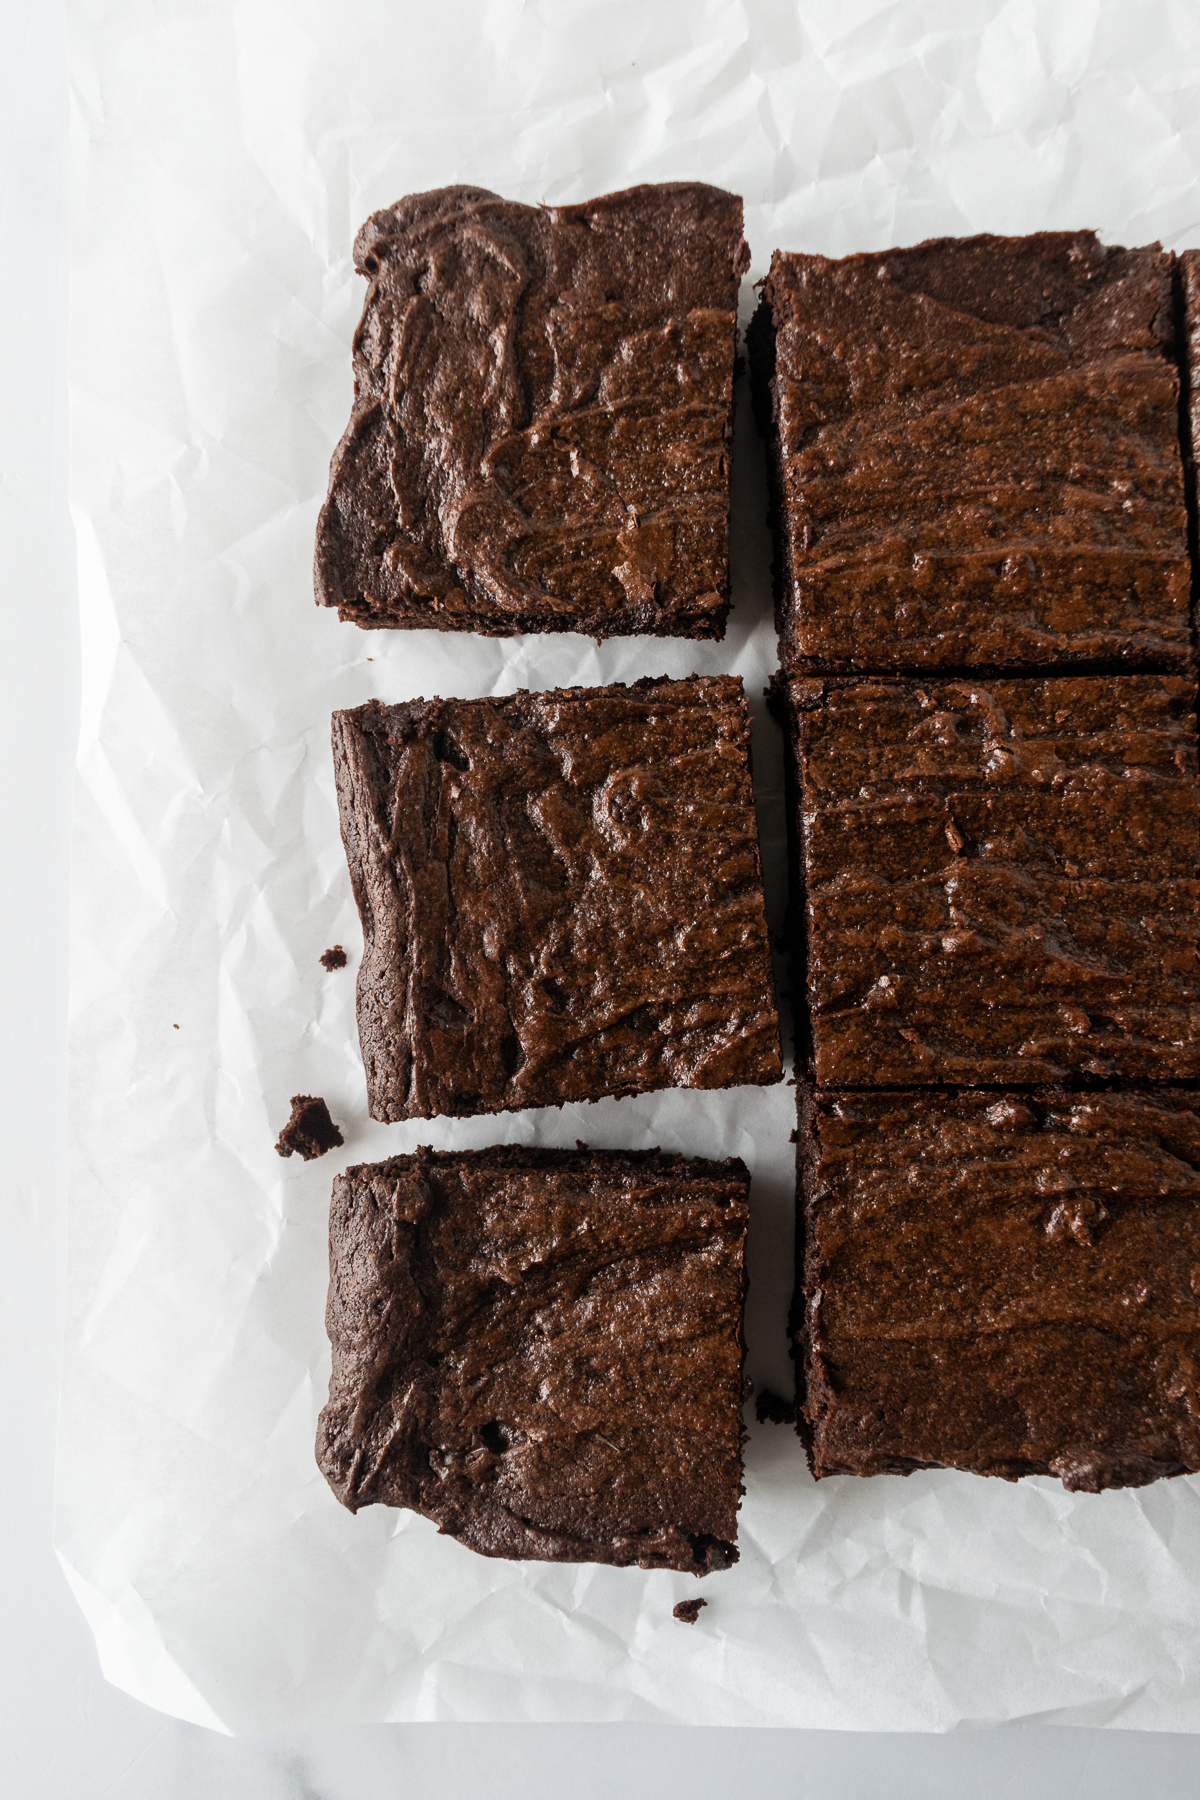
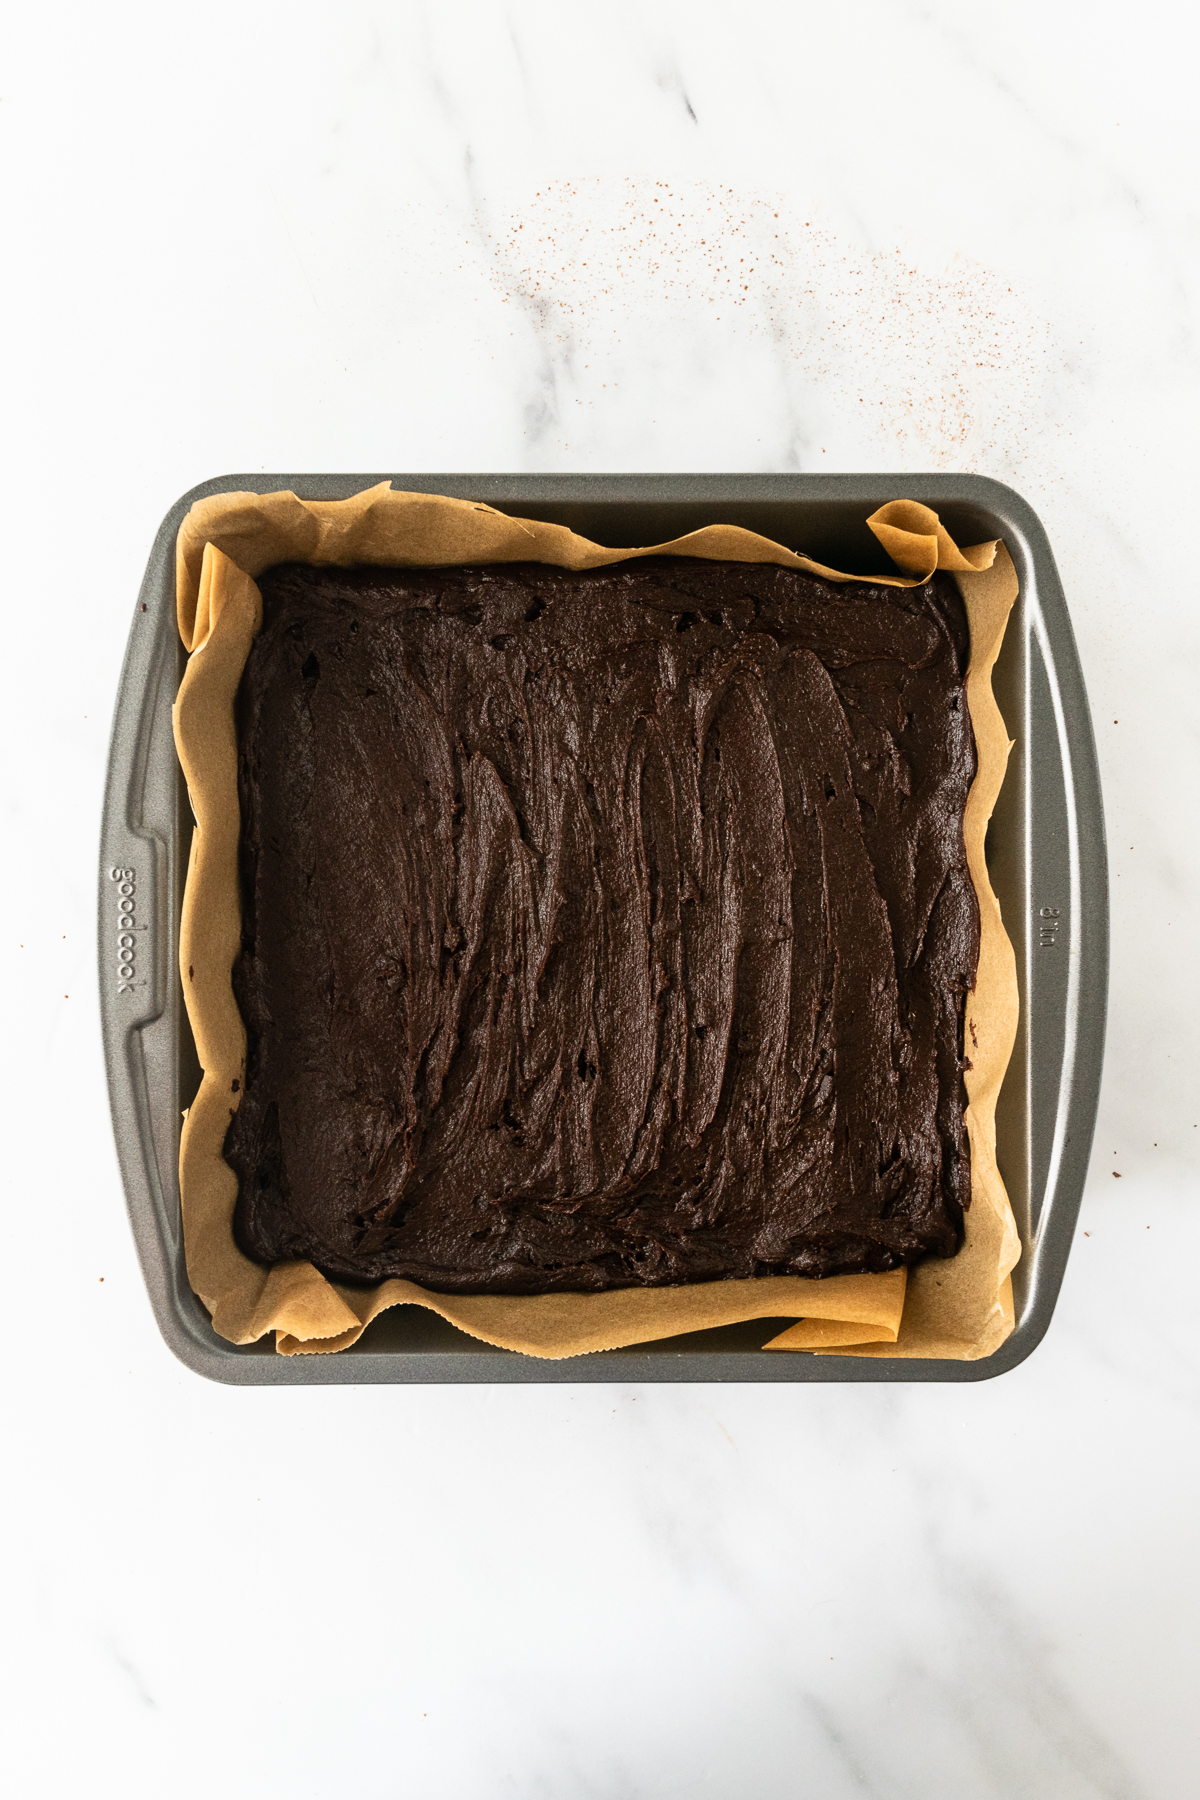
- Evenly Spread Brownie Batter: The batter is thick but make sure you spread it evenly in the pan to allow for even baking. You don't want half overbaked while the other half is underbaked.
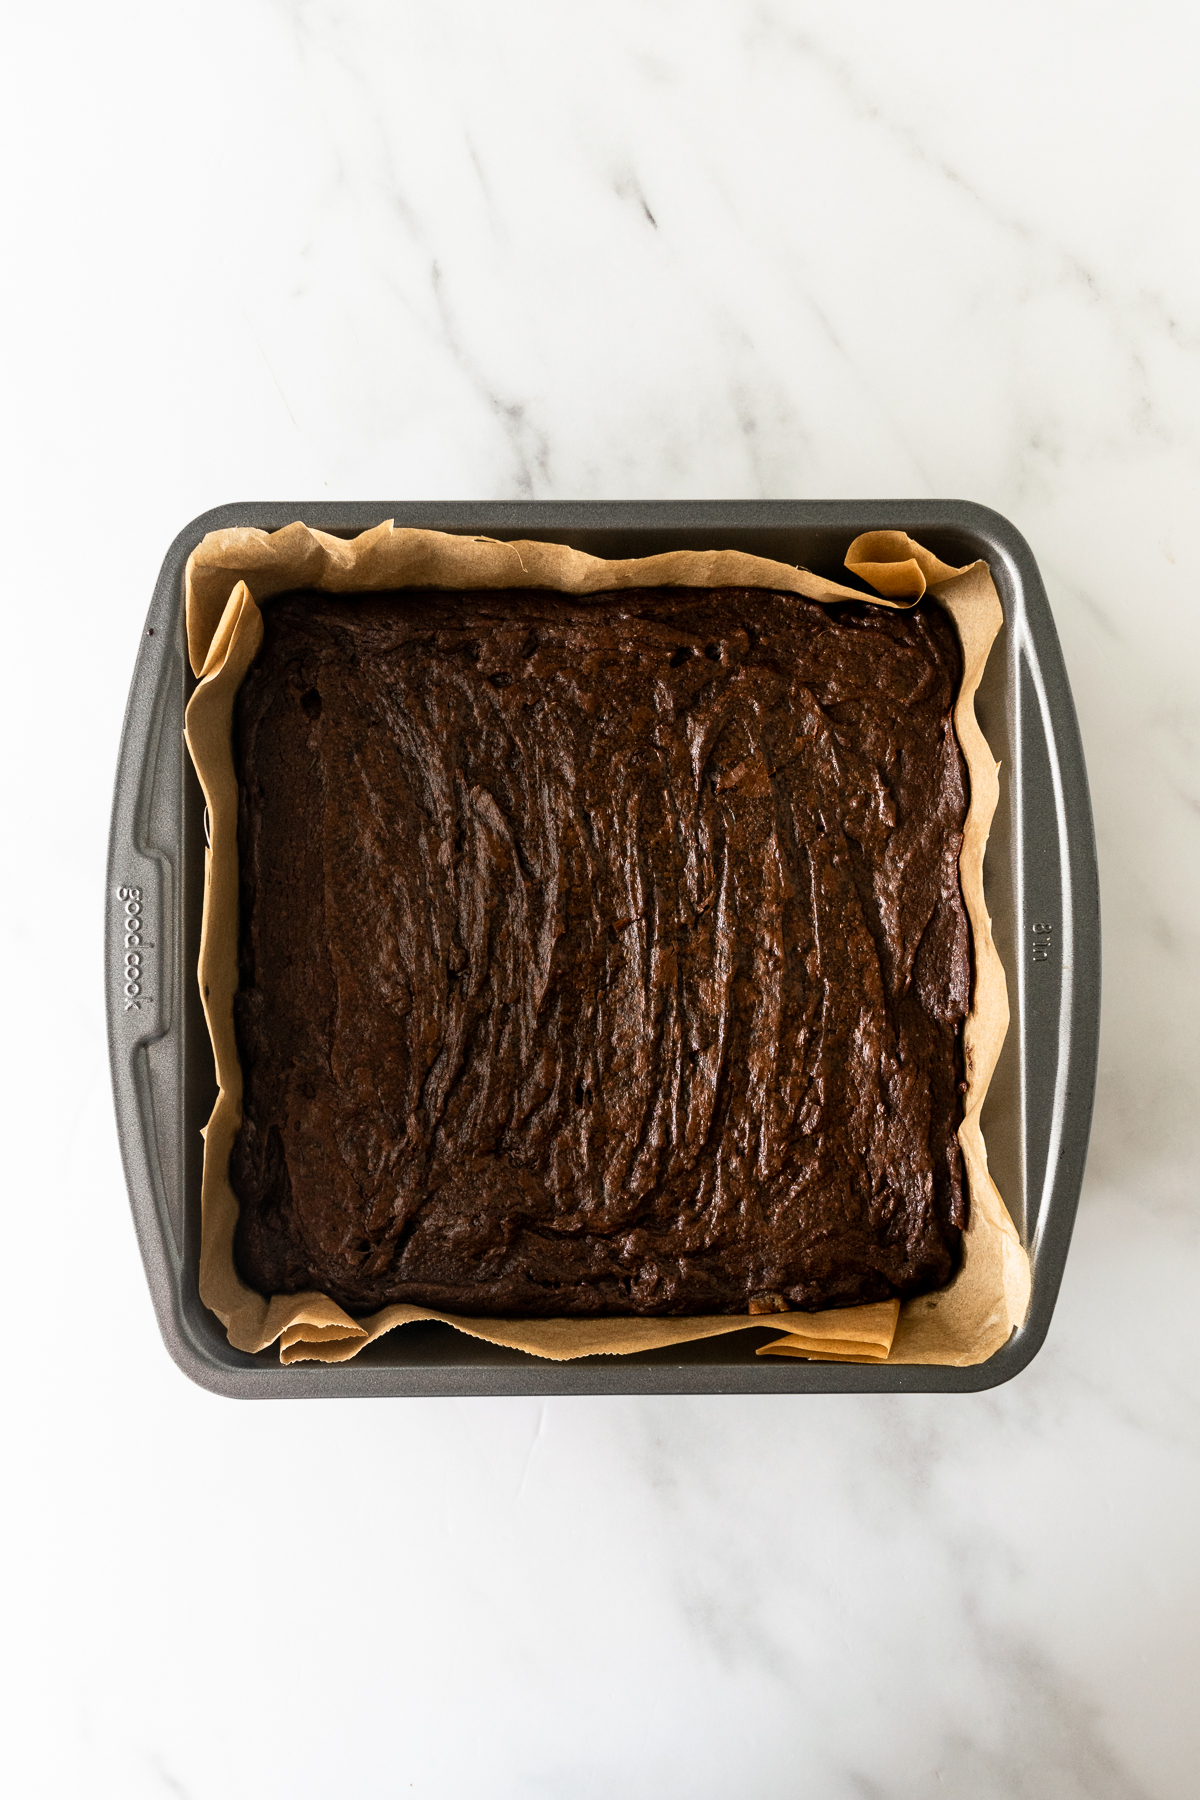
- Don't Overbake: This can be tricky but here's the best way to know when the brownies are done. Set the timer to 20 minutes, give the brownies a quick check by inserting a toothpick into the center. If it comes out with wet batter, the brownies aren't done. If it comes out with a some moist crumbs, the brownies are done. Check each minute after. The brownies shouldn't take longer than 22-23 minutes.
- Allow to Cool Completely: Resist the temptation of diving right in the second you take these out of the oven. Letting them cool not only will make it easier to cut, but they will be fudgier. Trust me, it's worth the wait.
FAQ About Brownies From Scratch
Yes! This brownie recipe can be frozen up to 3 months in a freezer-safe bag or container. You can freeze before or after cutting into bars– if freezing bars I recommend lining parchment between layers. You can even wrap individual bars in plastic wrap for individual servings. Thaw overnight in the refrigerator then bring to room temperature before serving.
For brownies to completely cool it takes about an hour. I know, it's difficult to let warm brownies fresh out of the oven to cool but it's important. It not only making cutting them easier, it also allows the brownies to settle ensuring they become fudgier.
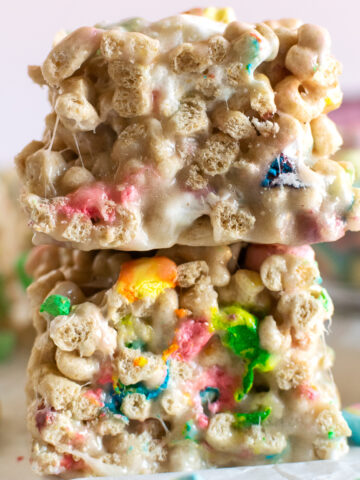
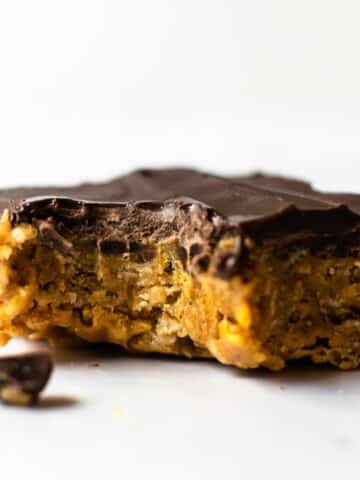
More Dessert Recipes
- Best Chewy Chocolate Chip Cookies Recipe
- Double Chocolate Chip Cookies
- Easy No-Bake Banana Pudding Pie
- Chocolate Peanut Butter Crunch Bars
- No-Bake Oreo Balls
Fudgy Homemade Brownies
Description
Ingredients
- 4 ounce semi-sweet baking chocolate bar, coarsely chopped and divided
- 10 Tablespoons unsalted butter
- ½ cup light or dark brown sugar
- ½ cup granulated sugar
- 2 large eggs
- 1 large egg yolk
- 2 teaspoons vanilla extract
- ¾ cup all-purpose flour
- ¾ cup unsweetened cocoa powder
- ¼ teaspoon salt
- optional add-ins: 1 cup nuts, chocolate chips etc.
Instructions
- Preheat the oven to 350ºF and line a 8x8-inch baking pan with parchment paper or aluminum foil, leaving a slight overhang on the sides to lift the baked brownies out (making cutting much easier!) Set aside.
- In a large microwave-safe bowl, combine the butter and half (2 ounces) of the chopped chocolate. Melt in 30 second increments, stirring after each, until completely smooth. Whisk in the sugar until combined and no sugar lumps remain. Then, whisk in the eggs, egg yolk and vanilla until completely combined and the batter is light brown.
- Add the flour, cocoa powder and salt, and fold together until almost combined (some flour and cocoa powder should be visible) using a silicone spatula or wooden spoon. Then, add the remaining (2 ounces) chopped chocolate (and optional add-ins) and fold together until combined– be careful to not overmix. The batter will be very thick. Spread evenly into the prepared pan.
- Bake for 20 minutes, then test the brownies with a toothpick. Insert the toothpick into the center of the brownies. If it comes out with wet batter, the brownies are not done. If there is a few moist crumbs, the brownies are done. Keep checking every minute until you have moist crumbs. These brownies take 22-23 minutes.
- Remove the brownies from the oven and place the baking pan on a wire rack to cool completely before cutting.
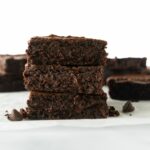
- To cut, lift the brownies using the parchment paper or aluminum overhang. Slice using a very sharp knife into 9 regular or 12 smaller squares. Cover and store leftover brownies at room temperature for up to 1 week.
Notes
- Make Ahead Instructions: The baked brownies will stay fresh at room temperature for up to 1 week in an airtight bag or container.
- Freezing Instructions: These brownies can be frozen up to 3 months in a freezer-safe bag or container. You can freeze before or after cutting into bars– if freezing bars I recommend lining parchment paper between layers. You can even wrap individual bars in plastic wrap for individual servings. Thaw overnight in the refrigerator then bring to room temperature before serving.
- Chocolate: Most baking chocolate comes in 4 ounce bars. To prevent the need of weighing the chocolate, break the bar in half and coarsely chop each half separately as 2 ounces will be melted with the butter and the remaining 2 ounces folded into the brownie batter.
- Sugar: Instead of half each sugar, you can also use all granulated sugar or all brown sugar instead.
- For Neatly Cut Brownies: If you need (or prefer) neatly cut squares, use this trick. Run a very sharp knife under hot water for a few seconds before slicing. Lift the knife straight UP after each cut (do not pull), whipping the knife clean and running under hot water between each cut.
Leave a Reply