

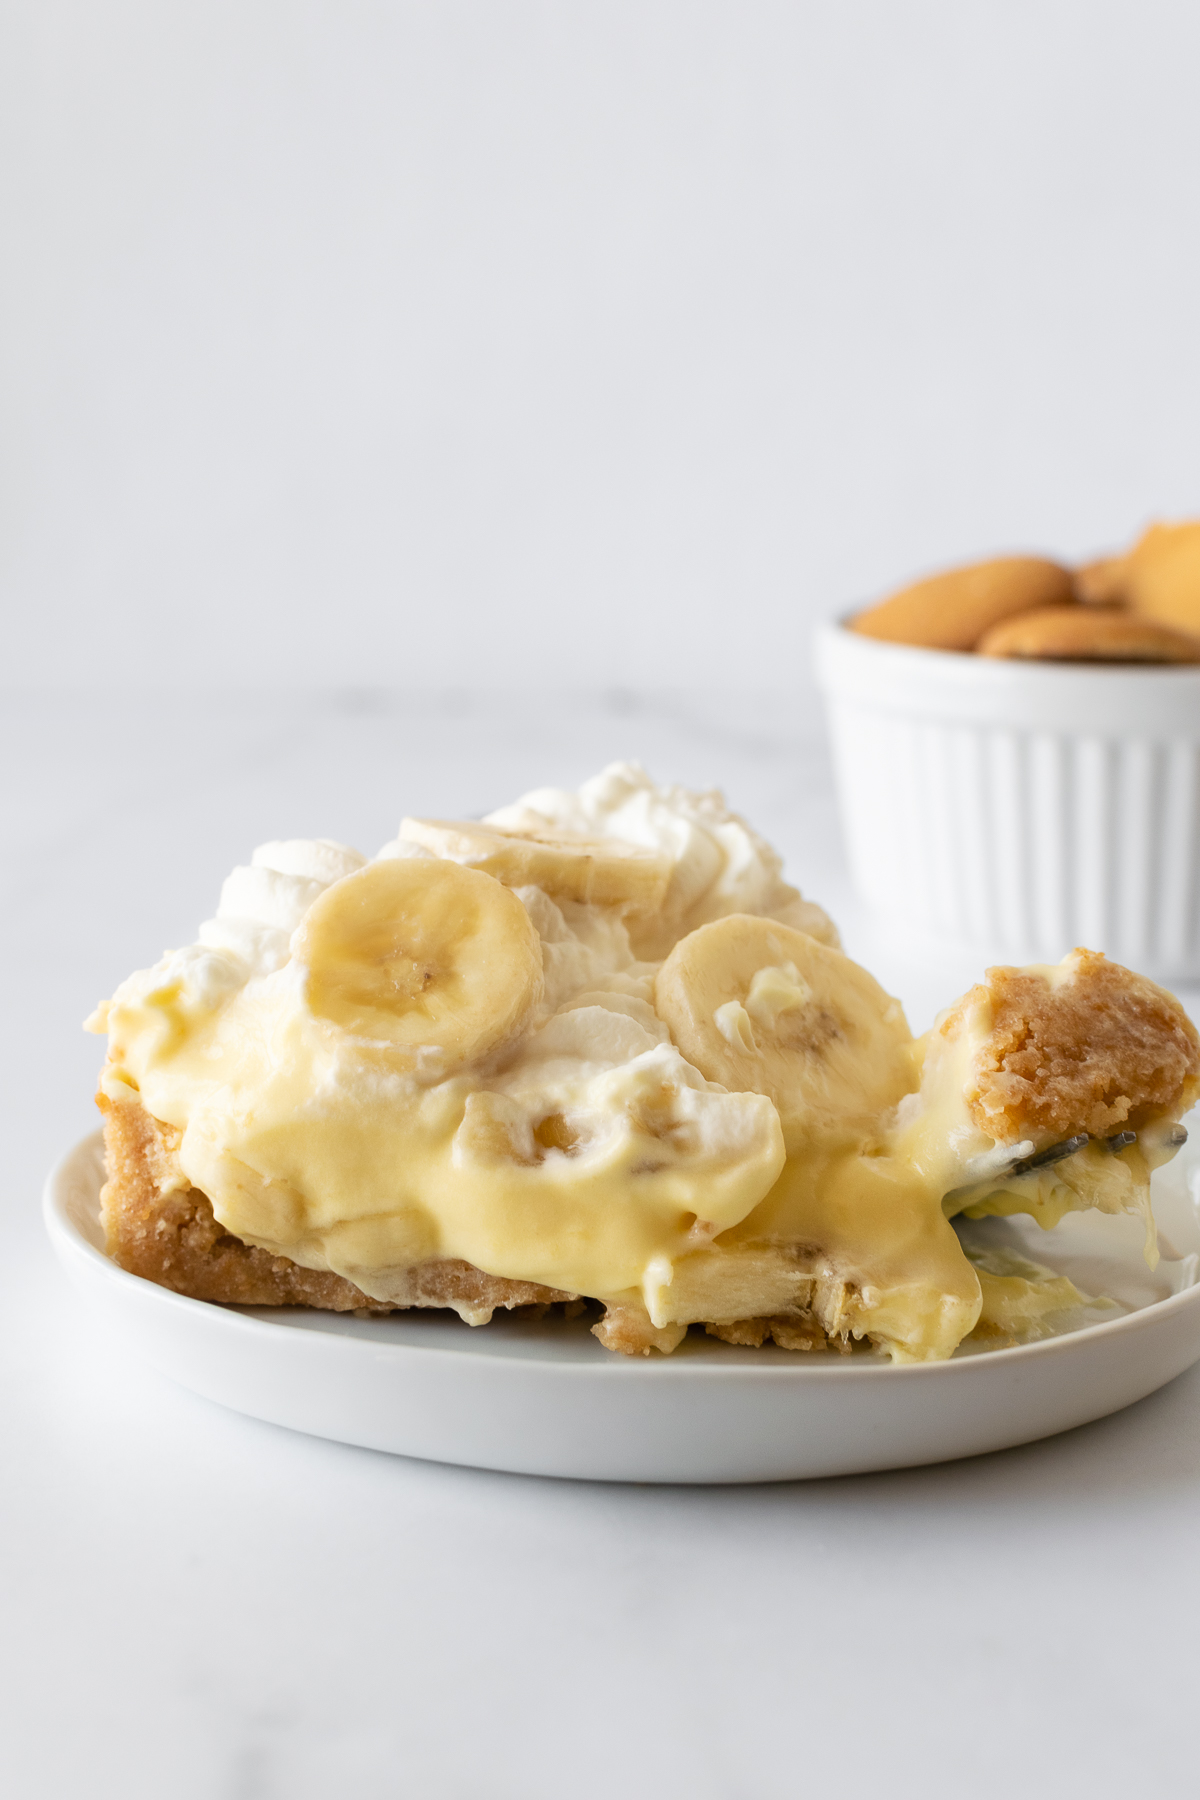
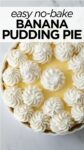
Get ready to fall in love with this no-bake banana pudding pie recipe. After the first bite you'll immediately know why it's loved by many!
I originally published this recipe in 2020. TLDR; Based on reviews, I reduced the overall recipe to fit in one standard pie dish.
In This Post
- Here’s Why You Will LOVE This No-Bake Banana Pudding Pie Recipe
- Shortcut Ingredients: Banana Pudding Pie with Instant Pudding
- How to Make Banana Pudding Pie
- FAQ: Can I Make Banana Cream Pie in Advance?
- FAQ: Is Banana Cream Pie Made of Pudding?
- FAQ: How Do You Keep Bananas from Turning Brown in a Banana Cream Pie?
- More Easy Dessert Recipes
- Easy No-Bake Banana Pudding Pie
While banana pudding pie may not always be the first choice on the dessert table, this underrated pie is a hidden gem nestled between the cookies and brownies. I've spent countless hours perfecting this pie recipe so you can enjoy its deliciousness with minimal time and effort.
Here’s Why You Will LOVE This No-Bake Banana Pudding Pie Recipe
- No oven required!
- Easy, straight forward recipe– nothing complicated
- Comes together quickly
- Insanely creamy, rich and light all at the same time
- Thick, buttery homemade Nilla Wafer crust
- Perfect make-ahead dessert
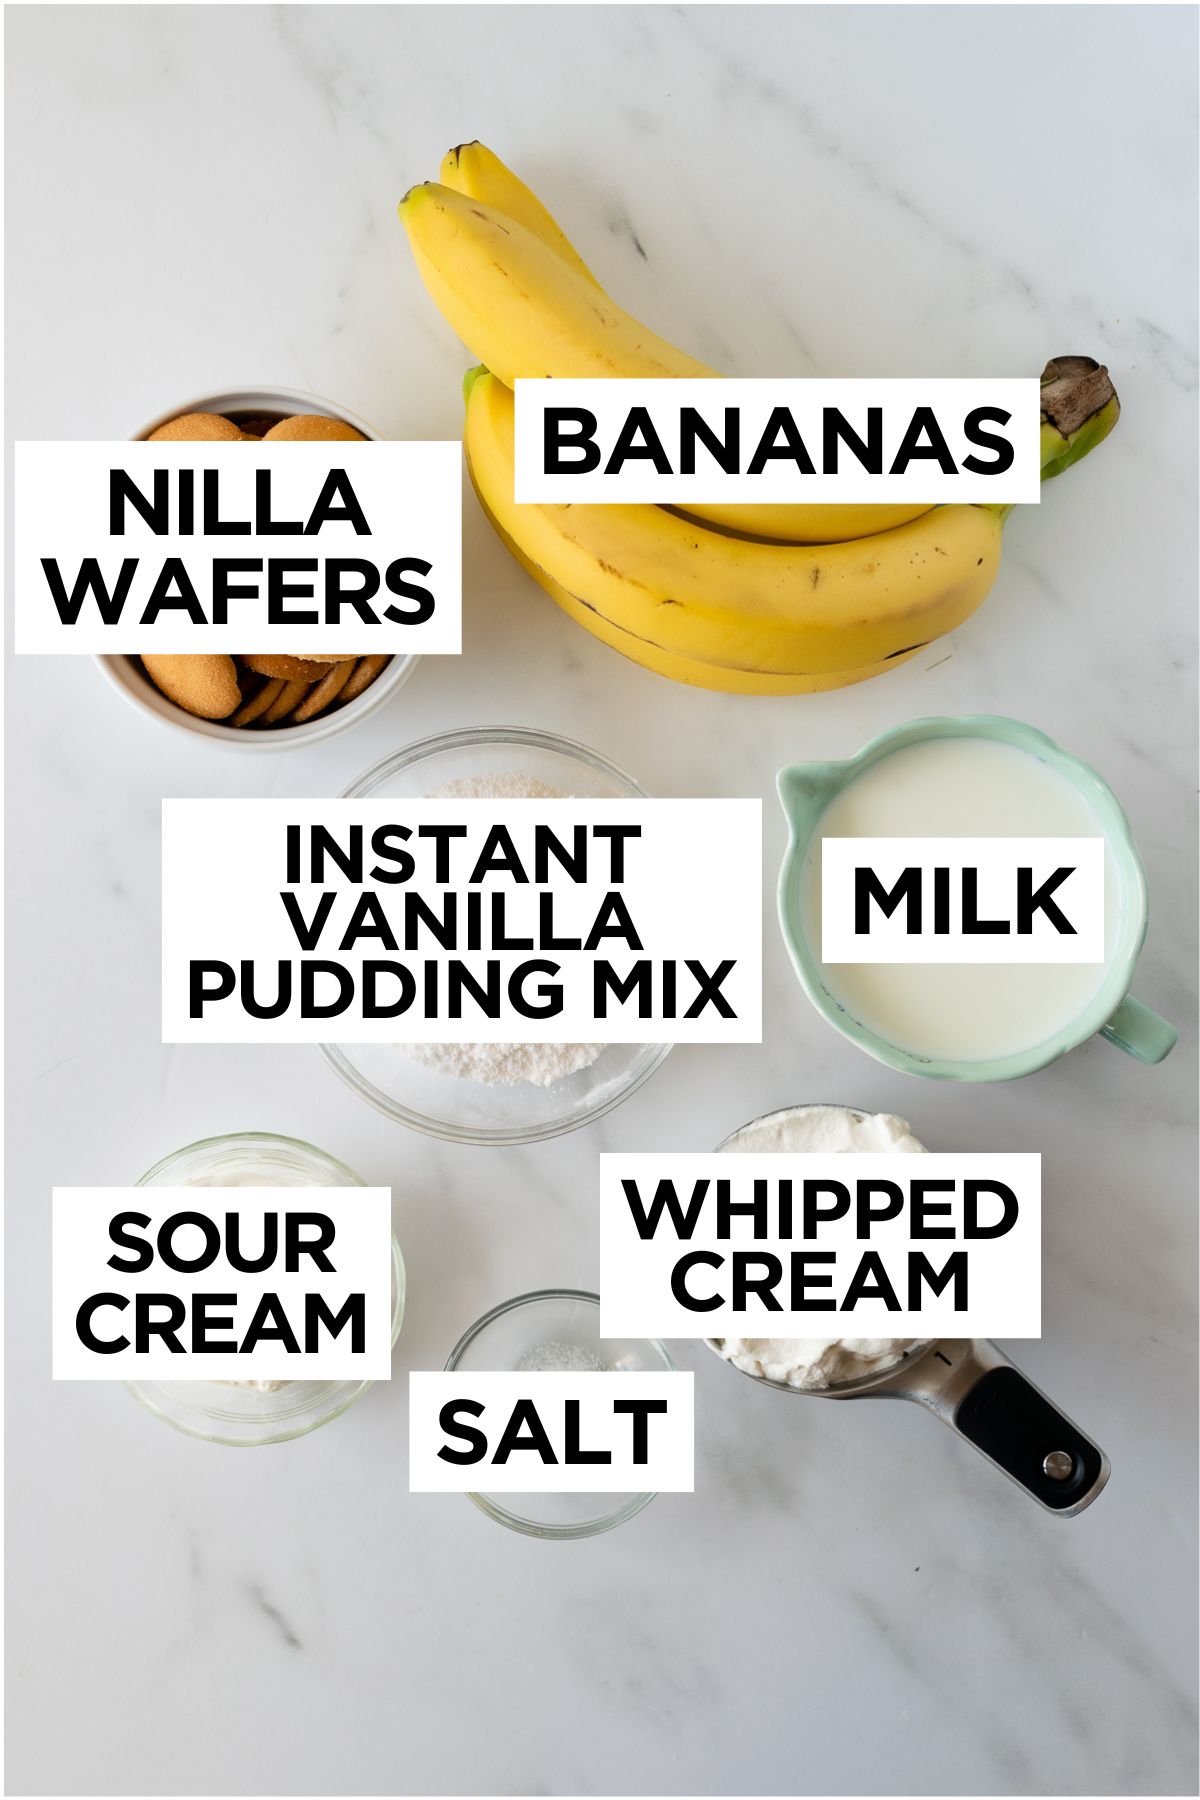
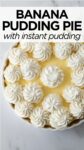
Shortcut Ingredients: Banana Pudding Pie with Instant Pudding
- Instant Pudding: Making homemade pudding takes a bit of time so instead we're grabbing store-bought vanilla instant pudding (5.1 ounce package.)
- Milk: Using whole milk produces the creamiest pudding though 2% milk can work in a pinch. Remember: this recipe does not follow the amount of milk on the back of the pudding box.
- Sour Cream: The sour cream helps add creaminess and gives the filling structure.
- Whipped Cream: Using whipped cream creates a light and fluffy filling. You can make either homemade or use store-bought– this is the one ingredient that I always make homemade but this is just preference.
- Bananas: You want to use not very ripe bananas, not green, just a few brown spots at most.
- Salt: Just a pinch of salt to balance the sweetness.
How to Make Banana Pudding Pie
- Make the Crust: The crust is 3 ingredients– vanilla wafers (Nilla Wafers) and butter. Not much to it.
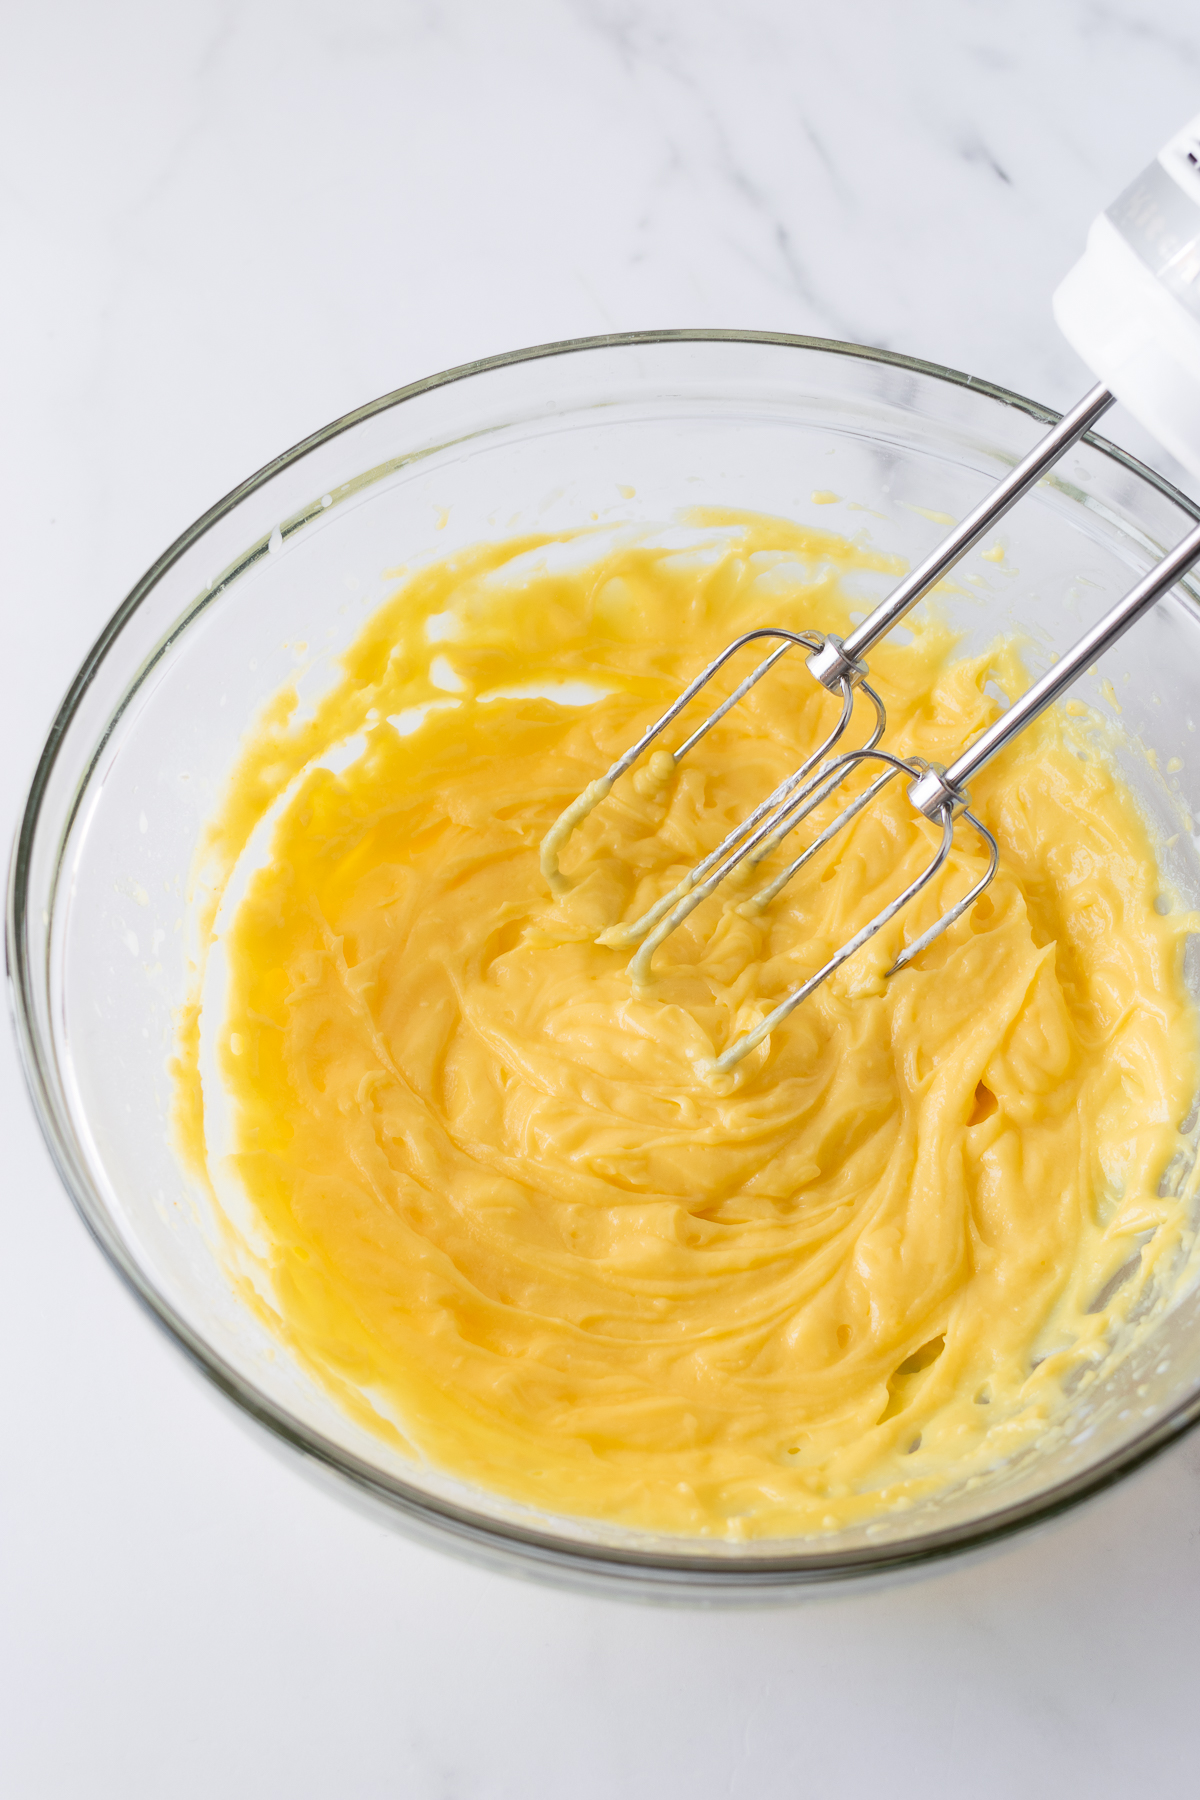
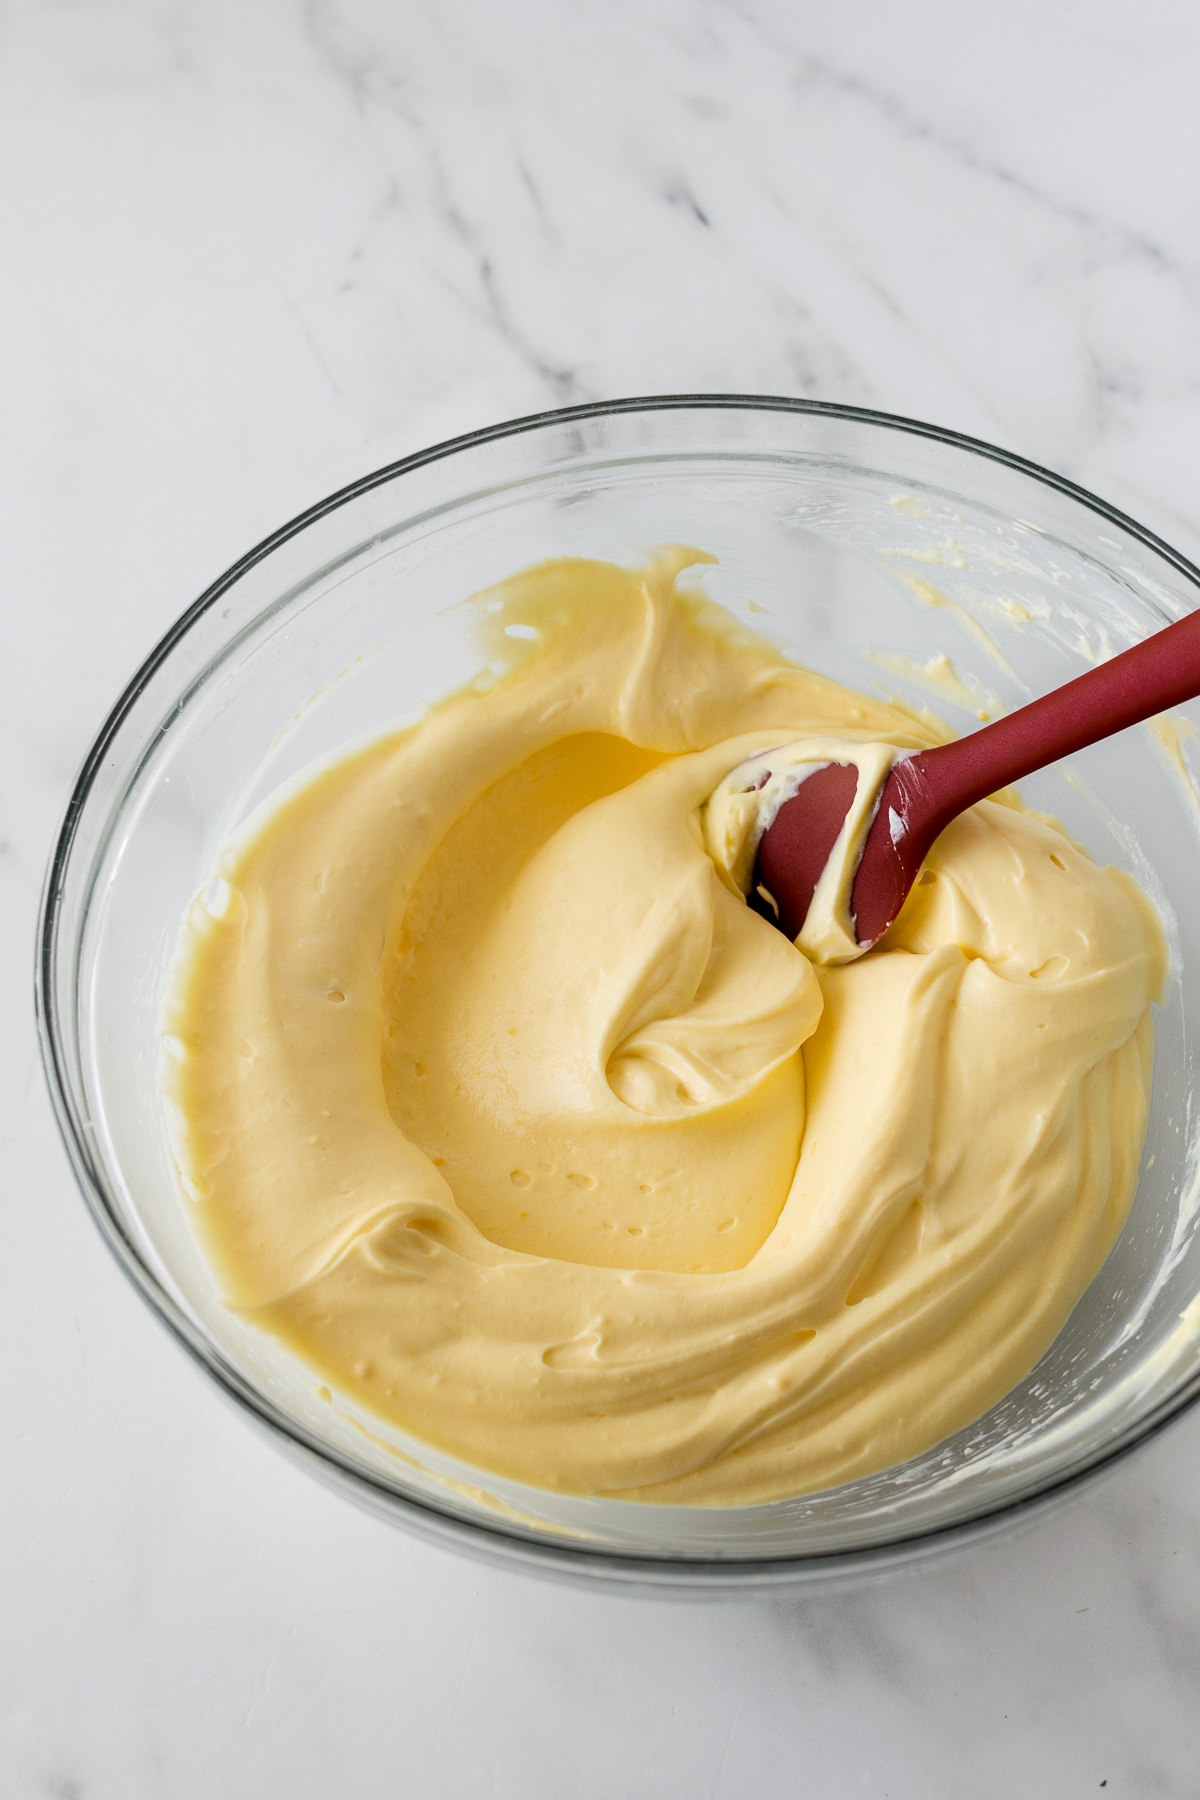
- Make the Filling: The filling is a mixture of instant vanilla pudding, sour cream, whipped cream, and salt. The trick to keep this lighter is to first whisk together the pudding, sour cream, and salt. Then, fold in the whipped cream.
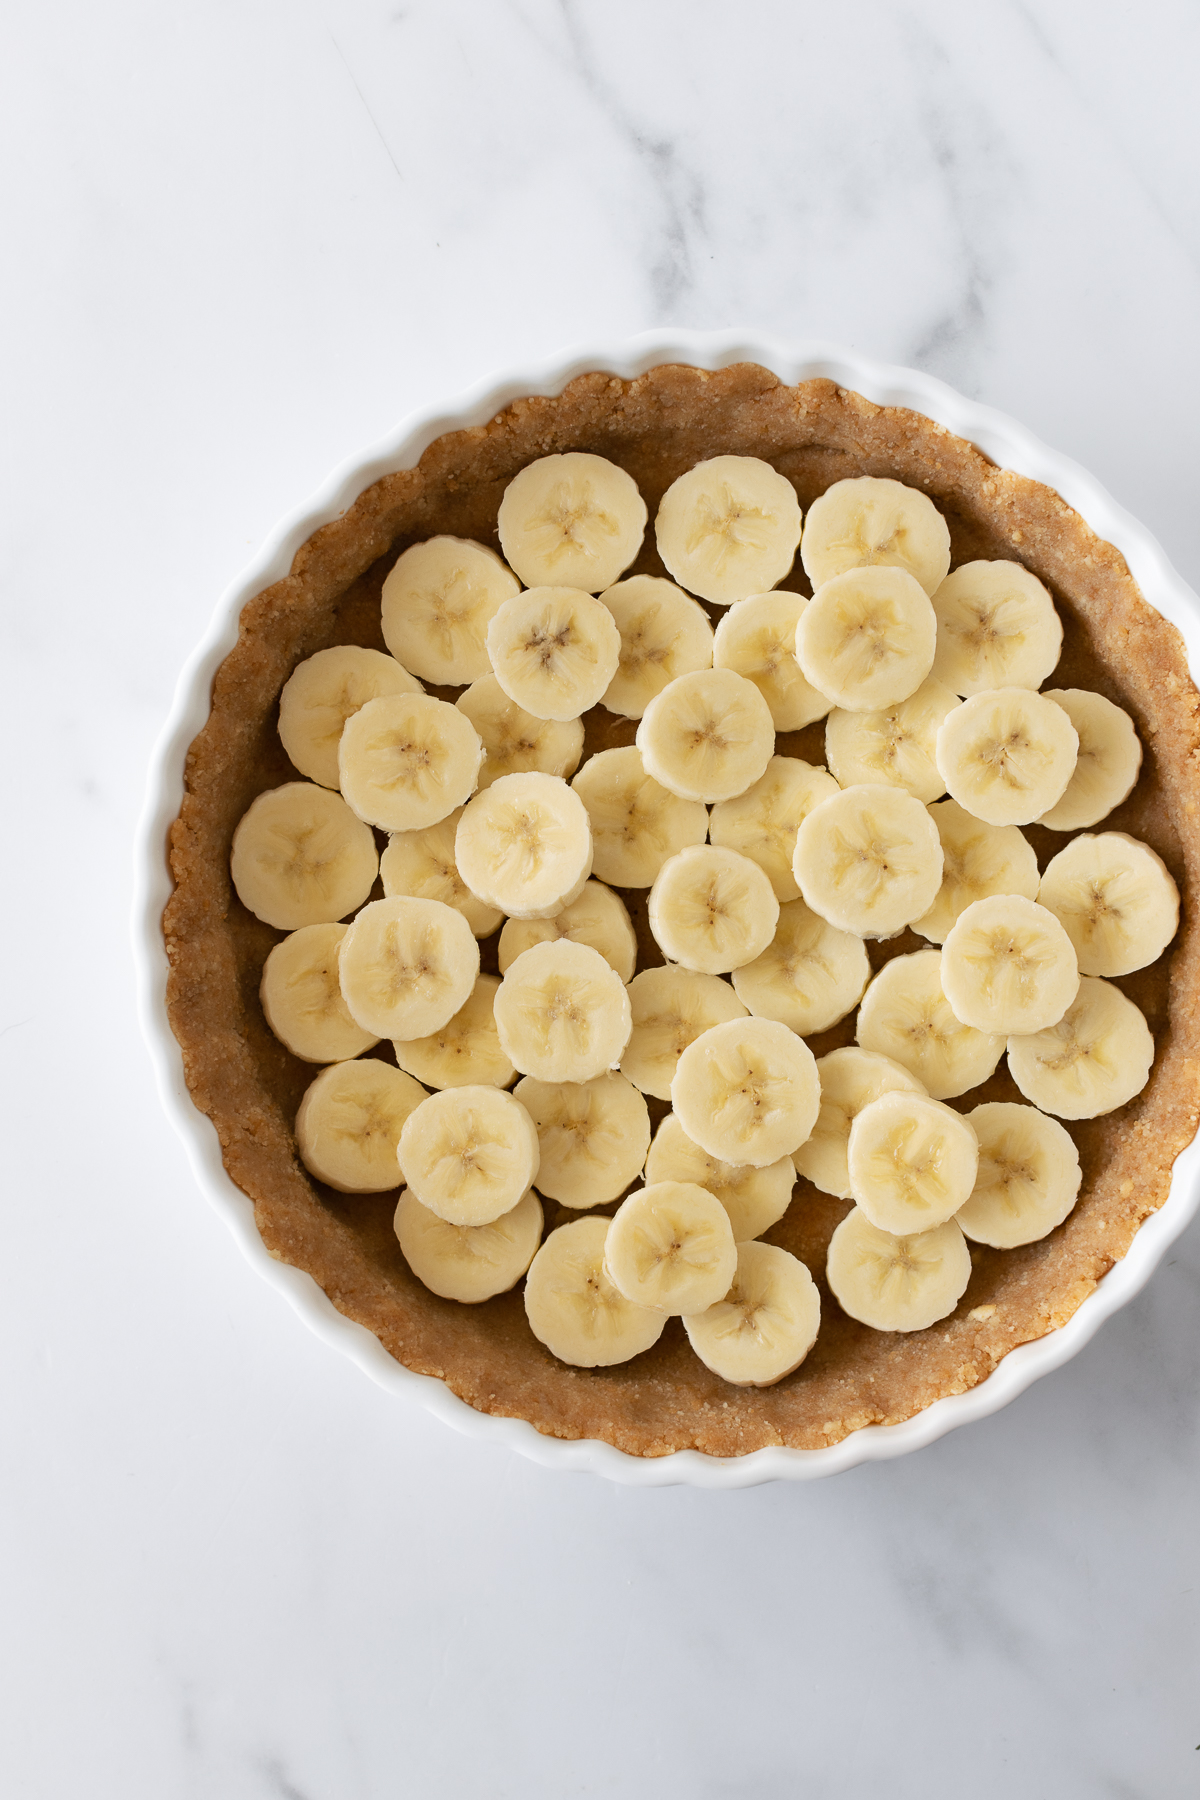
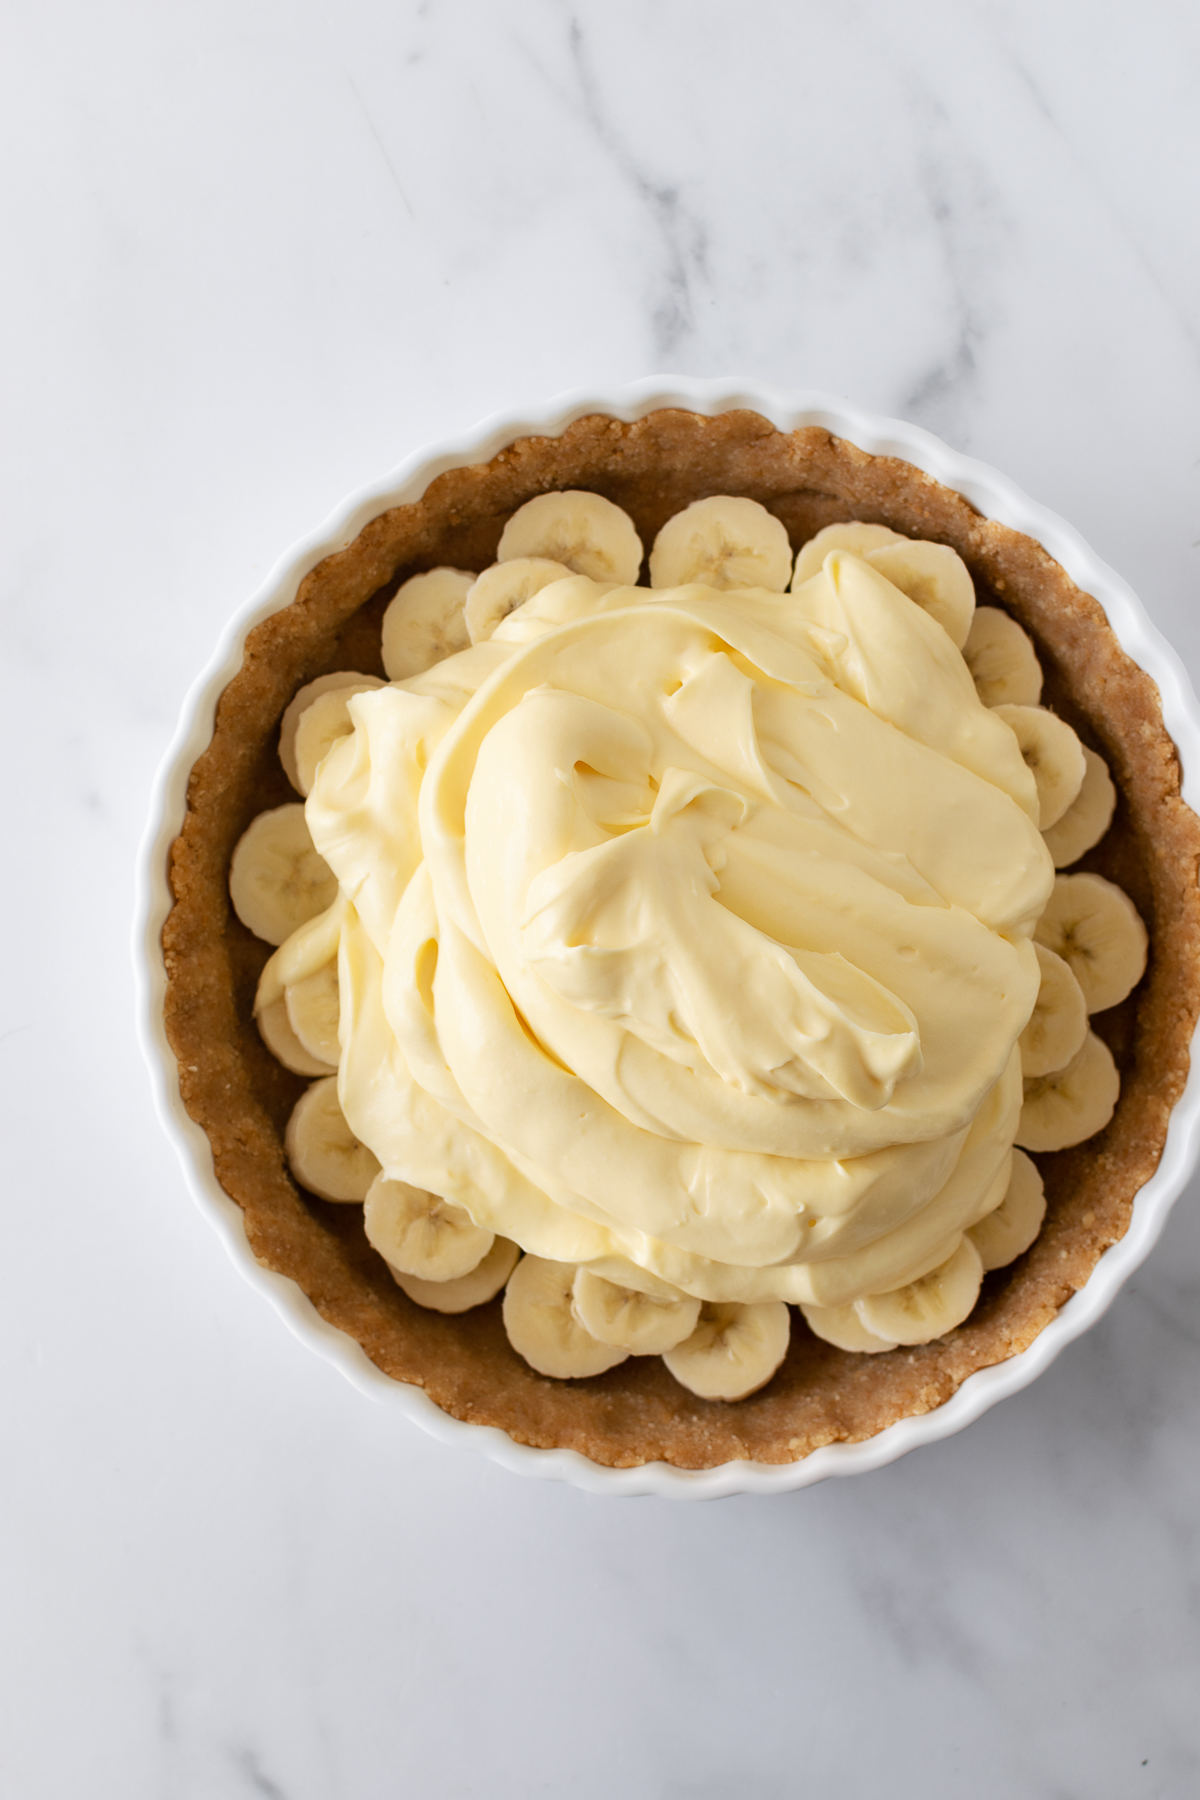
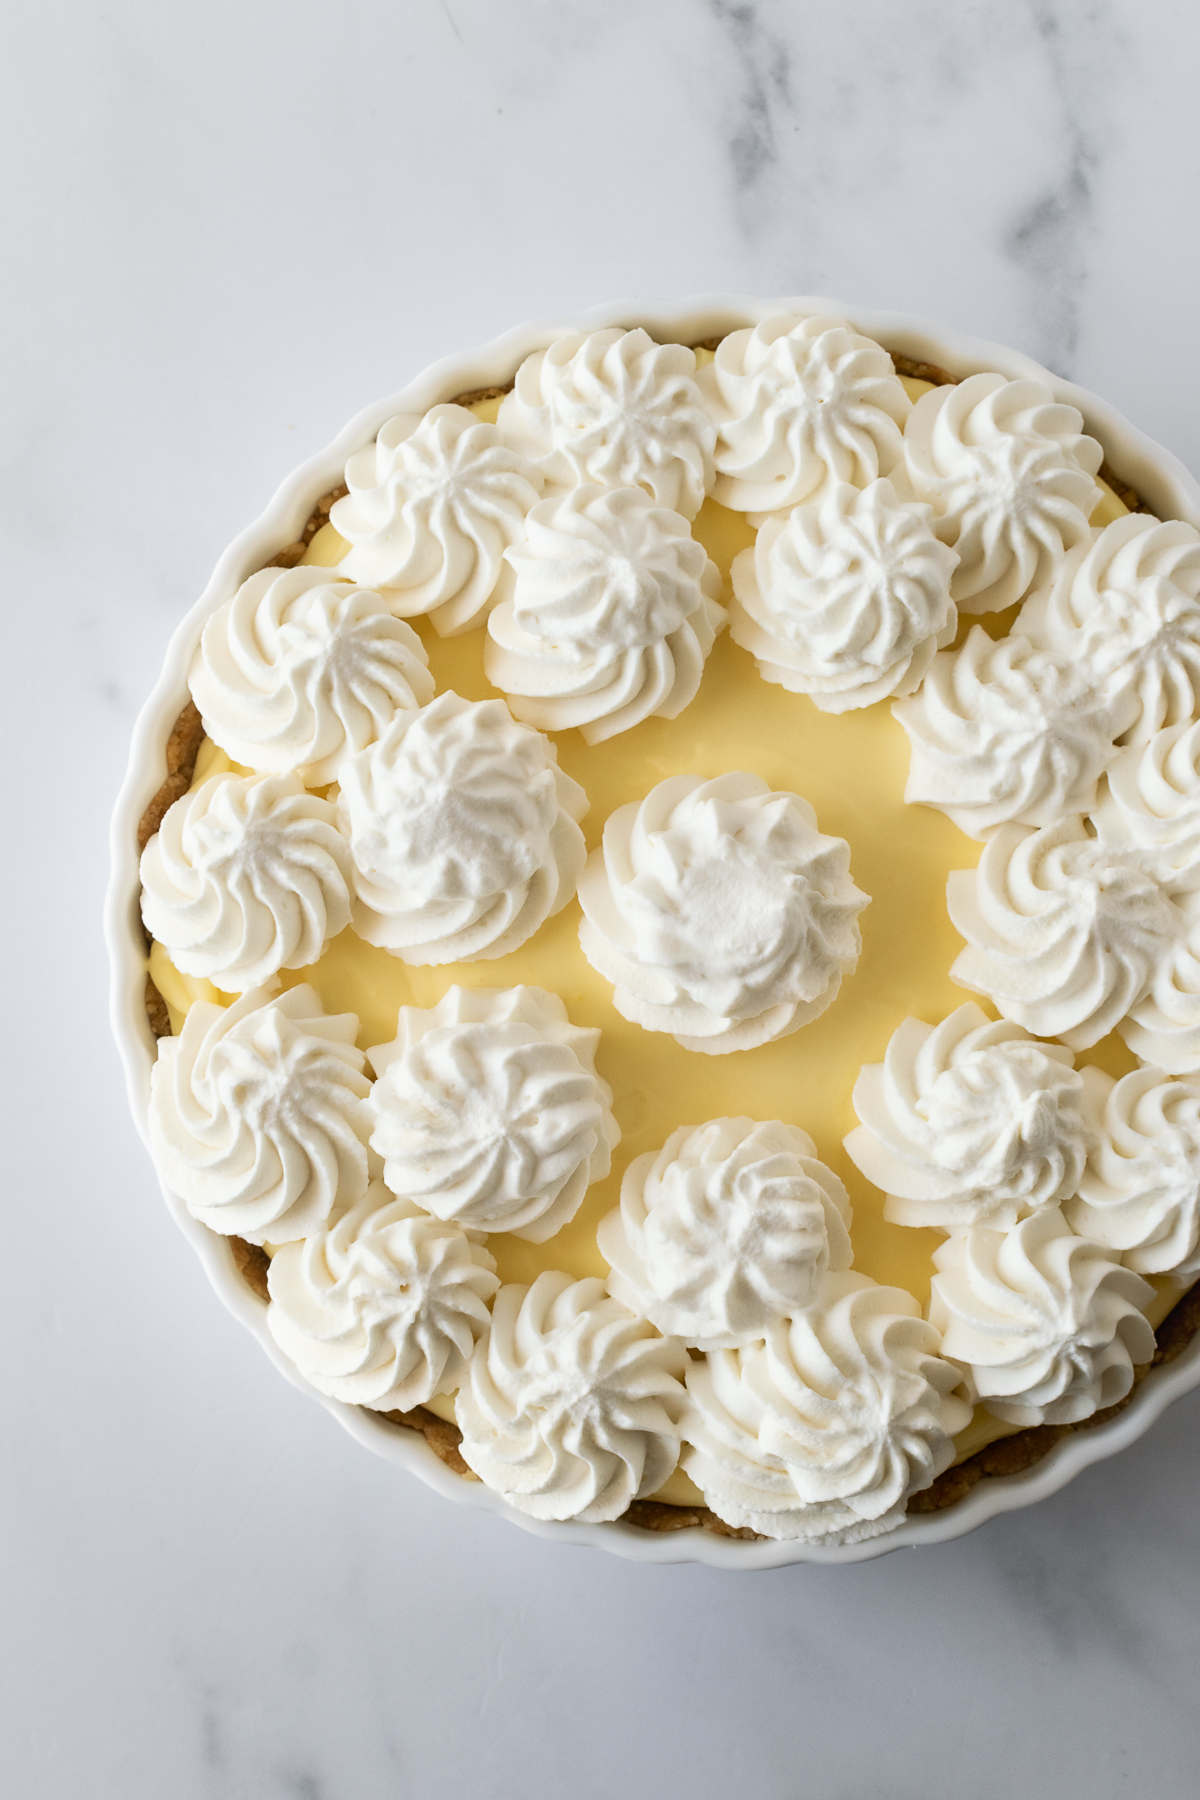
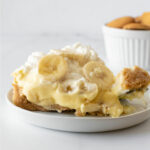
- Assemble: On top of the crust add sliced bananas. Then, add the filling and top with whipped cream, remaining banana slices, and Nilla Wafers for garnish.
FAQ: Can I Make Banana Cream Pie in Advance?
Absolutely! Many no-bake recipes are ideal make-ahead recipes allowing them to set further. With this banana pie recipe you have a few options:
- Make the crust ahead of time, cover tightly and store in the refrigerator up to 2 days in advance.
- Make the crust and filling ahead of time, cover each tightly and store in the refrigerator up to 2 days in advance.
- Assemble the pie leaving off the banana garnish until the day off, gently cover and store in the refrigerator up to 1 day in advance.
FAQ: Is Banana Cream Pie Made of Pudding?
A traditional easy banana pudding pie recipe is made with pudding, however this recipe makes banana pudding pie with instant pudding to make it even easier!
FAQ: How Do You Keep Bananas from Turning Brown in a Banana Cream Pie?
The bananas will begin to turn brown once air begins to hit them. You can lightly brush the banana slices with lemon juice or white vinegar prior to using as a garnish. Over time the banana slices in the pie will brown so it's best to fully assemble the put up to 1 day in advance.
More Easy Dessert Recipes
- No-Bake Cheesecake
- Chocolate Peanut Butter Crunch Bars
- Family Favorite Rice Krispie Treats
- Mixed Berry Streusel Bars
- How To Make Oreo Balls
Easy No-Bake Banana Pudding Pie
Description
Ingredients
Vanilla Wafer Crust
- 2 ¼ cups Nilla Wafers or vanilla wafers crumbs, about ¾ box
- ½ cup unsalted butter, melted
Pudding Filling
- 1 5.4-ounce package instant vanilla pudding
- 1 cup whole milk
- ⅓ cup full-fat sour cream
- 1 ¼ cups whipped cream, homemade or store-bought
- ⅛ teaspoon salt, a pinch
- 3 yellow bananas, not fully ripe
- optional topping: ⅓ cup Nilla Wafers, vanilla wafers
Homemade Whipped Cream
- 2 cups cold heavy whipping cream
- 3 Tablespoons powdered sugar
- 1 teaspoon vanilla extract
Instructions
- Make the Crust: It's best to use a food processor to make the Nilla Wafer crumbs. Stir the vanilla wafer crumbs and melted butter together in a small bowl. Pour into a 9-inch springform pan or pie dish and pack very tightly– the tighter it's packed, the less likely it will fall apart when cutting the banana pie. I recommend using the bottom of a measuring cup to easily pack it into the bottom and sides. Freeze for 15 minutes as you prepare the filling.
- Make the Filling: If using store-bought whipped cream, you can skip this step. Using a hand mixer or stand mixer fitted with the whisk attachment, beat the heavy cream, powdered sugar and vanilla extract on medium-high speed until stiff peaks form, about 4-5 minutes. Reserve 1 ¼ cups and refrigerate the remaining.
- Using a hand mixer or stand mixer fitted with the whisk attachment, beat together instant pudding mix and milk on medium speed until smooth, scraping the sides and bottom of the bowl as needed. Add the sour cream and salt and beat until combined. Then, using a spatula gently fold in the whipped cream. Do not whisk in the whipped cream as you want to keep it light and fluffy (keeping the air in it.)
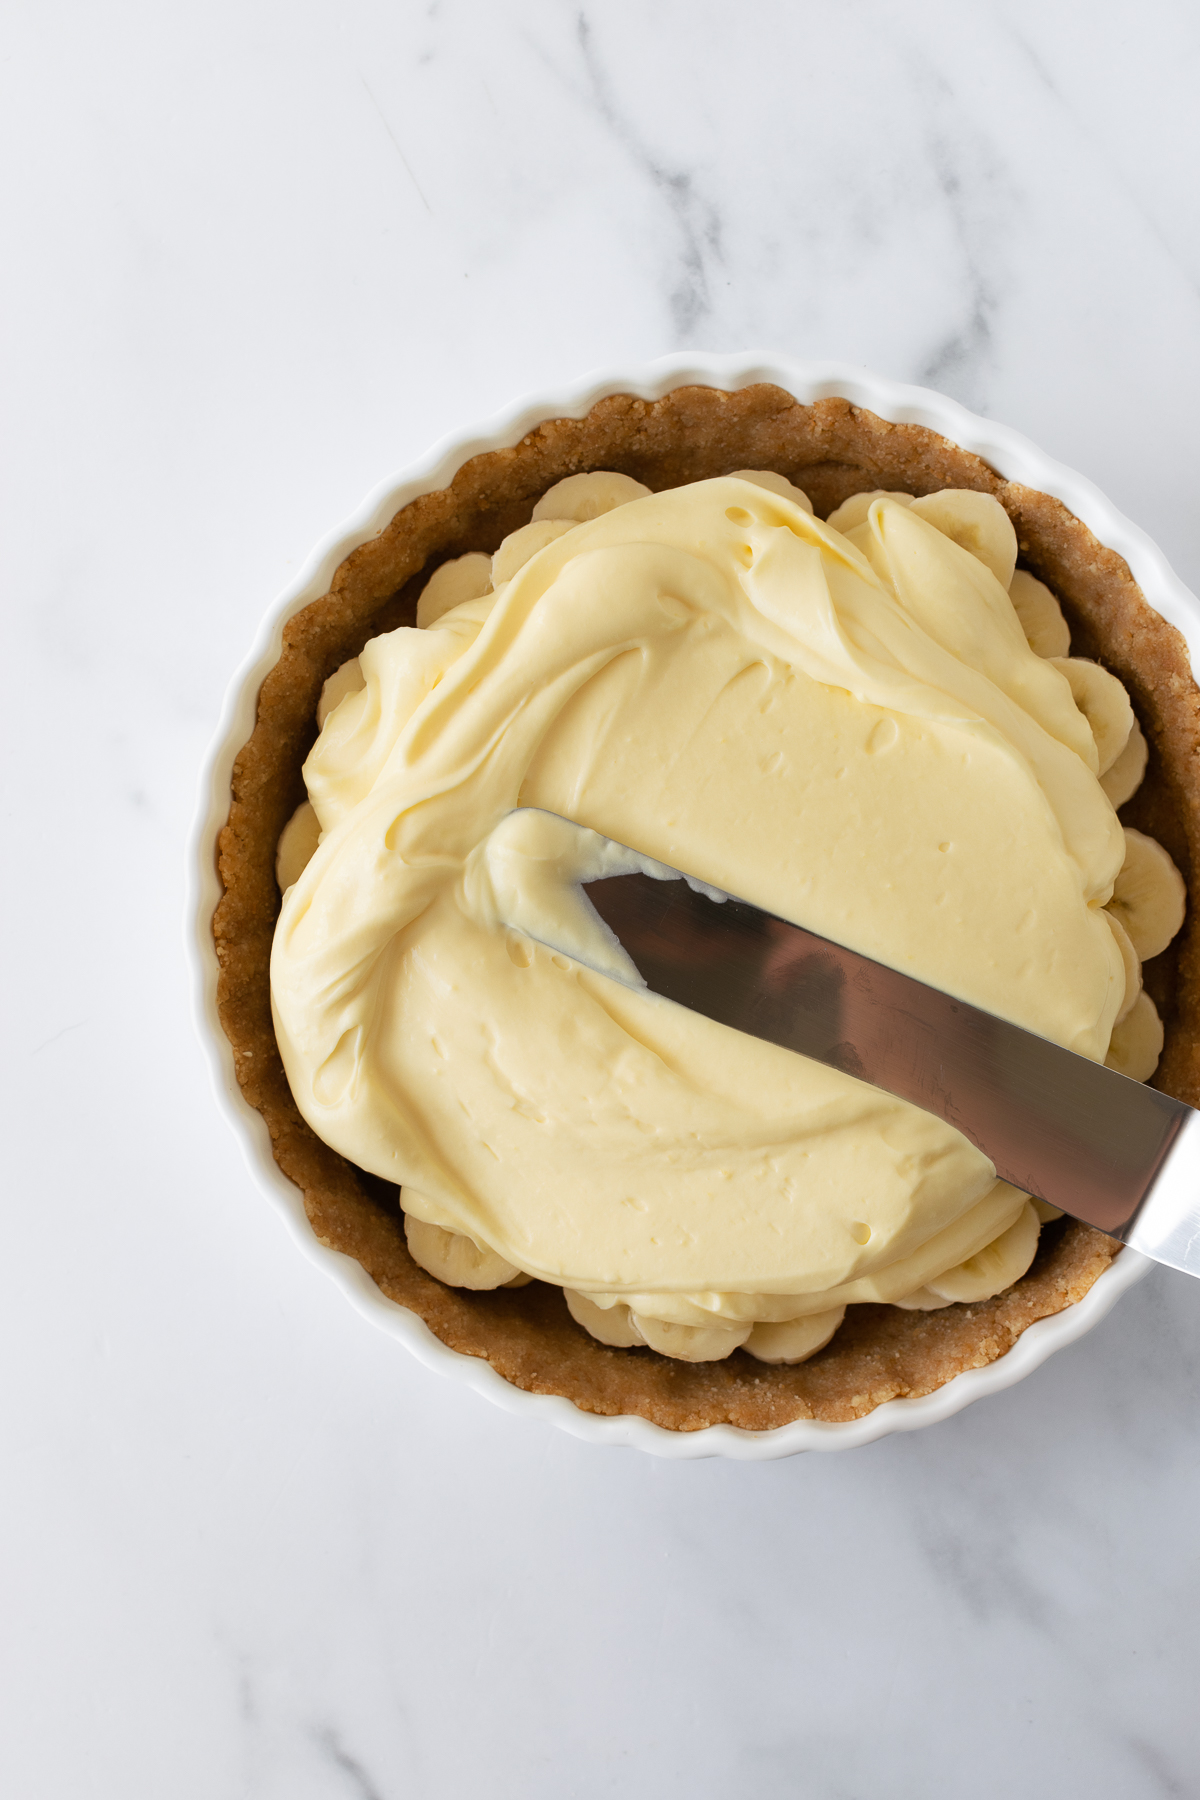
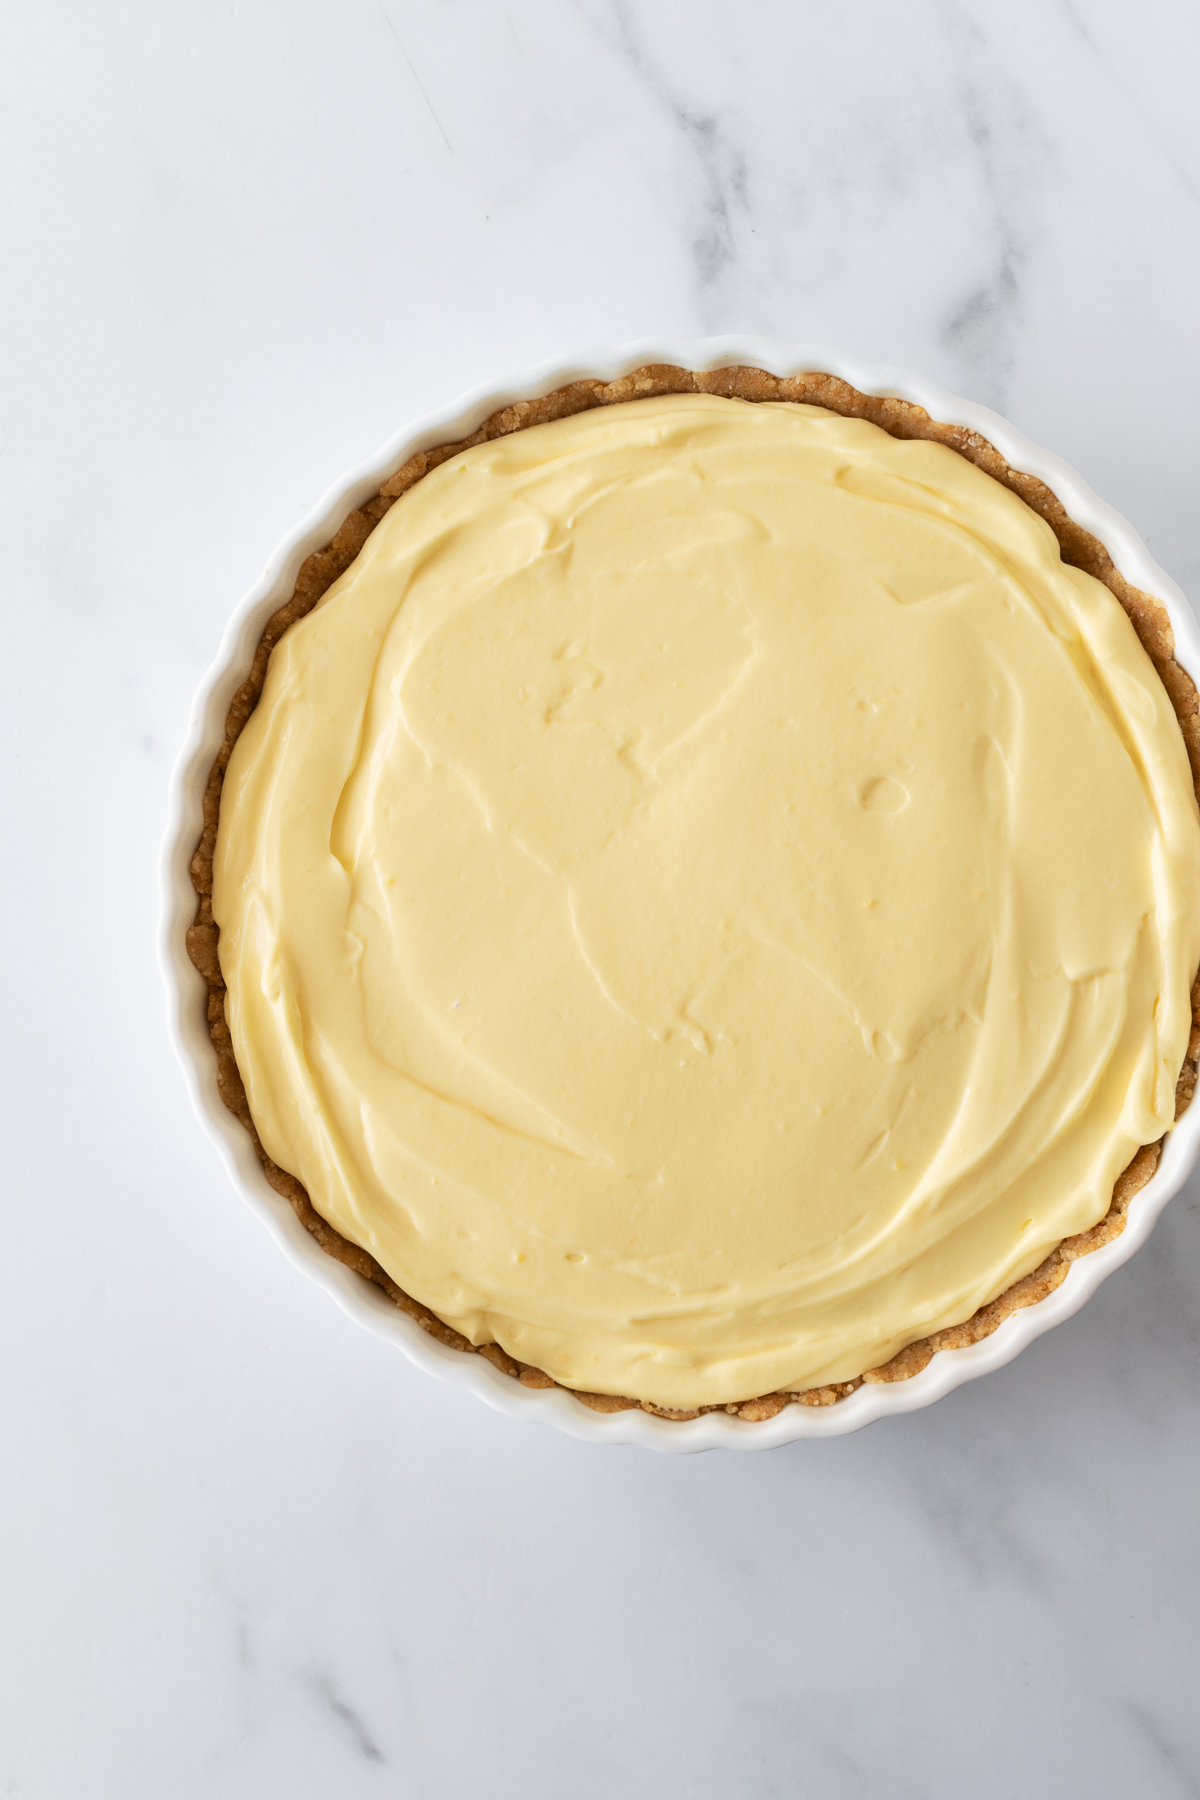
- Assemble: Remove the crust from the freezer and slice the bananas. Arrange the banana slices on top of the crust. Spread the filling on top– using an offset spatula is helpful for spreading. Refrigerate for at least 4 hours or up to 1 day. If not serving immediately after the 4 hours, place a piece of plastic wrap directly on top of the filling before refrigerating to prevent a skin from form on top.
- When ready to serve or up to 4 hours before serving, pipe or spread the whipped cream on top. Just before serving slice the remaining banana and garnish with banana slices. (It's best to garnish with banana slices right before to prevent them from browning.)
- Serve pie immediately or refrigerate up to 1 day. Cover leftovers and store in the refrigerator for up to 5 days.
Notes
- Make Ahead Instructions: The pie crust can be prepared ahead of time and store in the refrigerator for up to 3 days or in the freezer for up to 3 months. Thaw overnight in the refrigerator. The pie filling and whipped cream can be made up to 1 day in advance. If making the filling ahead of time place a piece of plastic wrap directly on top of the to prevent skin from forming. The pie can be fully assembled without the banana slices as garnish up to 4 hours in advance; if covering the entire pie with whipped cream (with no filling exposed) it can be made up to 1 day in advance. I do not recommend freezing this pie.
- Instant Pudding Mix: You can use any flavor of instant pudding mix that you prefer. I find that vanilla and french vanilla work the best.
- Whipped Cream: I highly recommend using the homemade whipped cream recipe above for the best results as store-bought can be on the thinner side resulting in a thinner filling. However, if you do use store-bought I recommend not placing the whipped cream on top until right before serving.
- Milk: It's imperative to use whole milk for the pudding to set properly. I do not recommend any substitutions.
- Prevent Bananas from Browning: You can lightly brush the banana slices with lemon juice or white vinegar prior to using as a garnish. Over time the banana slices in the pie will brown so it's best to fully assemble the put up to 1 day in advance.

hari says
wow! pudding is my jam! yummy and delicious recipe! thanks for sharing!
Esther says
This looks fantastic! love that it can be made ahead too
Patsy says
Either make 1 pie in a deep pie dish or 2 in “regular size”. This recipe makes a LOT of both the crust, filling, and whipped cream! Tip: make the crust and refrigerate for a few hours or overnight before making the filling and whipped cream. It’s delicious, but next time I won’t use the sour cream. And folding means folding. Don’t fall to temptation and just use your mixer on low. I only gave this a four, not because of the taste, but because of the directions.
Christina says
Thanks for your feedback Patsy. I will go back and modify some of the instructions!
Nora says
whoa really like this. only reason im giving a 4 is because i felt like the whipped cream was slightly too sweet for my liking so i would reduce sugar next time but otherwise amazing.
Jana says
Made this for my 4th of july party and it was a huge hit! The only difference that I did was that I put it in a trifle dish since my kids helped.