Let me walk you through how to brown butter. Brown butter is simply melted butter with a nutty flavor by gently heating it on the stove. You can use brown butter as a sauce or as an ingredient in sweet recipes.
With my 1st annual Cookie Extravaganza starting next week, I decided to share a separate post dedicated to teaching you how to brown butter!
What Is Brown Butter?
Martha Stewart explains it best— we call it brown butter but the French call it beurre noisette which means "hazelnut butter." And that's exactly what your kitchen will smell like when you make it. It's a one ingredient recipe that takes about 10 minutes. It about 10 minutes the butter sizzles, starts to foam and gently cooks into a caramelized and nutty flavor that you can use as or in a sauce or for baking.
Because of its versatility, browning butter is a simple kitchen skill that anyone can learn and master.
What You Need For Brown Butter
The ingredient list is short for brown butter. Here are the few items that you need to make the brown butter.
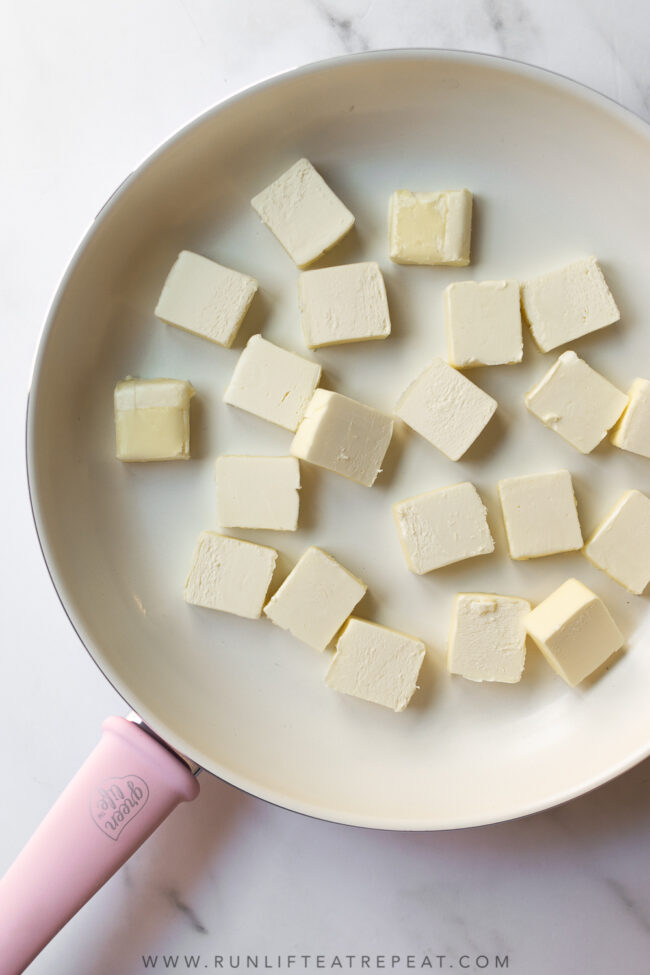
- Butter: You can use unsalted or salted butter, but make sure it's cut into pieces (I normally do Tablespoons.) Take the butter out 10 minutes prior to starting the process— if it's too cold it will splatter.
- Pan: For browning butter, you want to use a light-colored pan so you can see when butter starts to turn brown so it doesn't burn.
- Wooden Spoon or Rubber Spatula: You can whichever you prefer. You just need something to stir it with.
How To Make Brown Butter
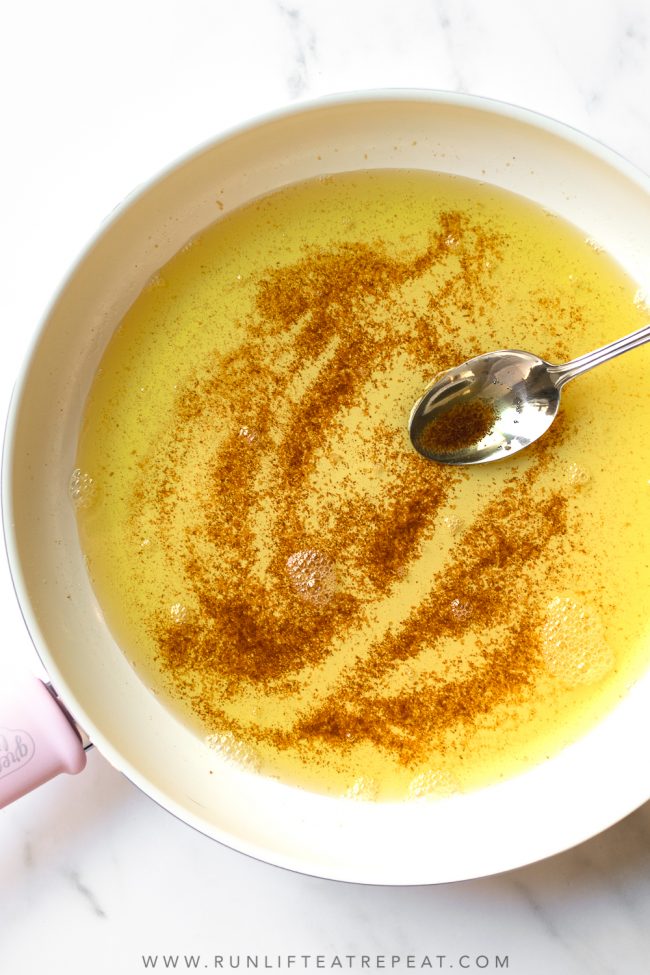
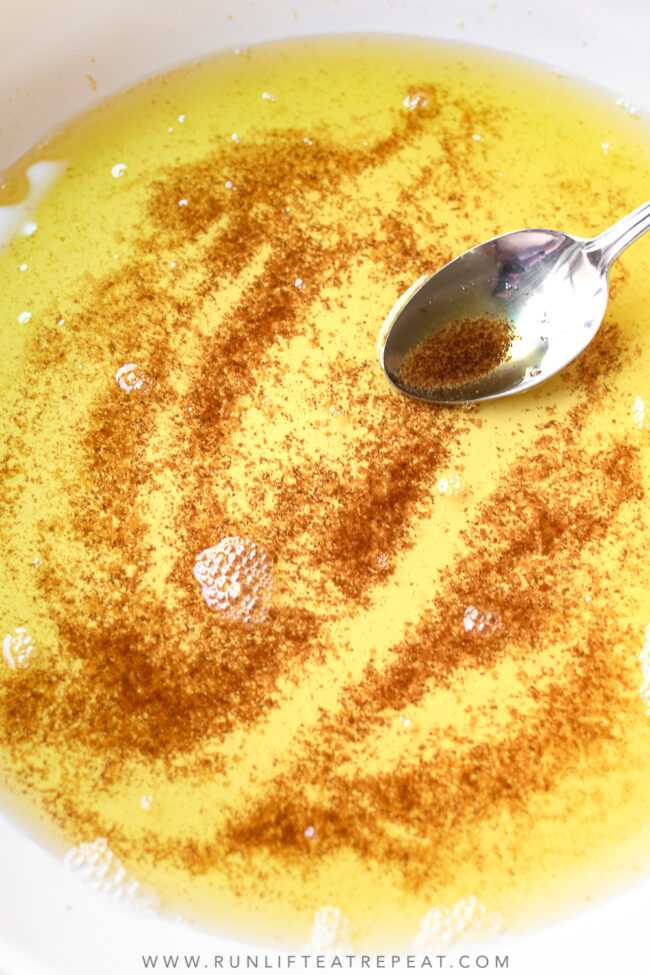
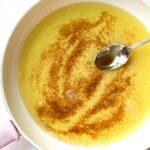
The process of browning butter is quick. Place the butter in the light-colored pan then turn the heat onto medium. Cooking over medium heat ensures that the butter will cook evenly which is extremely important. Once the butter starts to melt, start stirring to move the butter around. At the point that the butter is melted, it will start to foam and sizzle around the edges and the butter will start to turn golden brown. When the foam starts to subside and the milk solids drop to the bottom of the pan, they will begin to toast. It will start to smell immensely buttery, nutty, and rich.
It's a scent that you can't miss.
Brown Butter Can Easily Burn
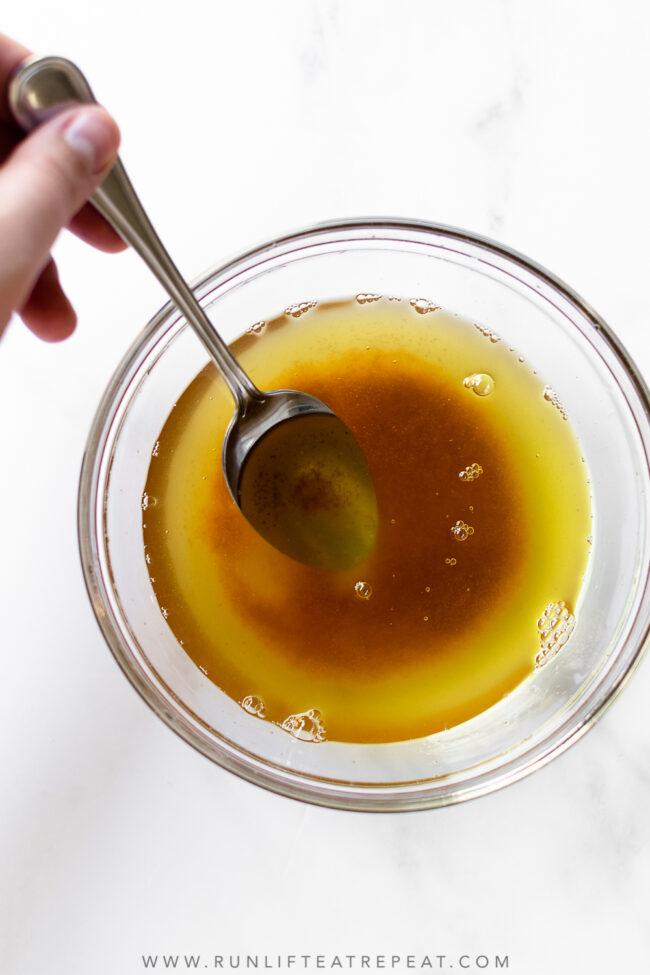
While the process of browning butter is simple, it can burn very quickly so you need to keep an eye on the stove the entire time. Trust me. Don't walk away from it. Once the foam starts to dissipate and you start to notice specks on the bottom of the pan, it's VERY close to being done. Once it's done, immediately place it in a heat-proof bowl to stop the cooking process otherwise the butter will burn if it's left in the hot pan.
Success Tips
- Cut the Butter Into Pieces: Cutting the butter into even slices ensures that the butter will cook evenly.
- Keep Stirring: You don't need to stir it every second, but stirring it often helps it cook evenly as well.
- Use a Light-Colored Pan: This will allow us to see when the butter has browned (before it burns!) You can use any type of light-colored pan.
I hope this tutorial not only helps you learn what brown butter is but also gives you the confidence that you need to make and master brown butter. It truly is easy to make and worth making it!
How To Make Brown Butter
Description
Ingredients
- 1 cup butter, cut into slices*
Instructions
- Before you start, remember that browning butter is a quick process, so don't leave the stove unattended. Make sure you have everything out that you need prior to starting.
- Place the butter slices in a light-colored pan over medium heat. Cooking over medium heat ensures that the butter will cook evenly. Stir the butter frequently to keep it moving. Once melted, the butter will start to foam and sizzle around the edges. Keep stirring.
- After about 7-8 minutes after you started, depending on how much butter you used, the butter will start to turn golden brown. Some of the foam will start to subside and the milk solids will drop to the bottom of the pan and will begin to toast. It will smell very buttery and nutty. Stir for another minute.
- Then, remove the pan from the heat and pour the butter (be careful!) into the heat-proof bowl to stop the cooking process. This will ensure that the butter doesn't burn. Use as desired.
Notes
- Make Ahead & Freezing Instructions: The brown butter can be made in advance. If left at room temperature, the butter will become solid and the butter pieces will sink to the bottom. Cover and store in the refrigerator for up to 5 days or in the freezer for up to 3 months.
- Butter: You can use either salted or unsalted butter. I listed the recipe with 1 cup (2 sticks) of butter though if using a larger batch, use a large pan.

Leave a Reply