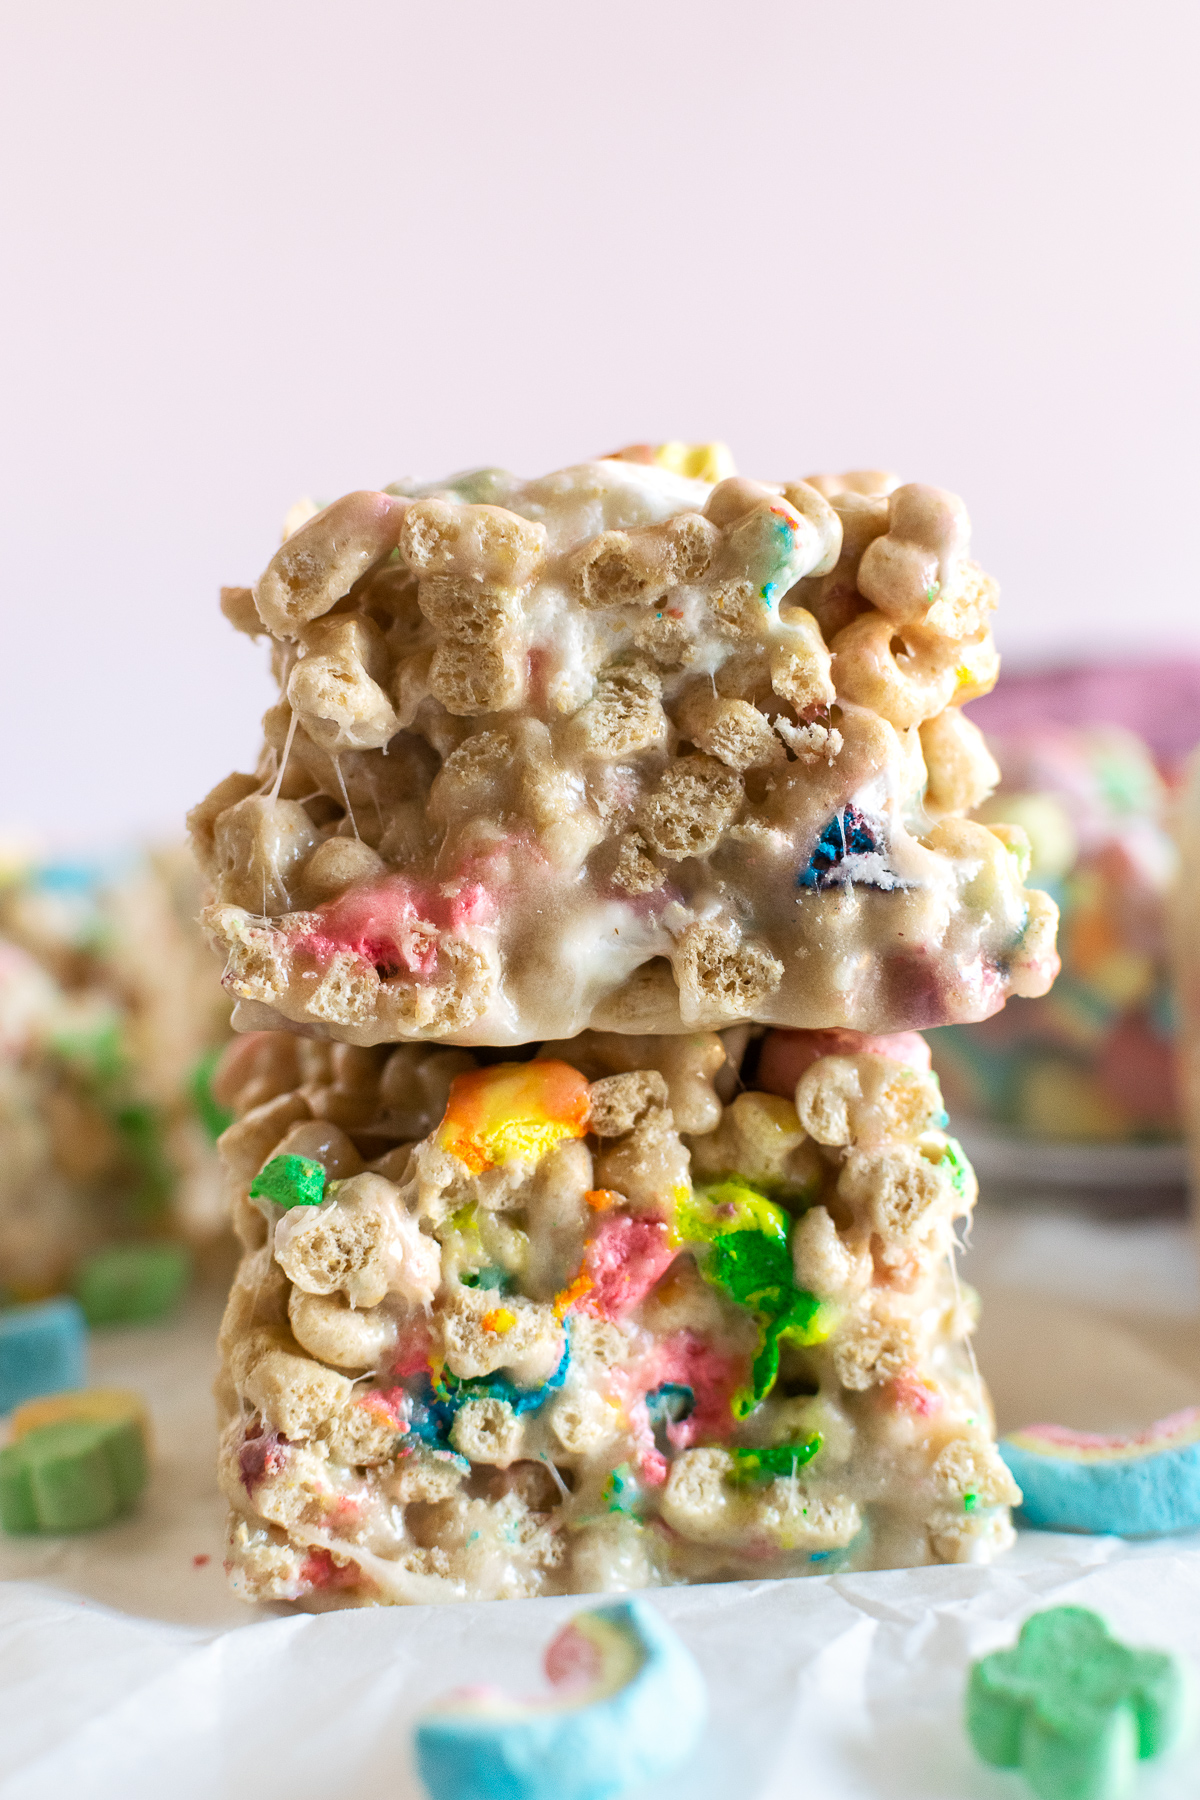
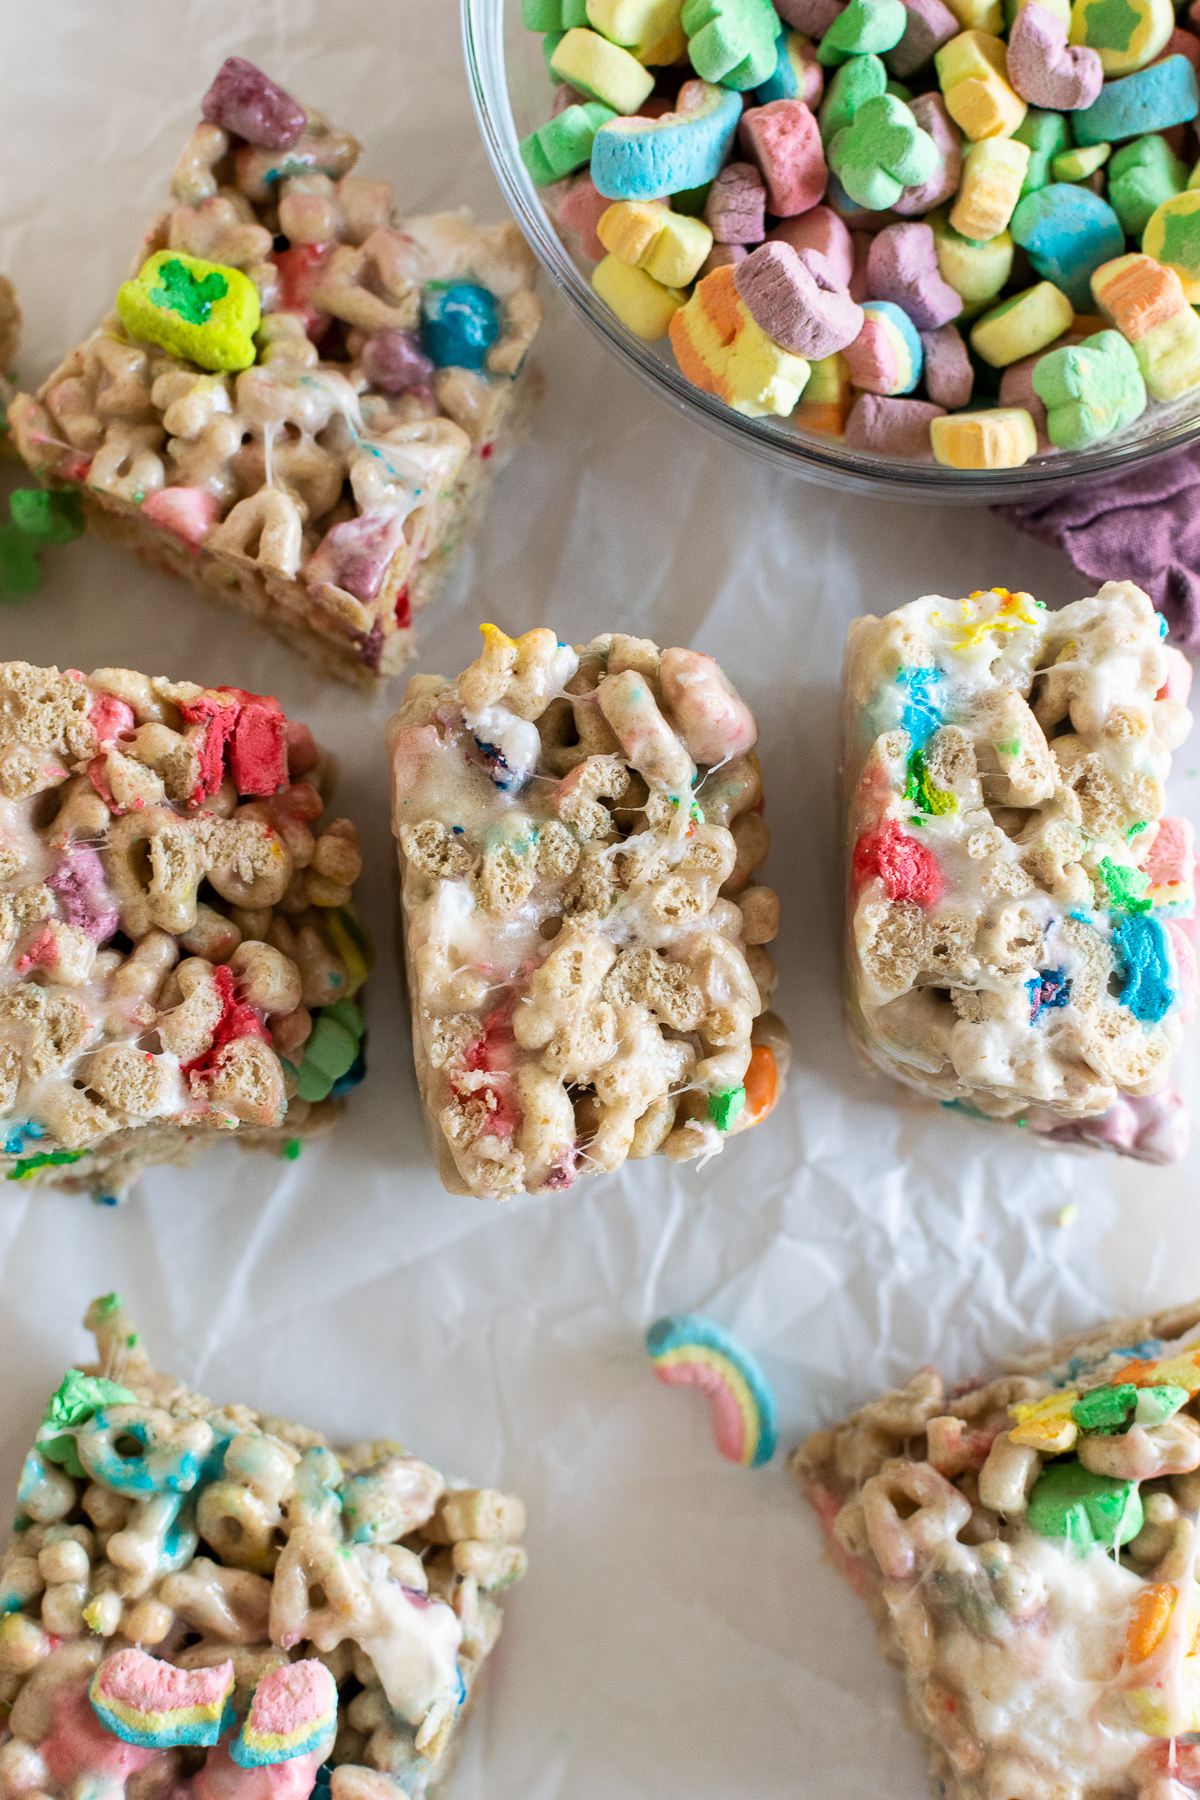
These lucky charms rice krispie treats will make any day magical! Done in 30 minutes and made with just 4 ingredients, this recipe creates the perfect ratio of nostalgic Lucky Charms cereal to marshmallows producing extra gooey fun and festive rice krispie treats!
In This Post
There's nothing like diving into a bowl of Lucky Charms cereal. It brings you back to your childhood, so nostalgic. You're lying if you say that you didn't pick out the marshmallows as a child. So let's turn the best part of Lucky Charms and make rice krispie treats with lucky charms marshmallows!
On a serious note, aside from the memories, we've got 2 holidays coming up where these lucky charms rice krispie treats are required– National Cereal Day (March 7th) and St. Patrick's Day (March 17th).
Why You'll Love These Lucky Charms Bars
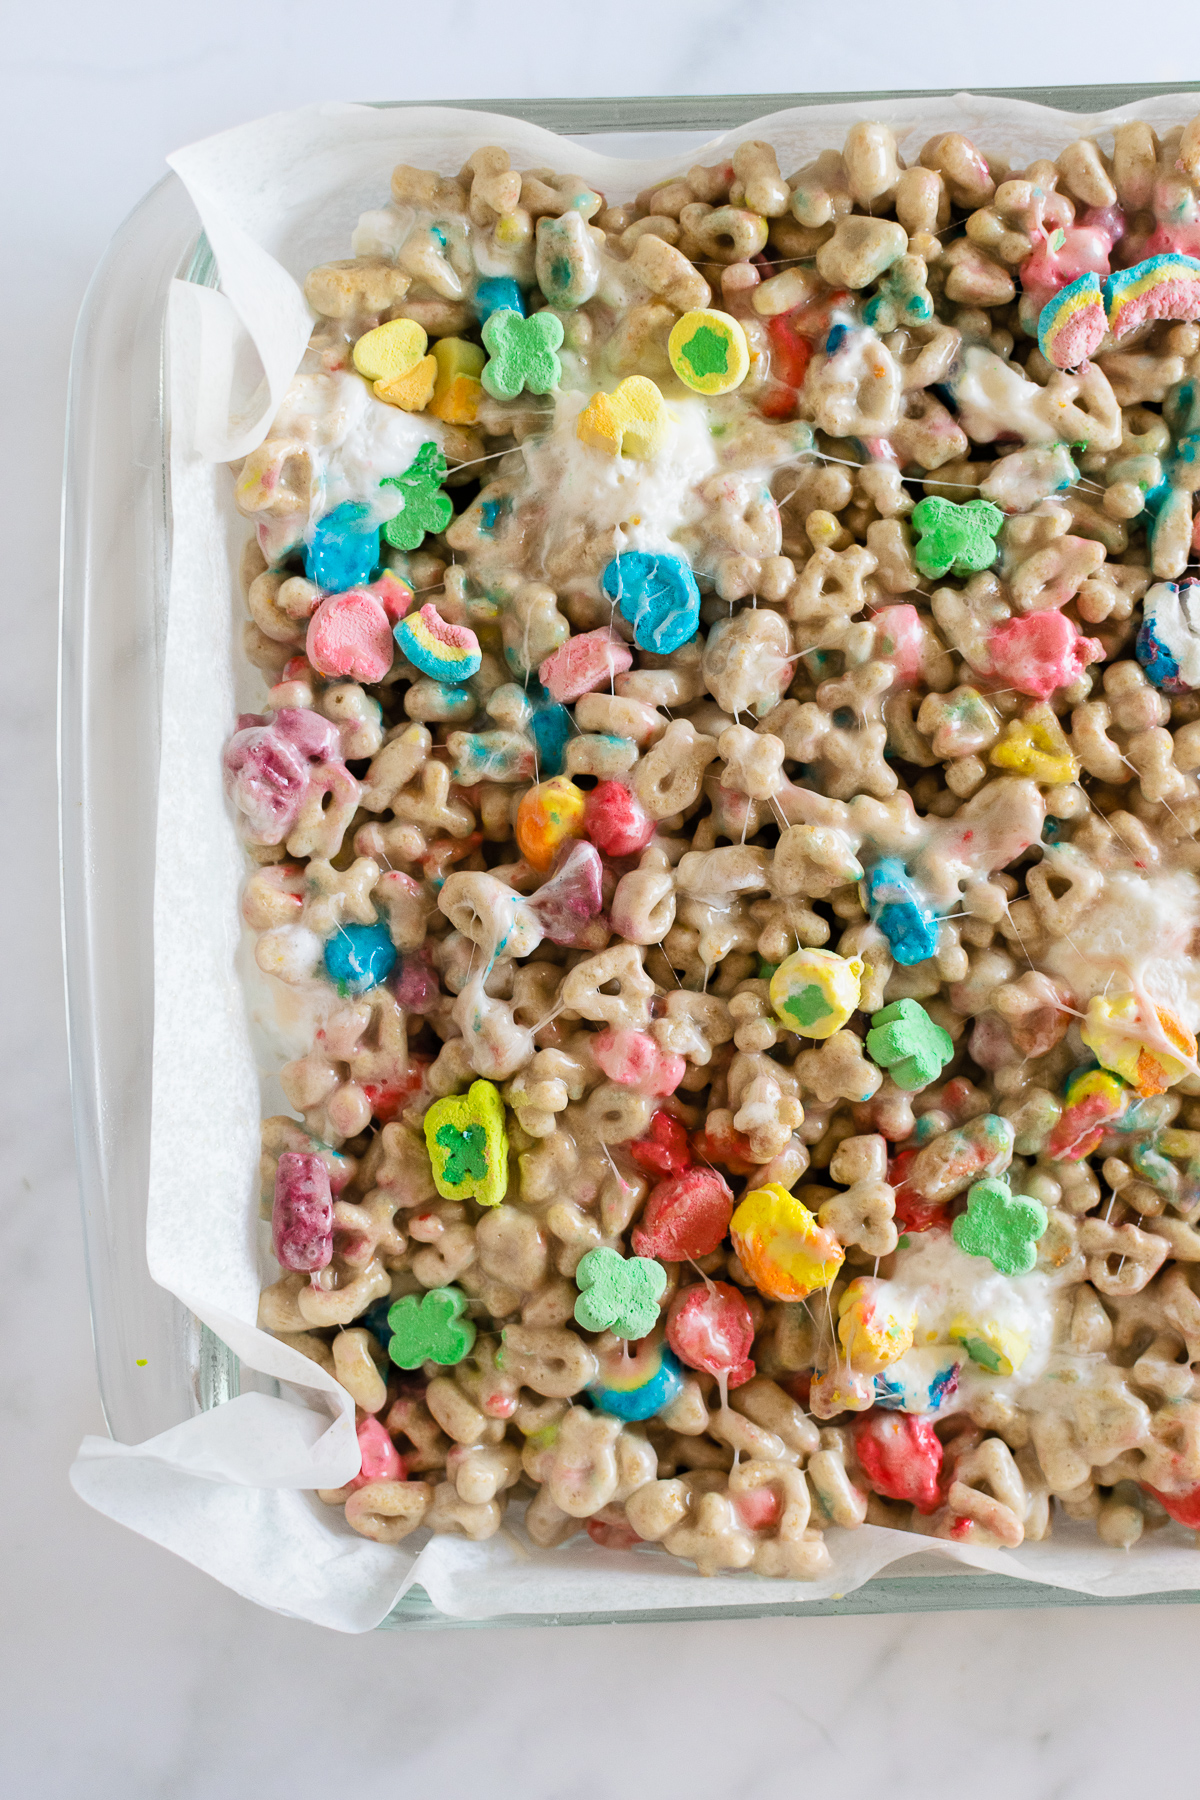
- Nostalgic– takes you right back to your childhood
- The perfect ratio of Lucky Charms cereal to marshmallows
- Buttery, gooey with a hint of vanilla
- A simple no-bake dessert that kids can help with!
- Minimal ingredients & done in just 30 minutes!
Grab These Ingredients (Just 4!)
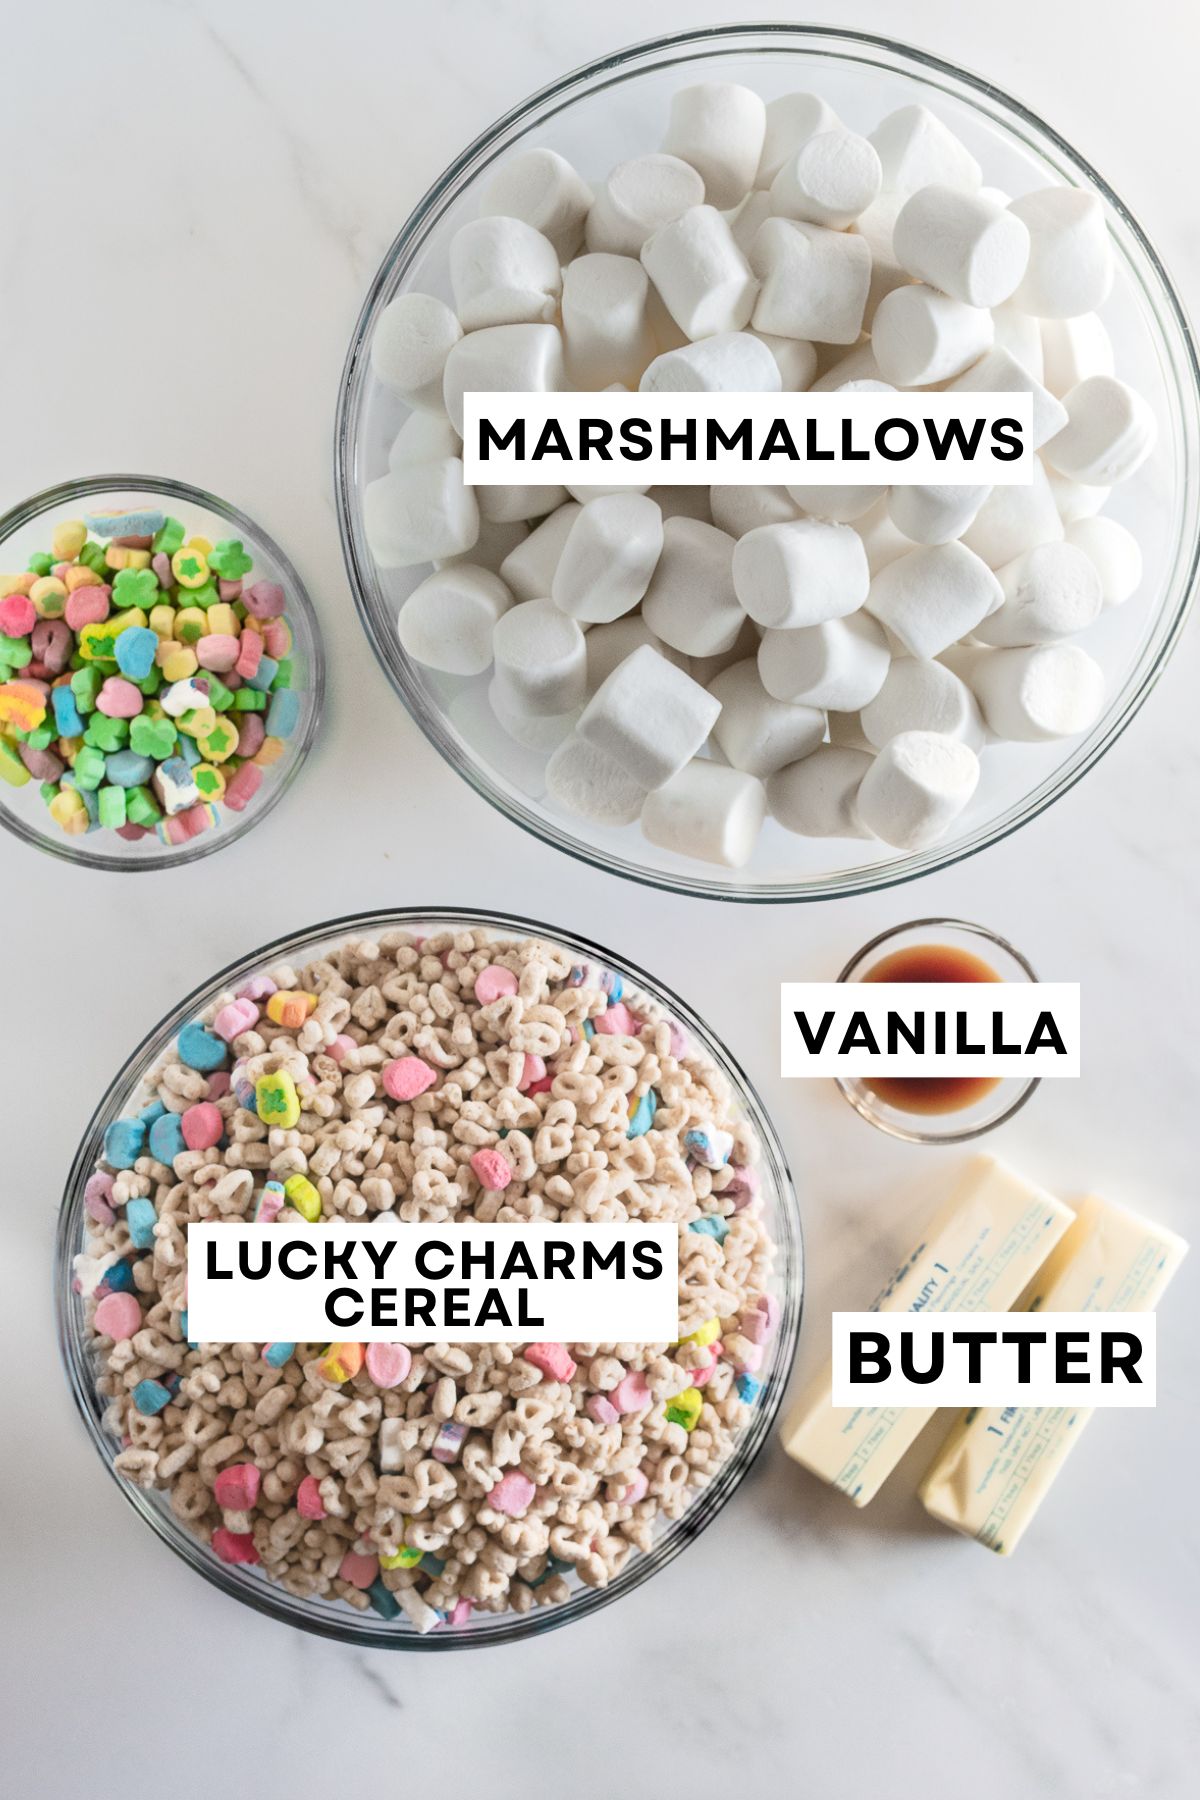
- Lucky Charms Cereal: We're swapping rice krispies cereal with Lucky Charms for this recipe. You can use the name brand or store brand, I've used both (even mixed them) and it works just fine.
- Marshmallows: These are extra gooey without falling apart, thanks to the extra marshmallows! You will need 2 24-ounce bags of the regular size marshmallows— it might seem like a lot but it's just the right amount!
- Butter: The butter not only helps keep these soft, we don't want rock hard bars, but also adds a ton of flavor.
- Vanilla: Adding vanilla to these take them to the next level, just like my homemade rice kispie treats. You just need 1 teaspoon and it makes a HUGE difference!
 How To Make Lucky Charms Rice Krispie Treats
Before you begin, it's always helpful to run through the recipe ahead of time. You can find the detailed instructions in the recipe box below.
- Prep the Baking Pan: This recipe calls for a 9x13 inch baking pan. Because of the marshmallows, for easy removal, you'll want to line the baking pan with parchment paper or aluminum foil and a light mist of nonstick spray. We don't want those bars to stick!
- Melt the Butter: Over medium heat, melt the butter in a large pot. Keep an eye on the butter, you don't want it to burn so keep it moving. It doesn't take long.
- Add the Marshmallows & Vanilla: Once the butter is melted, stir in the marshmallows (with some reserved to the side) and vanilla extract. Stir the mixture until the marshmallows are just about completely melted. Then, add the remaining marshmallows.
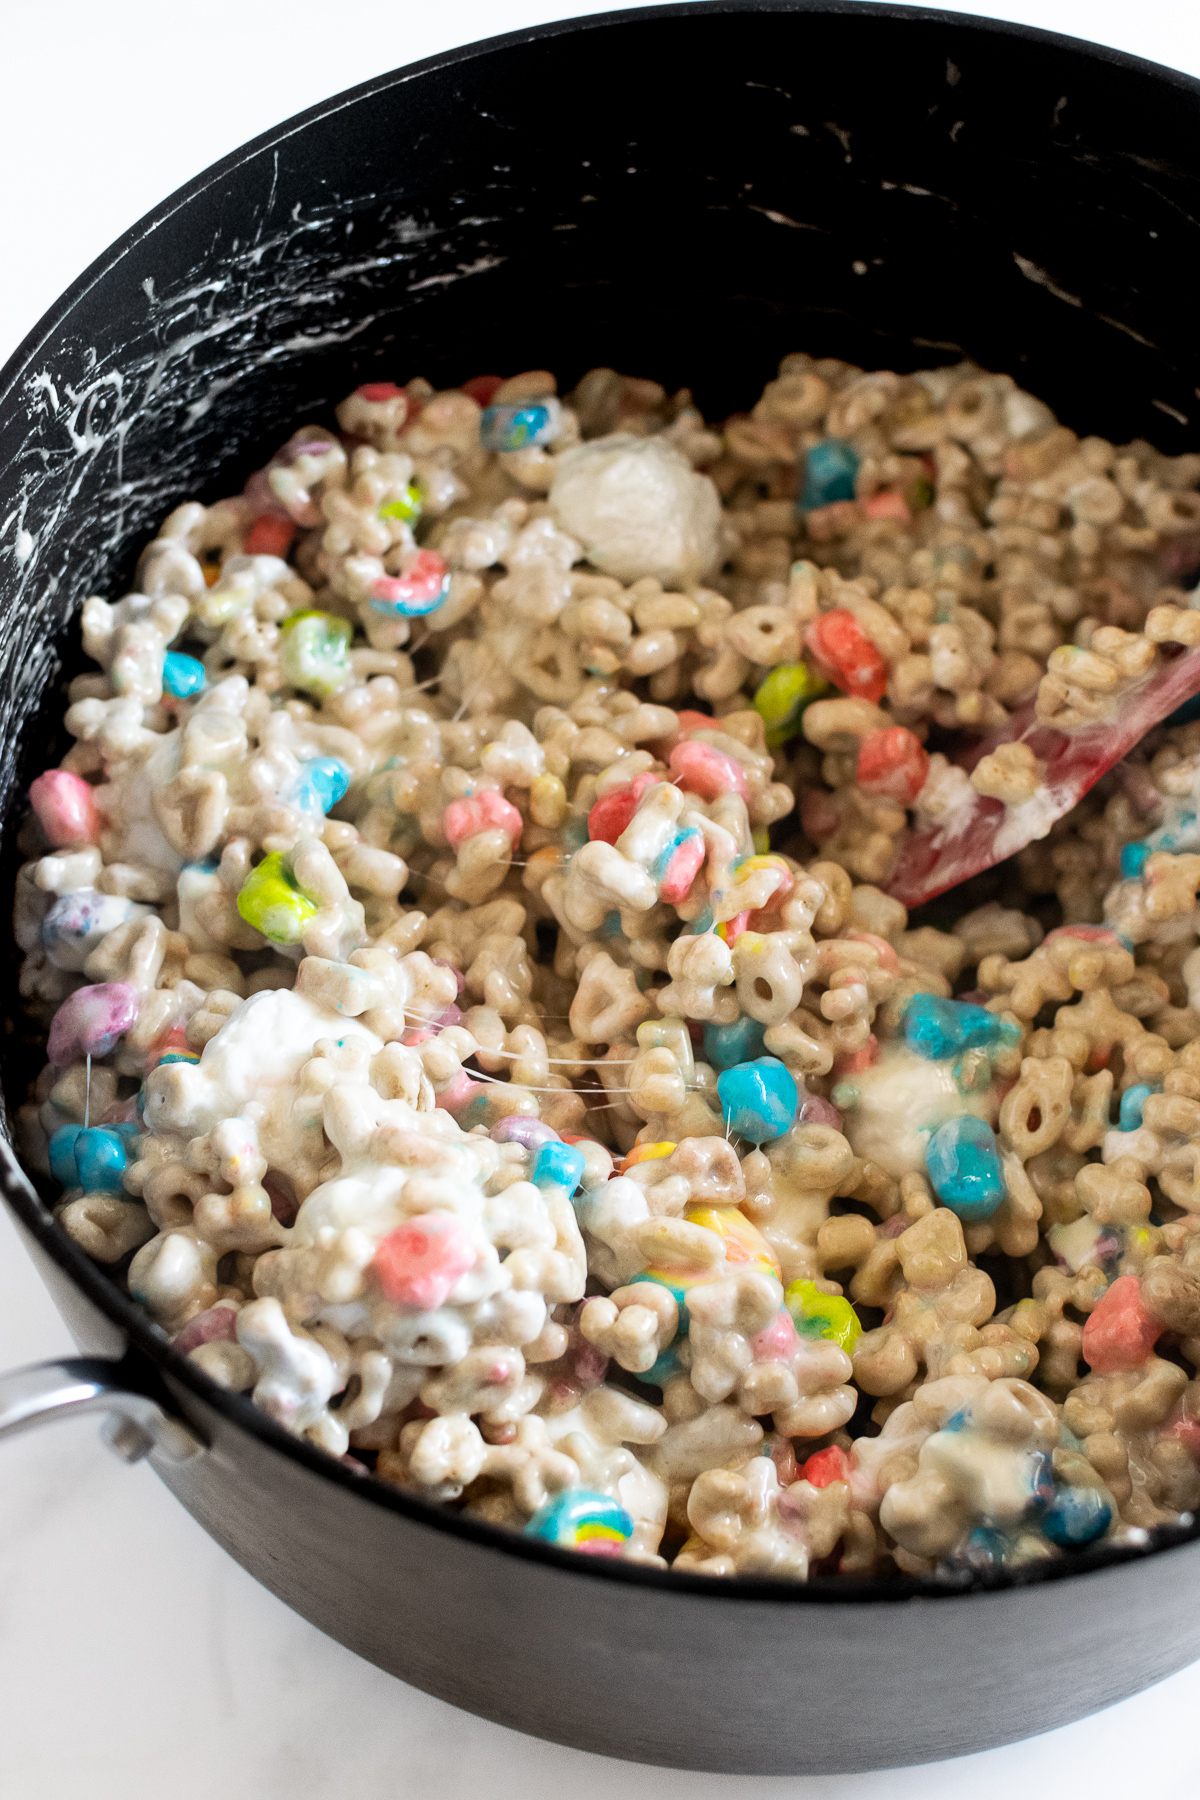
- Add the Lucky Charms Cereal: Fold in the cereal, making sure that all of the cereal is completely coated. The marshmallows that you added in just before the cereal won't be completely melted– thats just what we want!
- Press into Baking Pan: Transfer the mixture into the prepared pan. Using the butter wrapper or a lightly greased rubber spatula, gently spread the mixture into the pan. Do not pack it down with extreme force, just gently so it can set. Allow it set for about 20 minutes before slicing.
 Success Tips
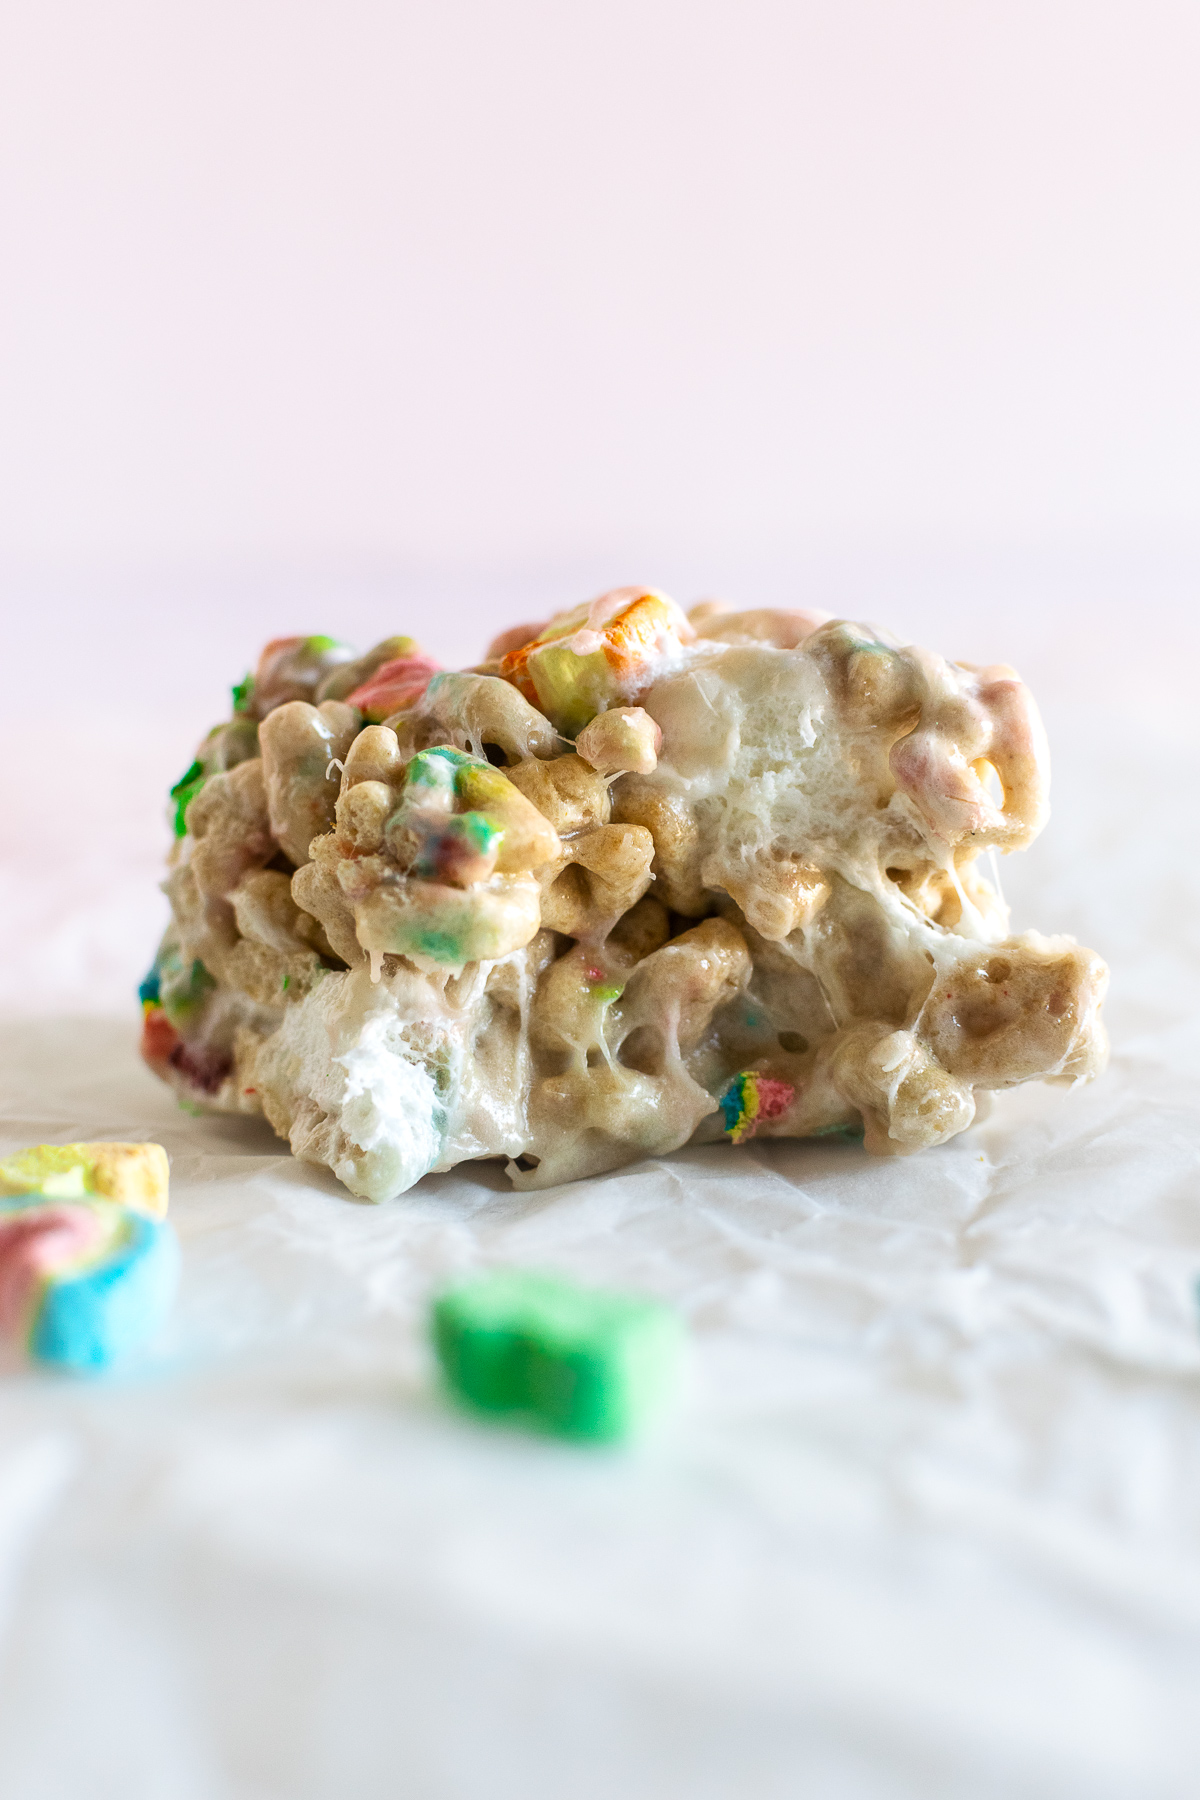
- Work Fast: When making any rice krispie recipe, you need to work fast otherwise the marshmallows will get extremely sticky making it nearly impossible to combine. It also ends up making the bars too chewy.
- Use the Butter Wrapper: Yes, you are reading this correctly. Don't throw that butter wrapper away! Simply lay it in the pan, buttered side down and press the mixture gently into the pan. This is an easy, no mess way to spread the mixture. Then, toss the wrapper when you're finished!
- Use a Sprayed/Buttered Flat Spatula: Another option is butter the back of a flat spatula or spray with a little nonstick spray to prevent sticking. Then, gently press the mixture into the pan.
- Spray the Knife: Before cutting into the cereal bars, spray the knife with nonstick spray. You'll thank me later– it's much easier to handle!
 More No Bake Dessert Recipes
Lucky Charms Rice Krispie Treats
Description
Ingredients
- 1 cup unsalted butter, 2 sticks
- 2 12-ounce bags regular size marshmallows
- 1 teaspoon vanilla extract
- 12 cups Lucky Charms cereal
Instructions
- Line a 9x13 inch baking pan with parchment paper. Spray the parchment paper with a light mist of nonstick spray– this will prevent the rice krispie treats from sticking. Set aside. Reserve about 1.5 cups of marshmallows. Set side.
- Over medium heat, melt the butter in a large pot, stirring frequently to prevent the butter from burning. Once melted, stir in the marshmallows (excluding the reserved 1.5 cups) and vanilla extract until almost completely melted. Remove from the heat and add in the remaining marshmallows– give it a few stirs.
- Fold in the Lucky Charms cereal, making sure that all of the cereal is coated with the marshmallow mixture. The marshmallows that you added in just before the cereal won't be completely melted– thats just what we want!
- Transfer the mixture into the prepared baking pan. Using the butter wrapper or a lightly greased rubber spatula, gently spread the mixture into the pan. Do not pack it down with extreme force, just gently so it can set. Allow to set for about 20 minutes at room temperature.
- Lift the rice krispie treats as a whole out of the pan using the edges of the parchment paper. Cut into squares– I recommend 20 squares. Cover and store leftover rice krispie treats in an airtight container at room temperature for up to 3 days.
Notes
- Make Ahead & Freezing Instructions: These rice krispie treats can be made ahead of time for up to 3 days. Place in an airtight container, with sheets of parchment paper between the layers and store at room temperature. I don't recommend freezing these as the texture will not be the same after thawing.
- Lucky Charms Cereal: There are many brands of Lucky Charms now– feel free to use what you can find.
- Marshmallows: When picking out marshmallows, make sure you get the regular size marshmallows, not the miniature or extra-large.
- Want to make a smaller batch? You can easily reduce this recipe by half following the instructions above. Use an 8x8 inch baking pan instead.




Leave a Reply