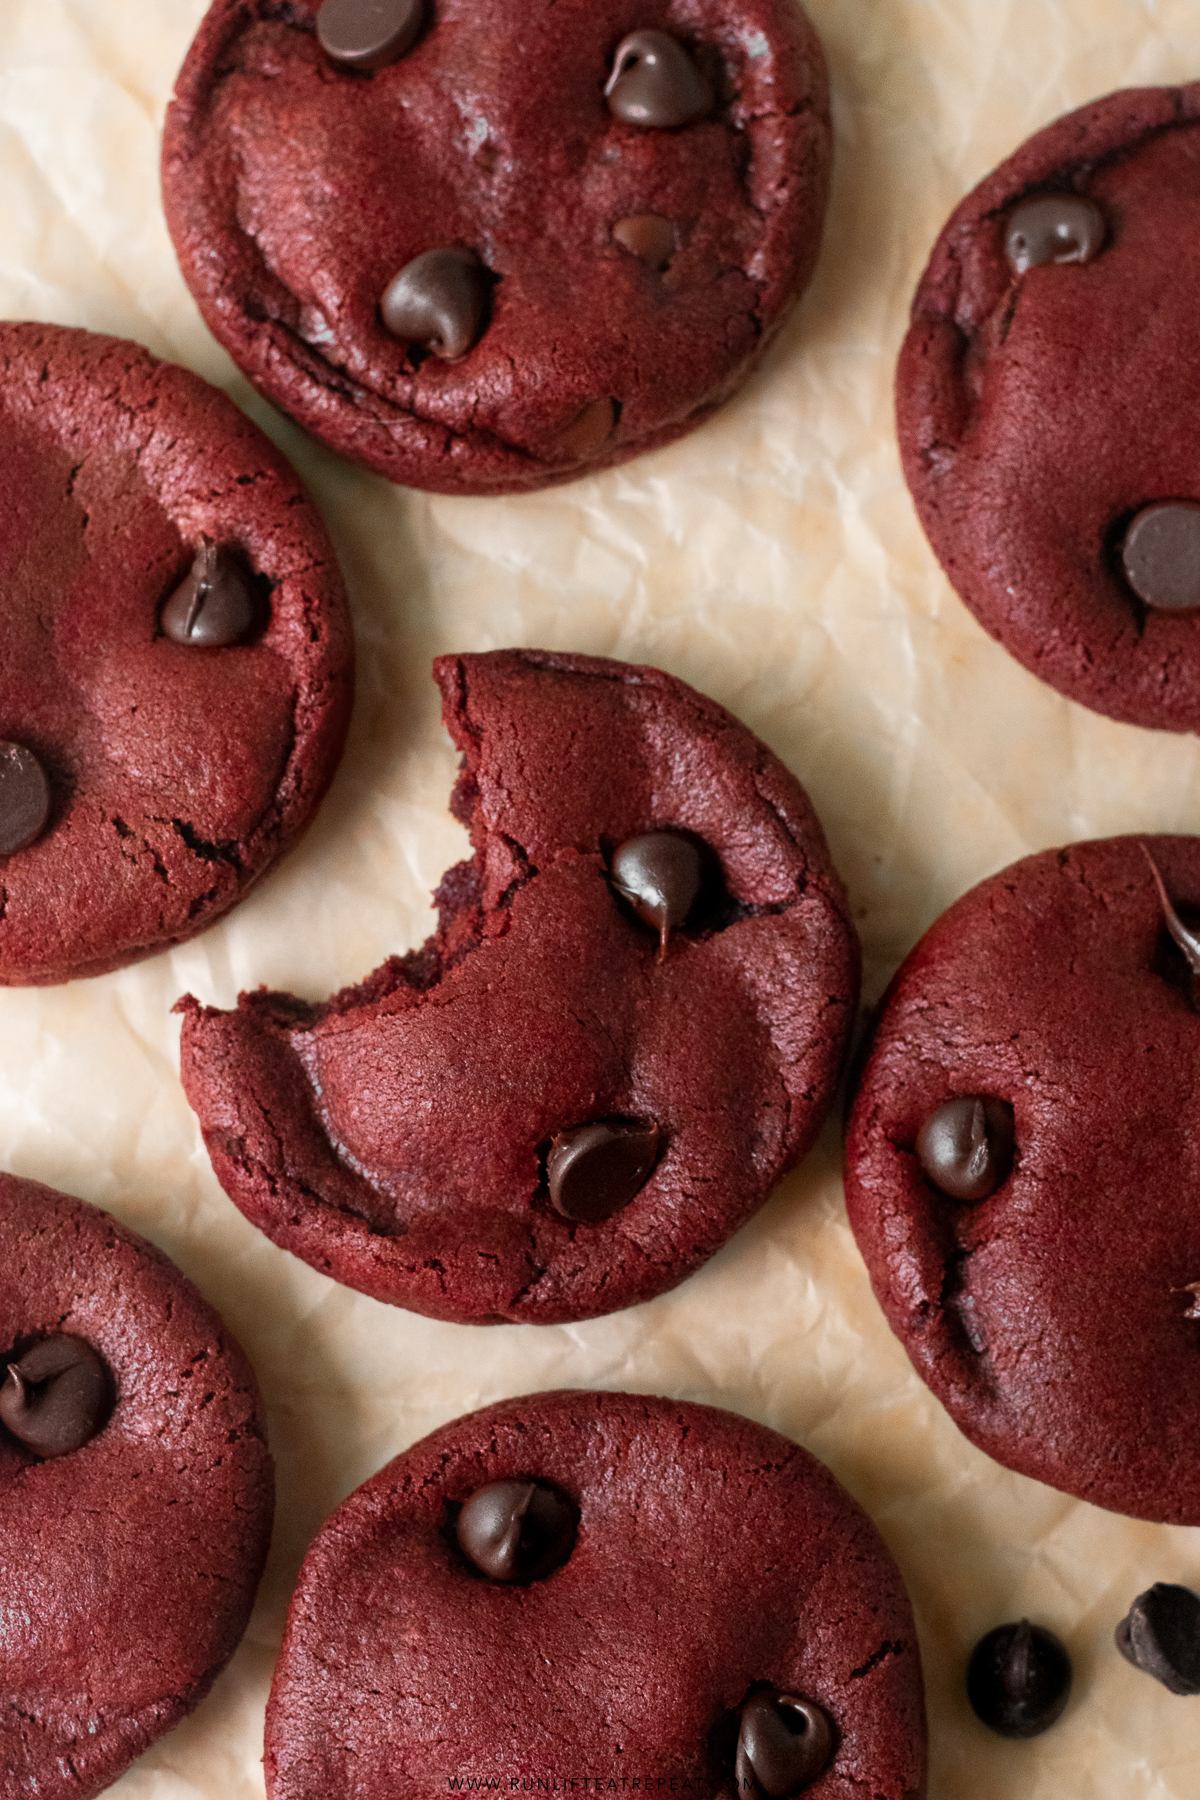
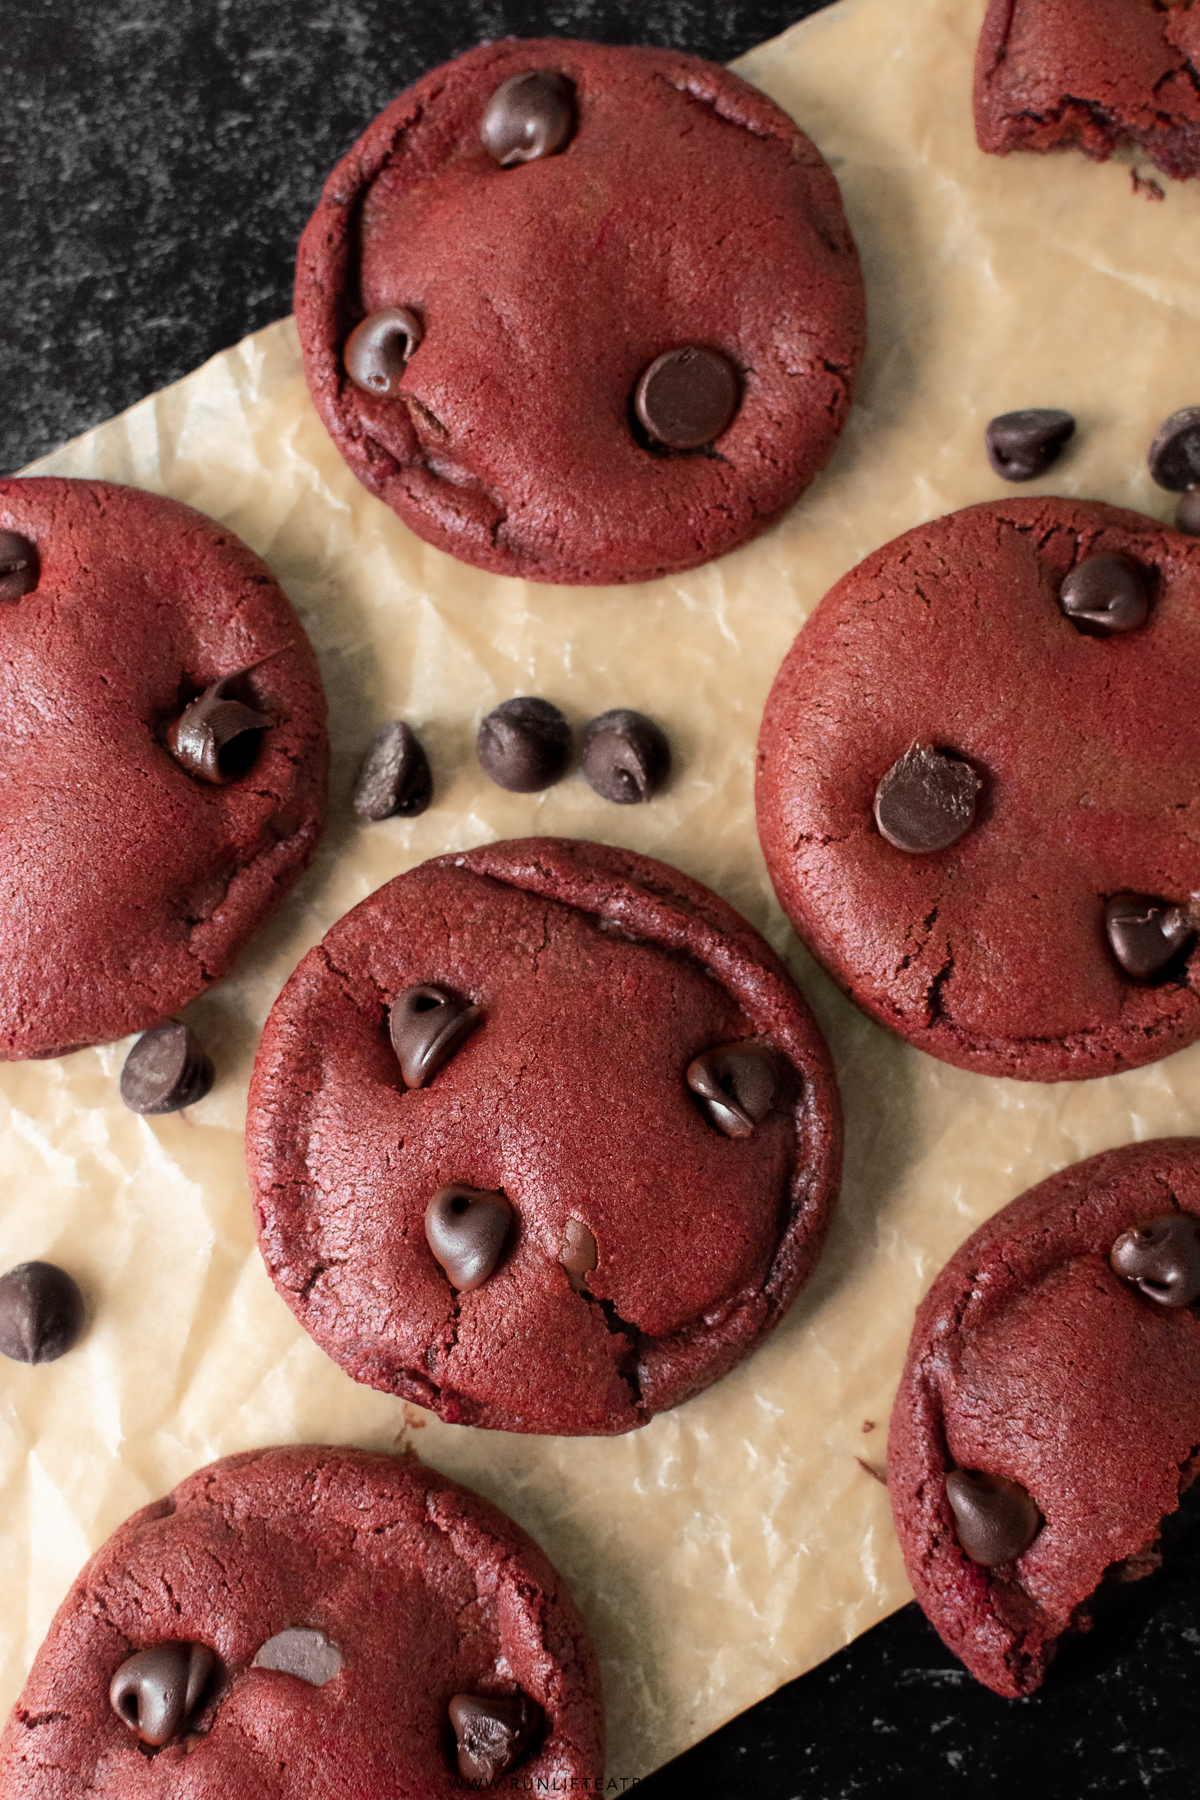
These red velvet chocolate chip cookies are a colorful spin on the classic chocolate chip cookies. Enjoy the soft-baked centers, chewy edges with hints of buttery, cocoa and vanilla flavors. While the cookies are still warm, gently press a few chocolate chips to the tops for a finished Valentine’s Day or Christmas cookie!
In This Post
There are 3 types of people when it come to red velvet – those who love it, those who hate it, and those that are confused by it. I'll be honest, I used to be the latter until recently.
This is forever my favorite recipe for easy red velvet chocolate chip cookies. It's been in the works for some time, after 2 trial batches and a 2 re-test batches, it's perfection. Those who have tried this recipe love it, so let's roll up our sleeves and get baking!
The Best Red Velvet Chocolate Chip Cookies Are
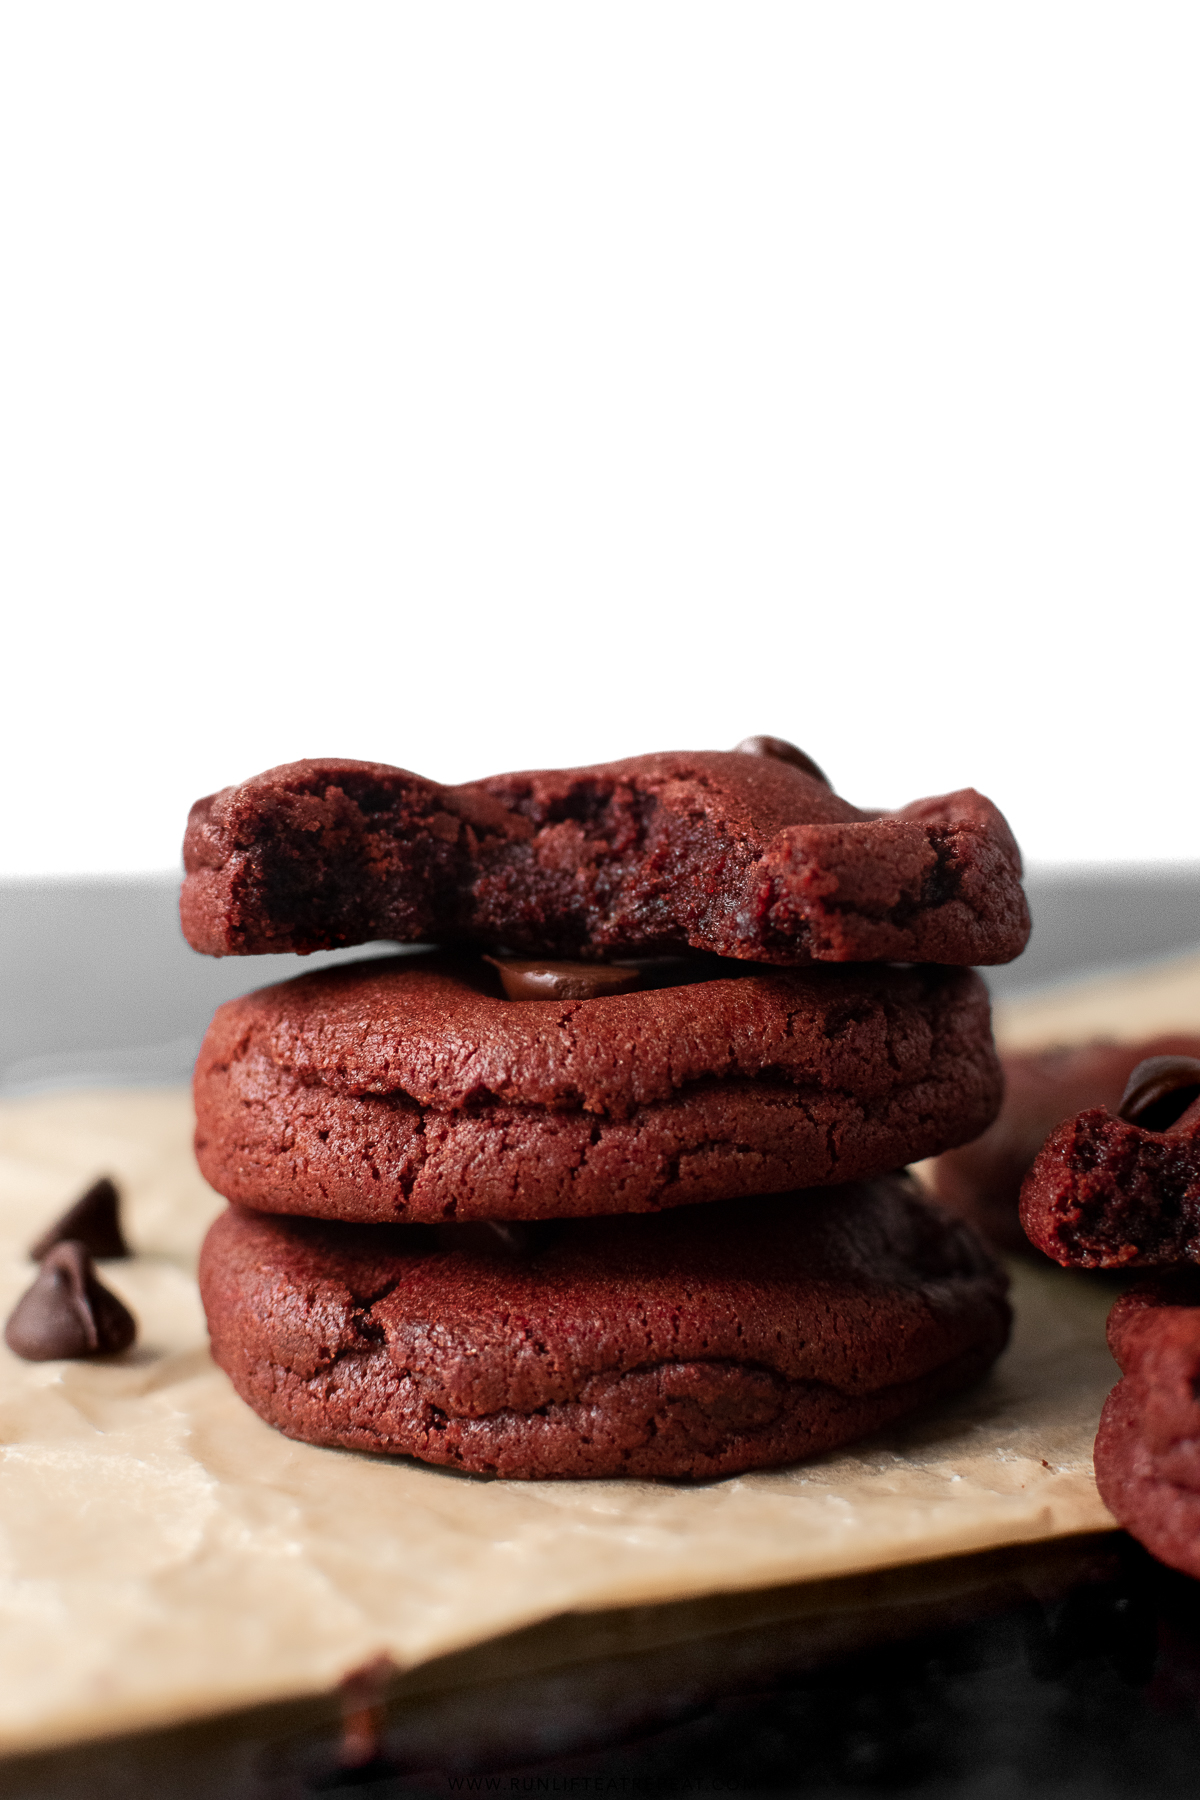
- Thick and slightly dense
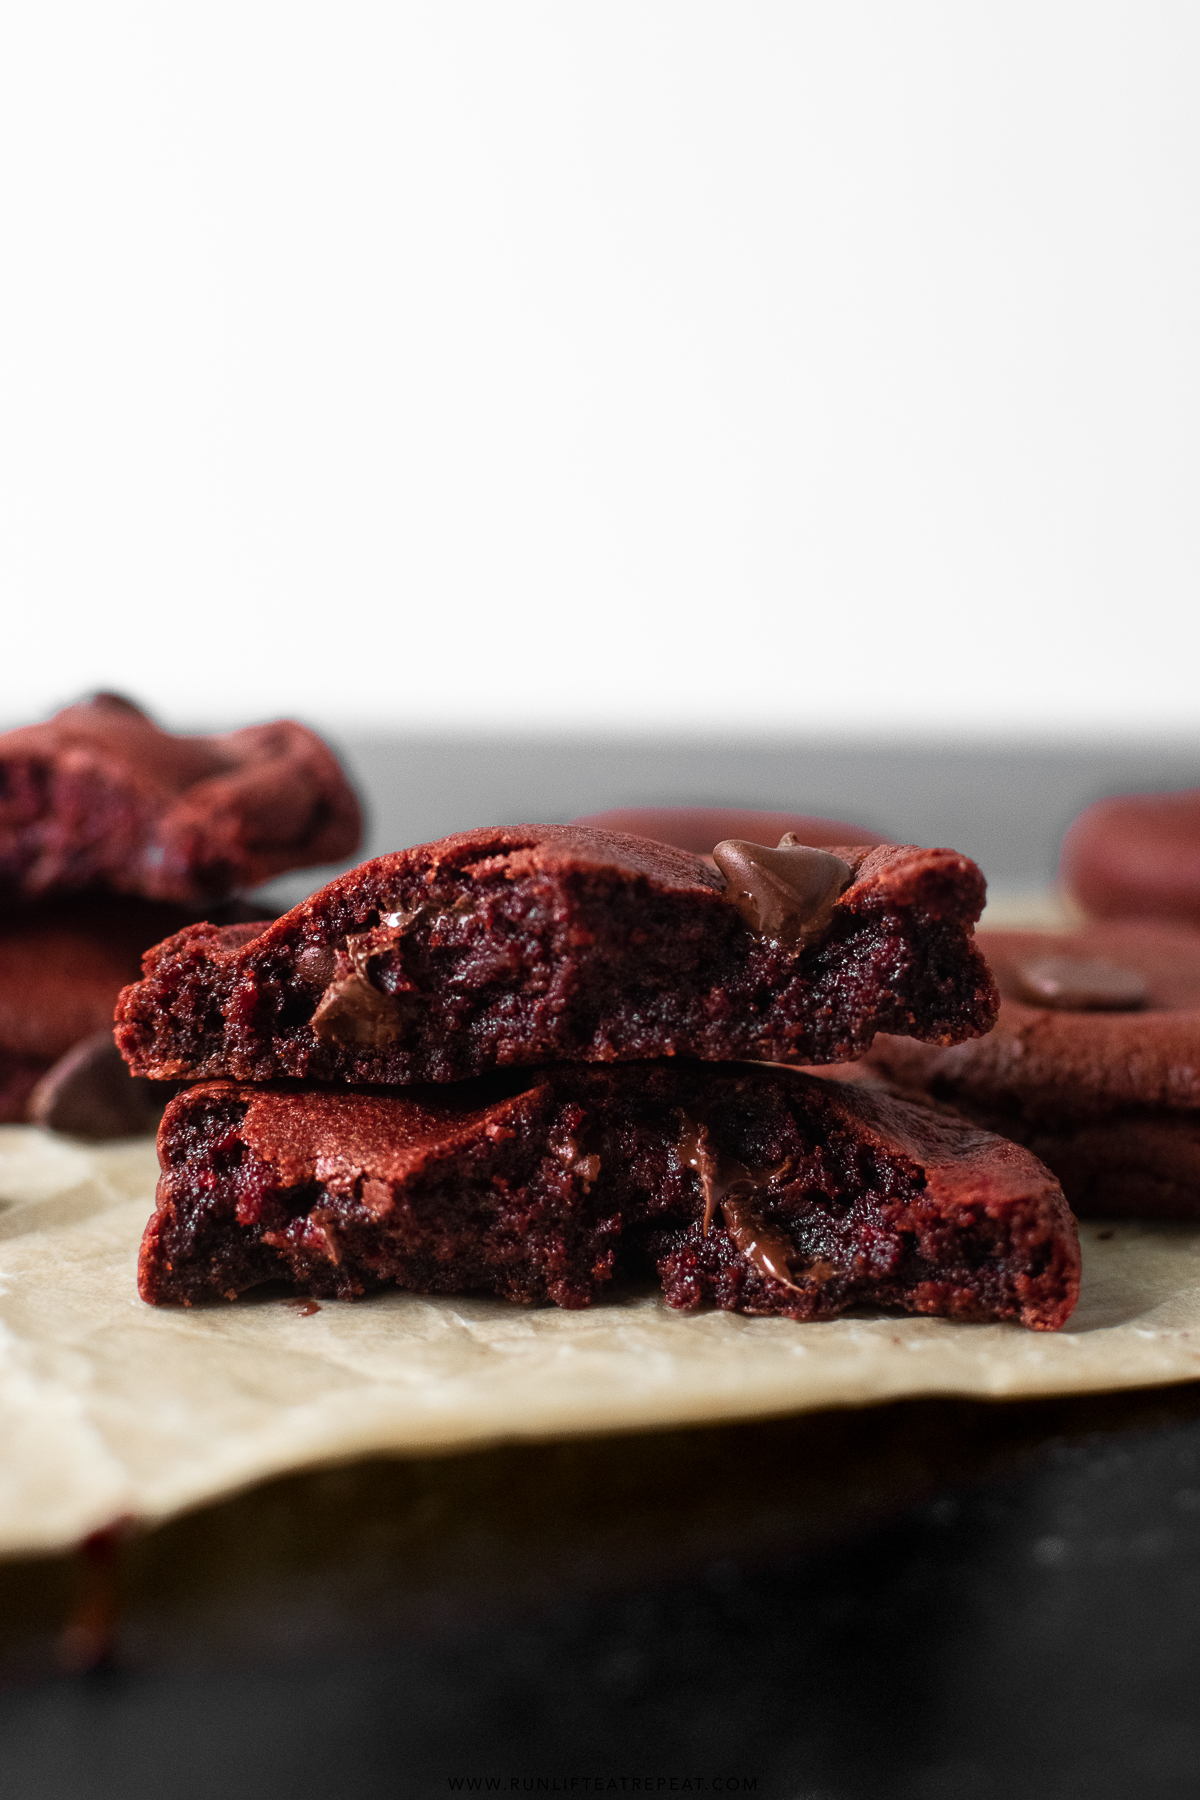
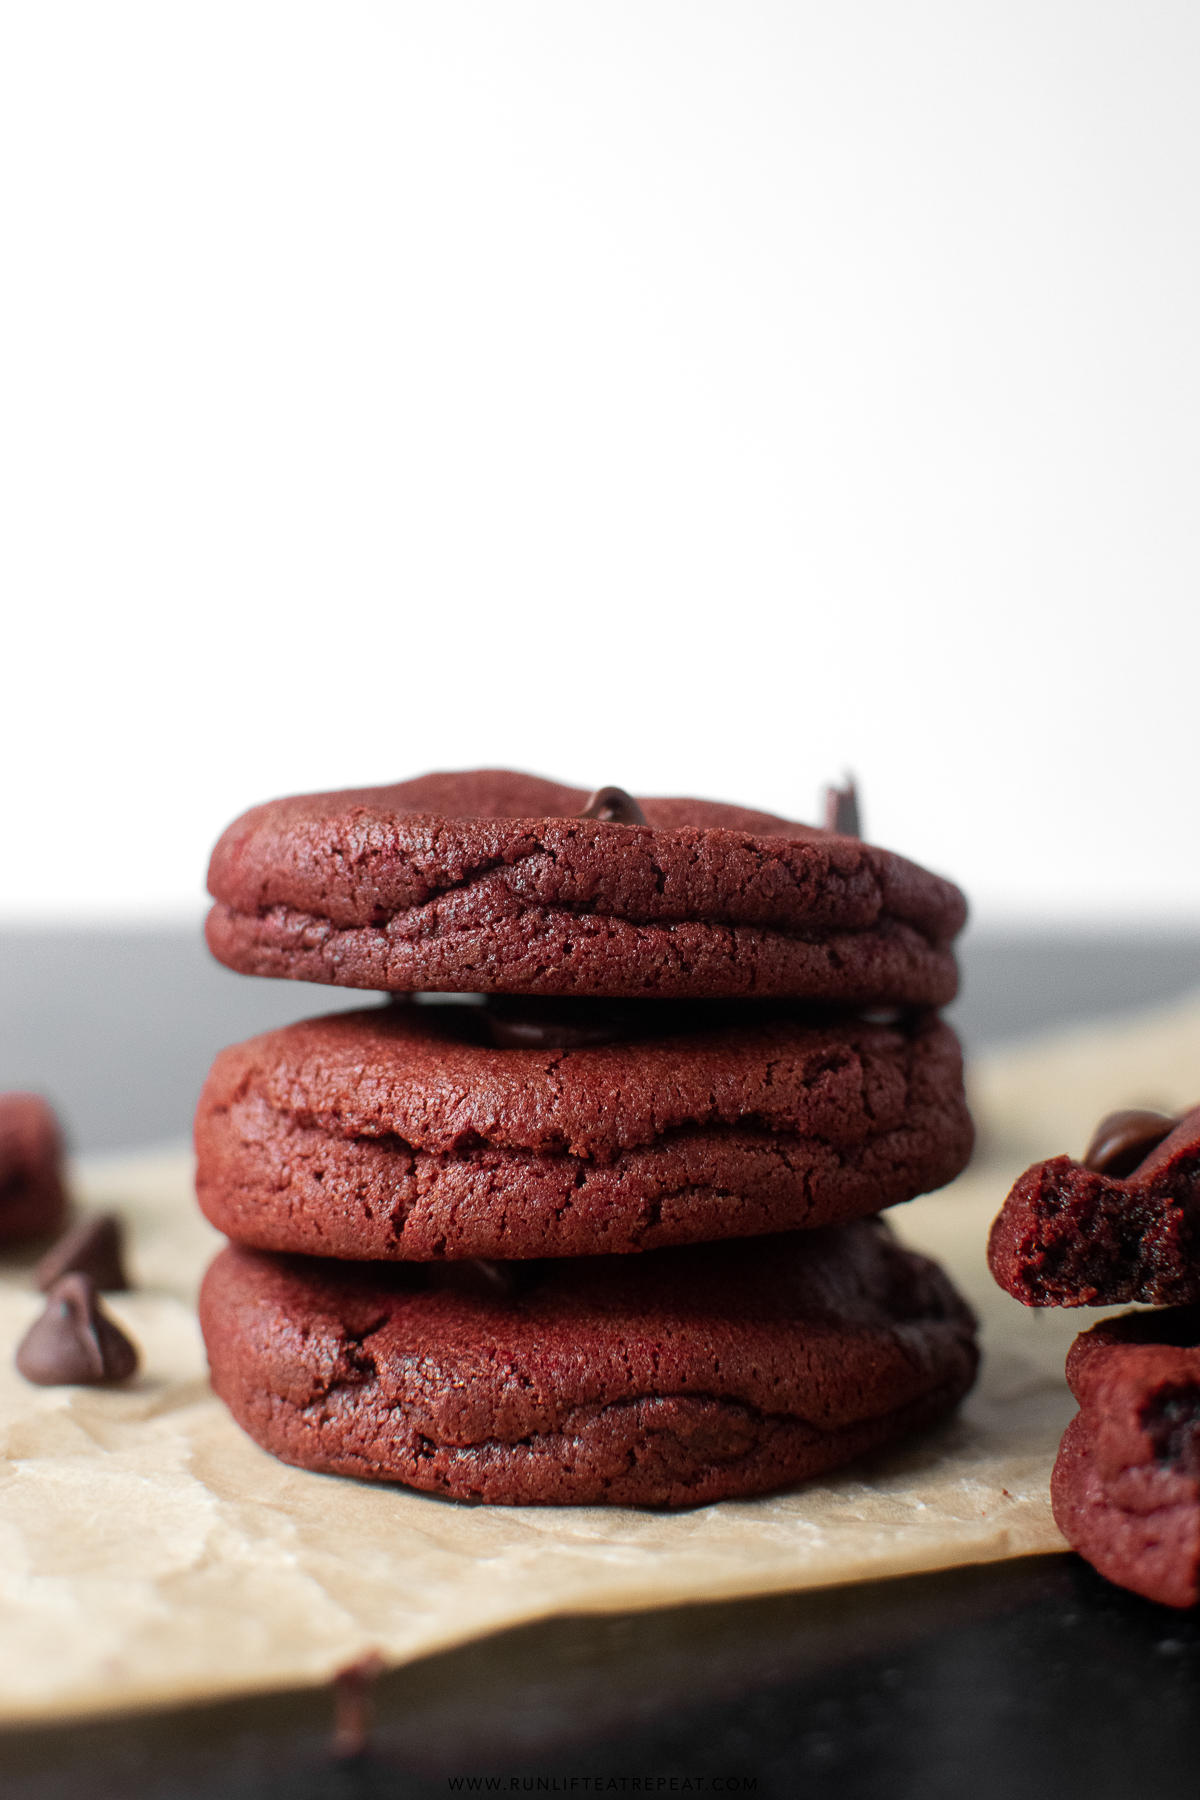
- Soft-baked in the center with chewy edges
- Buttery with hints of cocoa and vanilla flavor
- Perfect for Valentine's Day, Galentine’s Day, Christmas, or anytime you want red velvet cookies
Tell Me More About The Recipe
- Texture: Think about a cookie with soft centers and slightly chewy edges – if you've tried my brown butter pecan cookies you know what I'm talking about. These red velvet chocolate chip cookies have the same tender, melt-in-your-mouth texture with those chewy edges.
- Flavor: Are you confused by the flavor of red velvet? I was too. Any red velvet desserts are extra buttery with mild cocoa and vanilla flavors with a hint of tang.
- Ease: We have a basic cookie dough on our hands. The only complicated part, if we can really call it that, is rolling the cookie dough into balls and pressing a few chocolate chip into the tops after you pull them out of the oven.
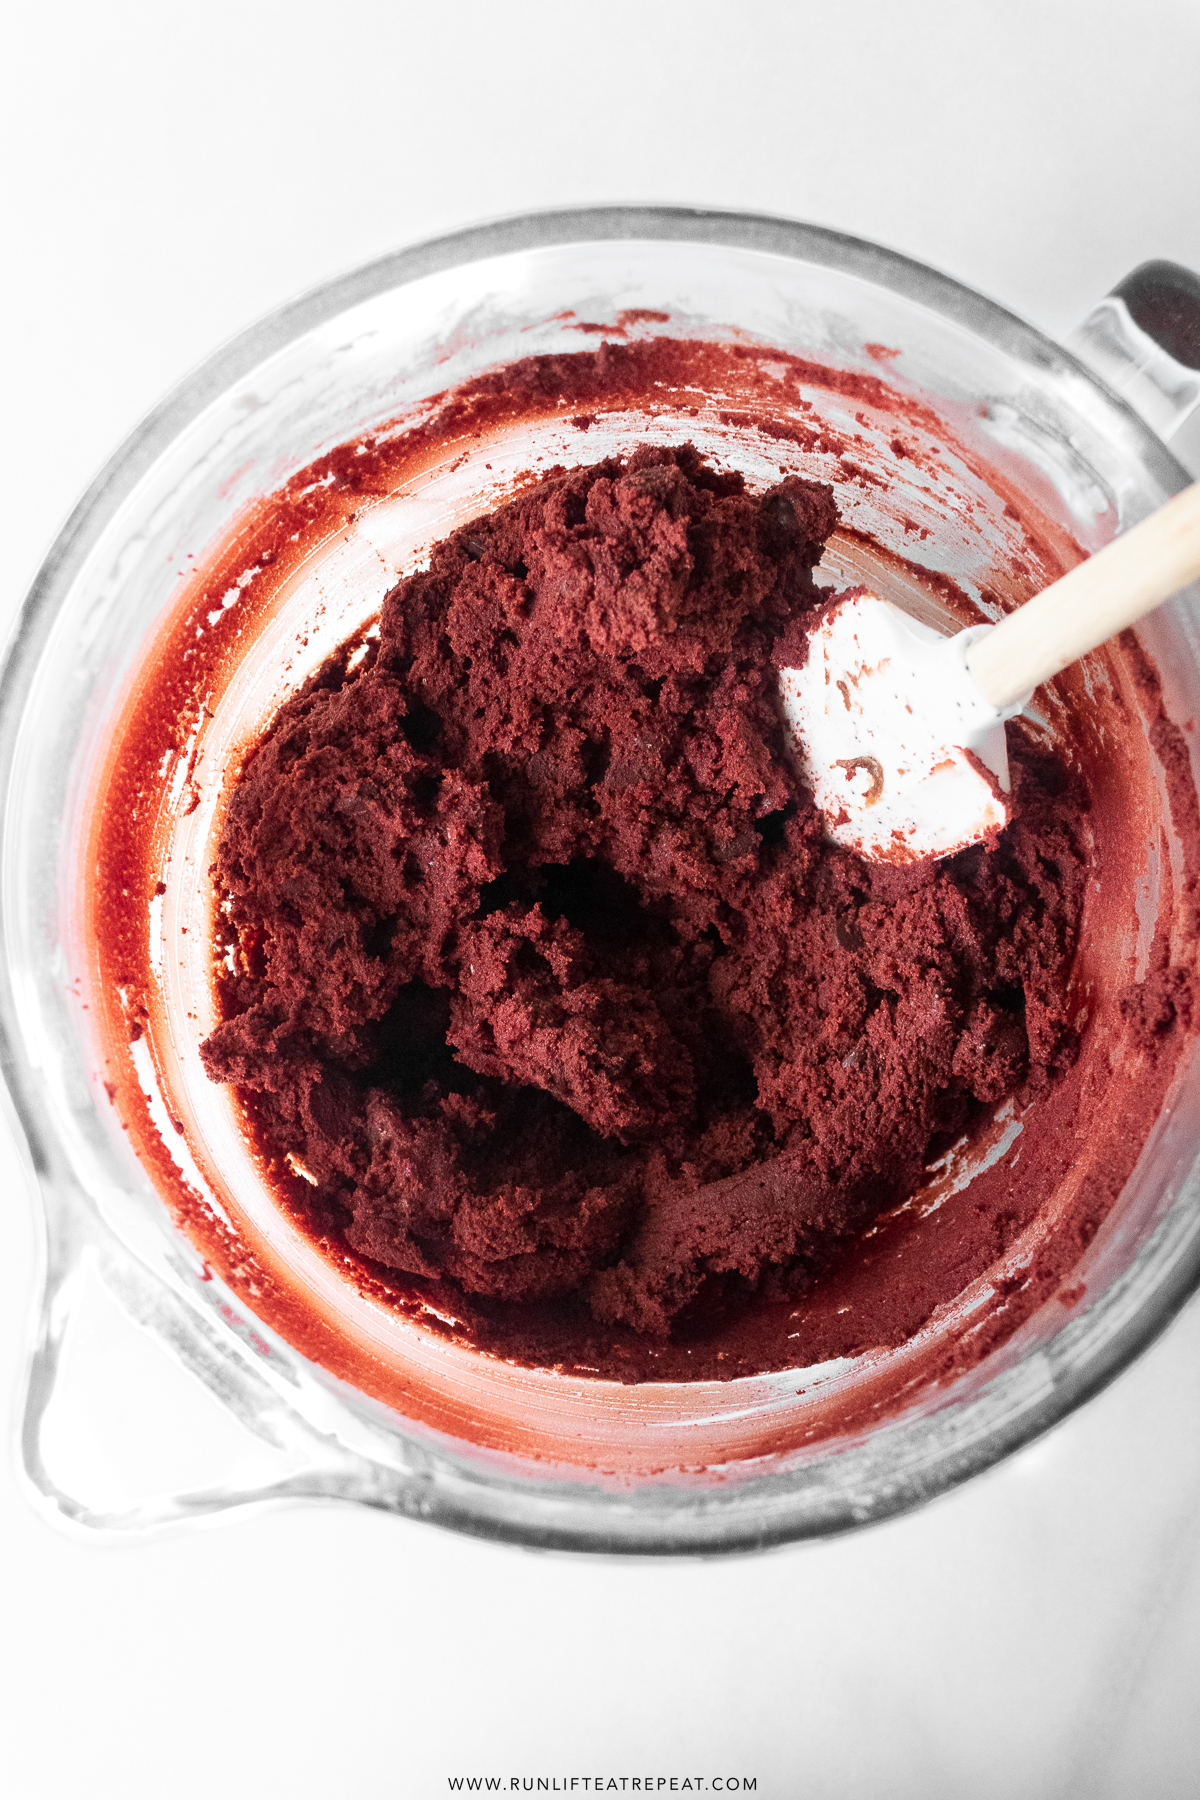
- Time: These red velvet chocolate chip cookies make a stickier dough which results in needing to chill the dough – but don't worry, not long! It's about 10 minutes to prep, 10 minutes to bake and 15-30 minutes of dough chilling. Overall, not bad!
History Lesson & Behind The Recipe
Starting with a history lesson on red velvet chocolate chip cookies. During the Victorian era bakers classified cakes based on the ingredients such as almond flour, cocoa powder, buttermilk, and vinegar along with the technique used. This resulted in "velvet cakes" that had a fine crumb with hints of cocoa, vanilla and a slight tang. The bakers noticed that the recipe would naturally turn slightly red in color eventually naming it a "mahogany cake" thanks to the chemical reaction between the vinegar and cocoa powder.
Later during the depression cocoa powder was cheaper than chocolate making this recipe popular with some using beets when rationing ingredients which further deepened the color and moistened the cake. Enter the "red velvet" era.
Today there are thousands of red velvet recipes out there – from cakes, brownies, pancakes, cookies.
Best Ingredients To Use
I use specific ingredients, certain amounts and specific temperature of ingredients to produce the best possible recipe.
- Butter: This recipe calls for slightly more butter, ¾ cup (1.5 sticks) at room temperature to give the extra buttery flavor. I always bake with unsalted butter, if you're using salted, omit the salt provided in the recipe.
- Brown Sugar: I like to use more brown sugar than granulated sugar because brown sugar has more flavor from the molasses and more moisture than granulated sugar. This ensures a softer cookie.
- Granulated Sugar: Helps add to the sweetness and structure of the cookie.
- Eggs: You need 1 egg and 1 egg yolk for this recipe. The egg helps provide structure and the egg yolk gives the cookie a chewier texture.
- Milk: Just a small amount to loosen up the cookie dough and add a slight tang. You can also use buttermilk.
- Red Food Coloring: The amount of red food coloring is up to you. I tested with varying amounts – to get what you see here, use 1.5 teaspoons of gel food coloring. You can use regular food coloring, about 1.5 Tablespoons but gel food coloring is more vibrant.
- Vanilla Extract: Adds flavor.
- Flour: The all-purpose flour is the base of these cookies, not as much as non-chocolate cookie recipes since the cocoa powder also helps to provide structure.
- Cocoa Powder: This not only helps provide structure but it also gives the cookies the slight chocolate flavor.
- Baking Soda: This gives the cookies a lift.
- Salt: Adds flavor. Omit if you're using salted butter.
- Chocolate Chips: This recipe calls for semi-sweet chocolate chips but you can use any type that you'd like – dark chocolate, white chocolate, chocolate chunks or a combination.
How To Make Red Velvet Chocolate Chip Cookies
Now that you've gotten the full scoop, we're going to walk through the steps.
- Whisk the flour, cocoa powder, baking soda, and salt together in a large bowl. Set aside.
- Using a handheld mixer or stand mixer with a paddle attachment, beat the butter on high speed until creamy, about 1 minute. Scrape down the sides and bottom of the bowl, if needed. Beat in the brown sugar and granulated sugar until fully combined, about 1 minute. Beat in the eggs, milk, and vanilla extra, scraping down the sides and bottom making sure the mixture is combined. Add the food color and beat until combined.
- With the mixer on the lowest setting, slowly add the dry ingredients into the wet ingredients until a soft dough is formed. If desired, add more food coloring if you prefer a brighter red. Beat in the chocolate chips. The dough will be slightly sticky.
- Cover and chill the dough in the refrigerator for at least 30 minutes or up to 3 days. If chilling longer than a few hours, allow the dough to sit at room temperature for 15-30 minutes before rolling.
- Preheat the oven to 350°F. Line two large baking sheets with parchment paper or a silicone baking mat. Set aside.
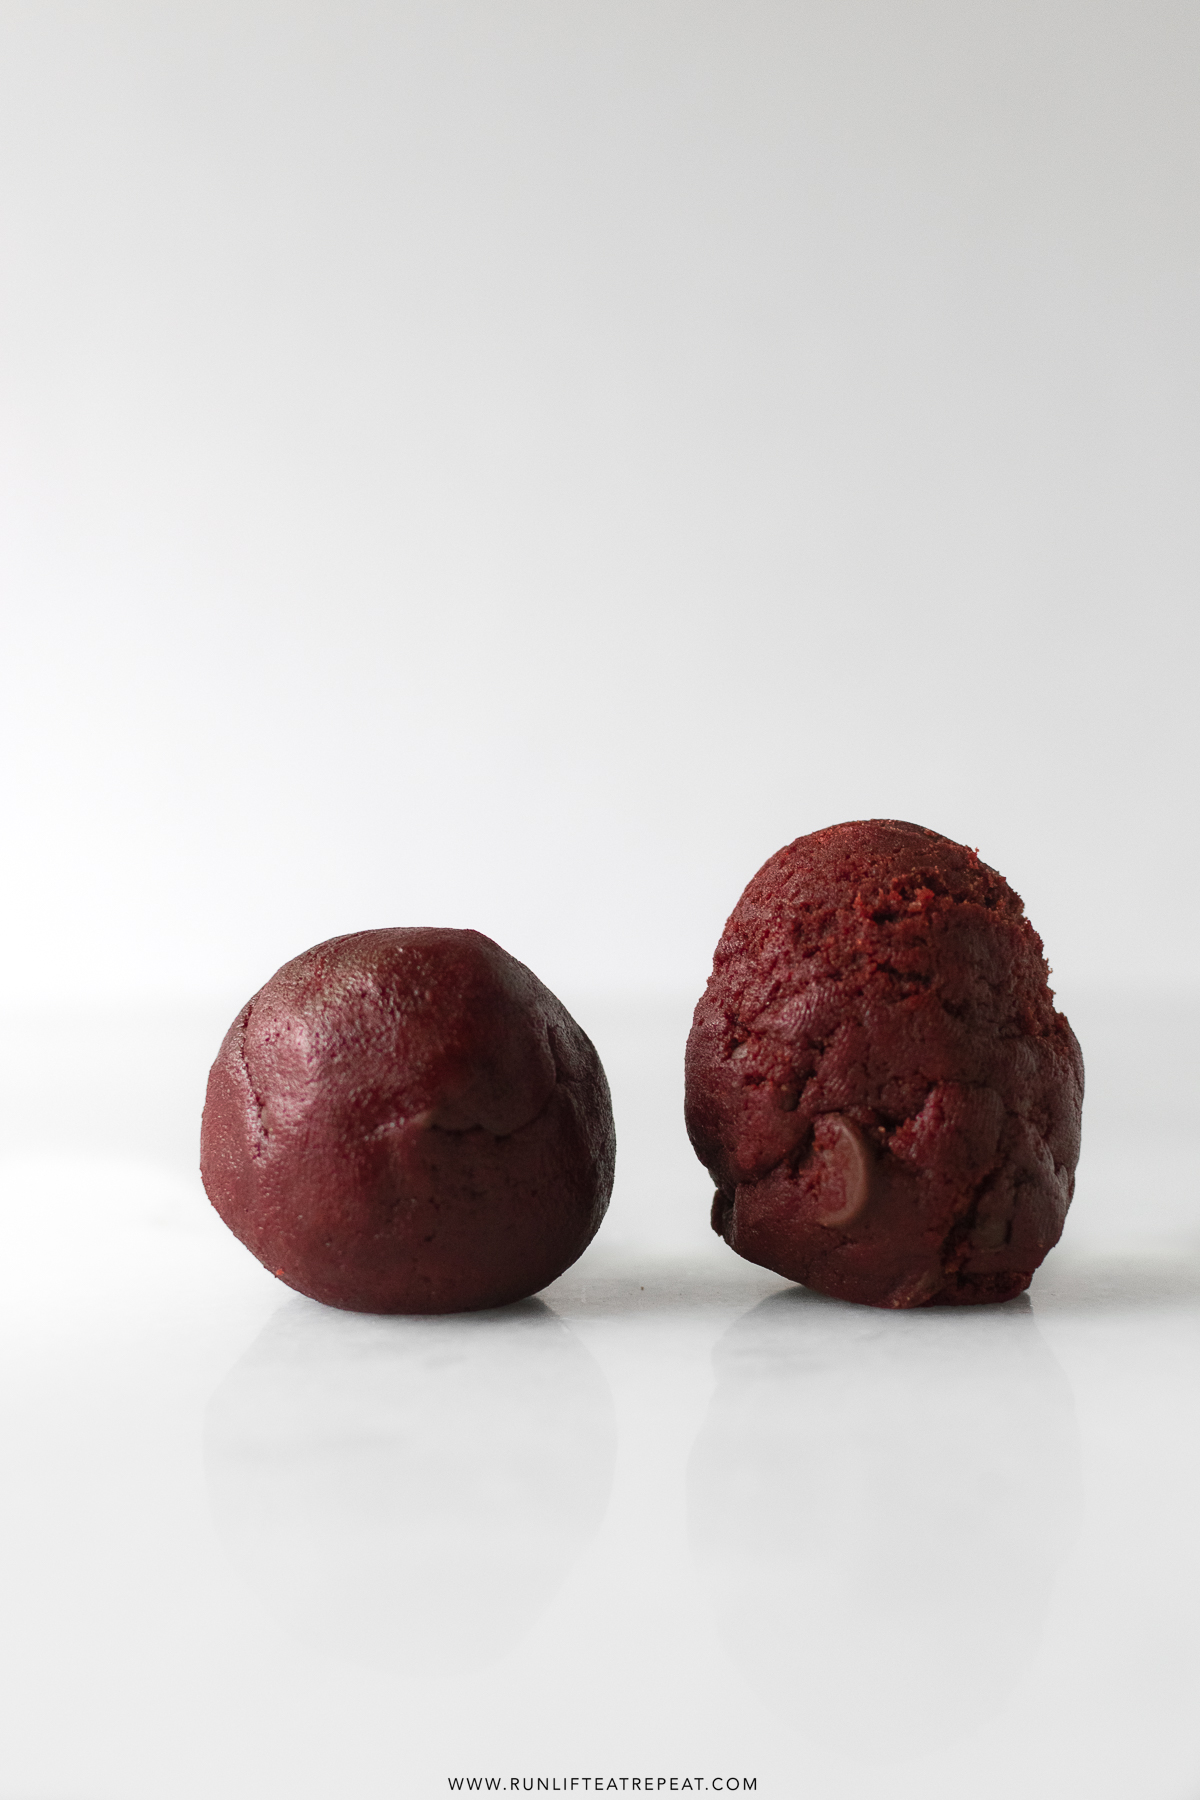
- Using a cookie scoop, scoop 1.5 Tablespoons of dough and roll into a ball, as pictured. Place 9-11 balls onto each baking sheet. Bake each for 10 minutes until the edges are set. The cookie will look soft, that's ok. If desired, press a few chocolate chips into the tops of the warm cookies.
Success Tips
To ensure the best results, here's a few tips:
- Cream the butter and sugar together: We want the butter and sugar to be well combined for these cookies. Make sure you scrape down the bowl as needed to ensure it's fully combined.
- Roll the cookie dough into balls: I typically provide instructions to roll the cookie dough balls taller rather than more round like in these cake batter chocolate chip cookies. However, these should be rolled into balls as shown above.
- Don't over bake the cookies: The cookies will seem like they aren't done but that's ok. The edges should be set but the center will finish baking on the cookie sheet while it cools.
FAQ
Yes, you can! It's very common to buy store bought red velvet cake mix and turn it into red velvet chocolate chip cookies. Keep in mind, those recipes often do not use any instructions from the back of the box so read ahead before starting. Here are red velvet cake mix of recipes to try.
You can! I've tested this recipe with King Arthur Gluten Free Measure for Measure Flour.
This recipe calls for semi-sweet chocolate chips but you can use any type of chocolate chips – dark chocolate, white chocolate, chocolate chunks. The possibilities are endless.
More Cookie Recipes
- Brown Butter Pecan Cookies
- Soft Baked Chocolate Chip Cookies
- Double Chocolate Chip Cookies
- Cake Batter Chocolate Chip Cookies
- Chewy Brown Sugar Cookies
Red Velvet Chocolate Chip Cookies
Description
Ingredients
- ¾ cup unsalted butter, 1.5 sticks, softened to room temperature
- 1 cup light brown sugar
- ⅓ cup granulated sugar
- 1 large egg + 1 large egg yolk, room temperature
- 1 teaspoon milk
- 1 ½ teaspoons gel red food coloring
- 3 teaspoons vanilla extract
- 2 cups all-purpose flour
- ⅓ cup unsweetened cocoa powder
- 2 teaspoons baking soda
- ¼ teaspoon salt
- 1 cup semi-sweet chocolate chips
Instructions
- Whisk the flour, cocoa powder, baking soda, and salt together in a large bowl. Set aside.
- Using a handheld mixer or stand mixer with a paddle attachment, beat the butter on high speed until creamy, about 1 minute. Scrape down the sides and bottom of the bowl, if needed. Beat in the brown sugar and granulated sugar until fully combined, about 1 minute. Beat in the eggs, milk, and vanilla extra, scraping down the sides and bottom making sure the mixture is combined. Add the food color and beat until combined.
- With the mixer on the lowest setting, slowly add the dry ingredients into the wet ingredients until a soft dough is formed. If desired, add more food coloring if you prefer a brighter red. Beat in the chocolate chips. The dough will be slightly sticky.
- Cover and chill the dough in the refrigerator for at least 30 minutes or up to 3 days. If chilling longer than a few hours, allow the dough to sit at room temperature for 15-30 minutes before rolling.
- Preheat the oven to 350°F. Line two large baking sheets with parchment paper or a silicone baking mat. Set aside.
- Using a cookie scoop, scoop 1.5 Tablespoons of dough and roll into a ball, as pictured. Place 9-11 balls onto each baking sheet. Bake each for 10 minutes until the edges are set. The cookie will look soft, that's ok. If desired, press a few chocolate chips into the tops of the warm cookies.
- Allow the cookies to cool on the baking sheet for 3 minutes before transferring to a wire rack to cool completely.
Notes
- Make Ahead & Freezing Instructions: These cookies stay fresh covered tightly at room temperature for up to 1 week. You can make the cookie dough and chill it in the refrigerator for up to 3 days. Allow the cookie dough to sit on the counter 30 minutes before baking if the it's not in balls. Baked cookies freeze well for up to 3 months. Unbaked cookie dough balls freeze well for up to 3 months. Bake frozen cookie dough balls for an extra minute, no need to thaw!
- Red Food Coloring: I tested these cookies using beet powder instead of red food coloring using about 2 teaspoons – the color is not as vibrant but a natural alternative. Dissolve in 1 teaspoon water before mixing. Traditional food coloring can be used but you will need a bit more, about 1.5 Tablespoons. I recommend using gel food coloring for the best and most vibrant results.








Leave a Reply