Making homemade bakery-style bread has never been easier. This simple method produces the most crusty no-knead bread that requires very little hands-on work! With just 4 ingredients and 1 bowl, you'll have homemade bread!
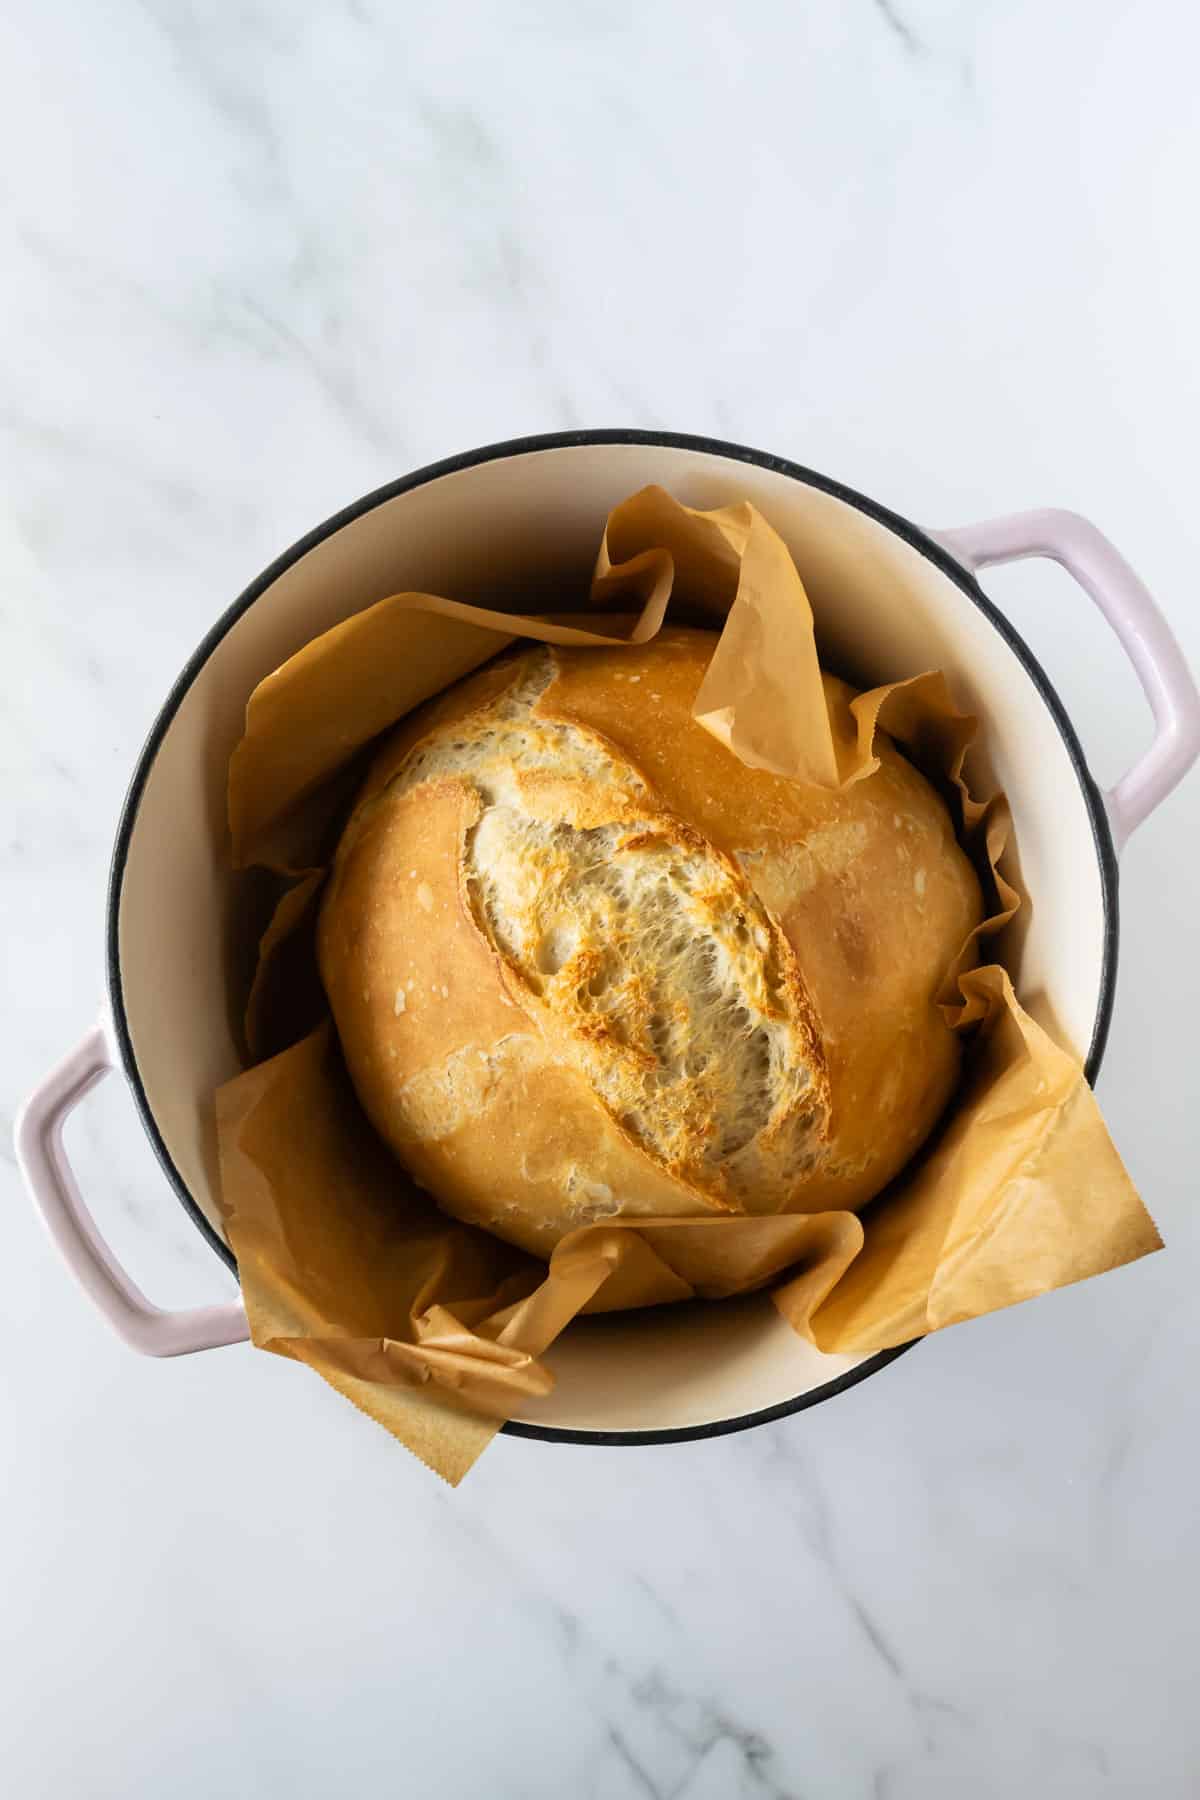
Most run when at the thought of making homemade bread, "easy" doesn't come to mind. But this no knead bread recipe will change everything you know about making bread. It produces real crusty chewy bakery-style bread that pairs wonderfully perfectly with soups, and it's minimal work!
Why You'll Love This No Knead Bread
- Made from only 5 ingredients
- Hardly any hands-on time
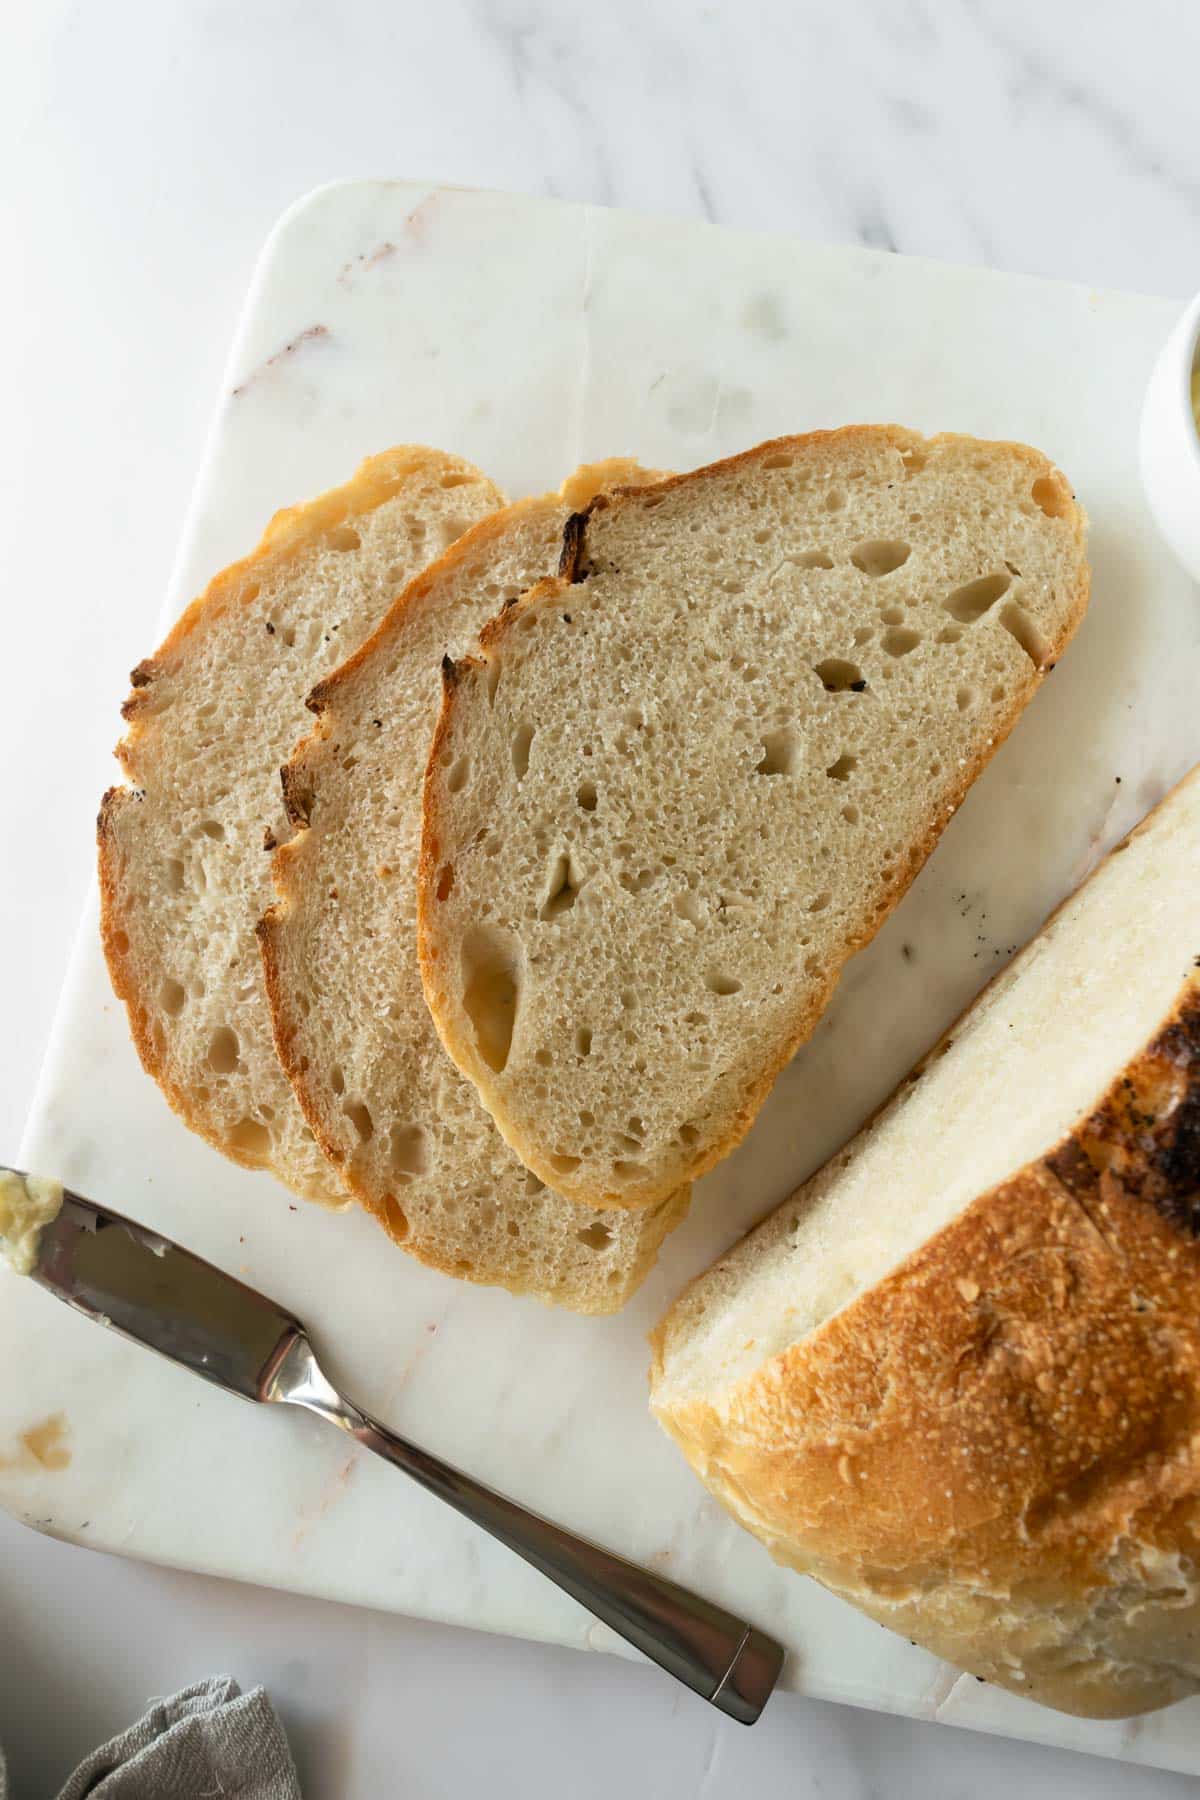
- Soft and chewy inside with a crispy crusty exterior
- Tastes incredible warm with a pad of butter
- Pairs perfectly with creamy tomato soup or hearty minestrone soup
You Need These 4 Ingredients
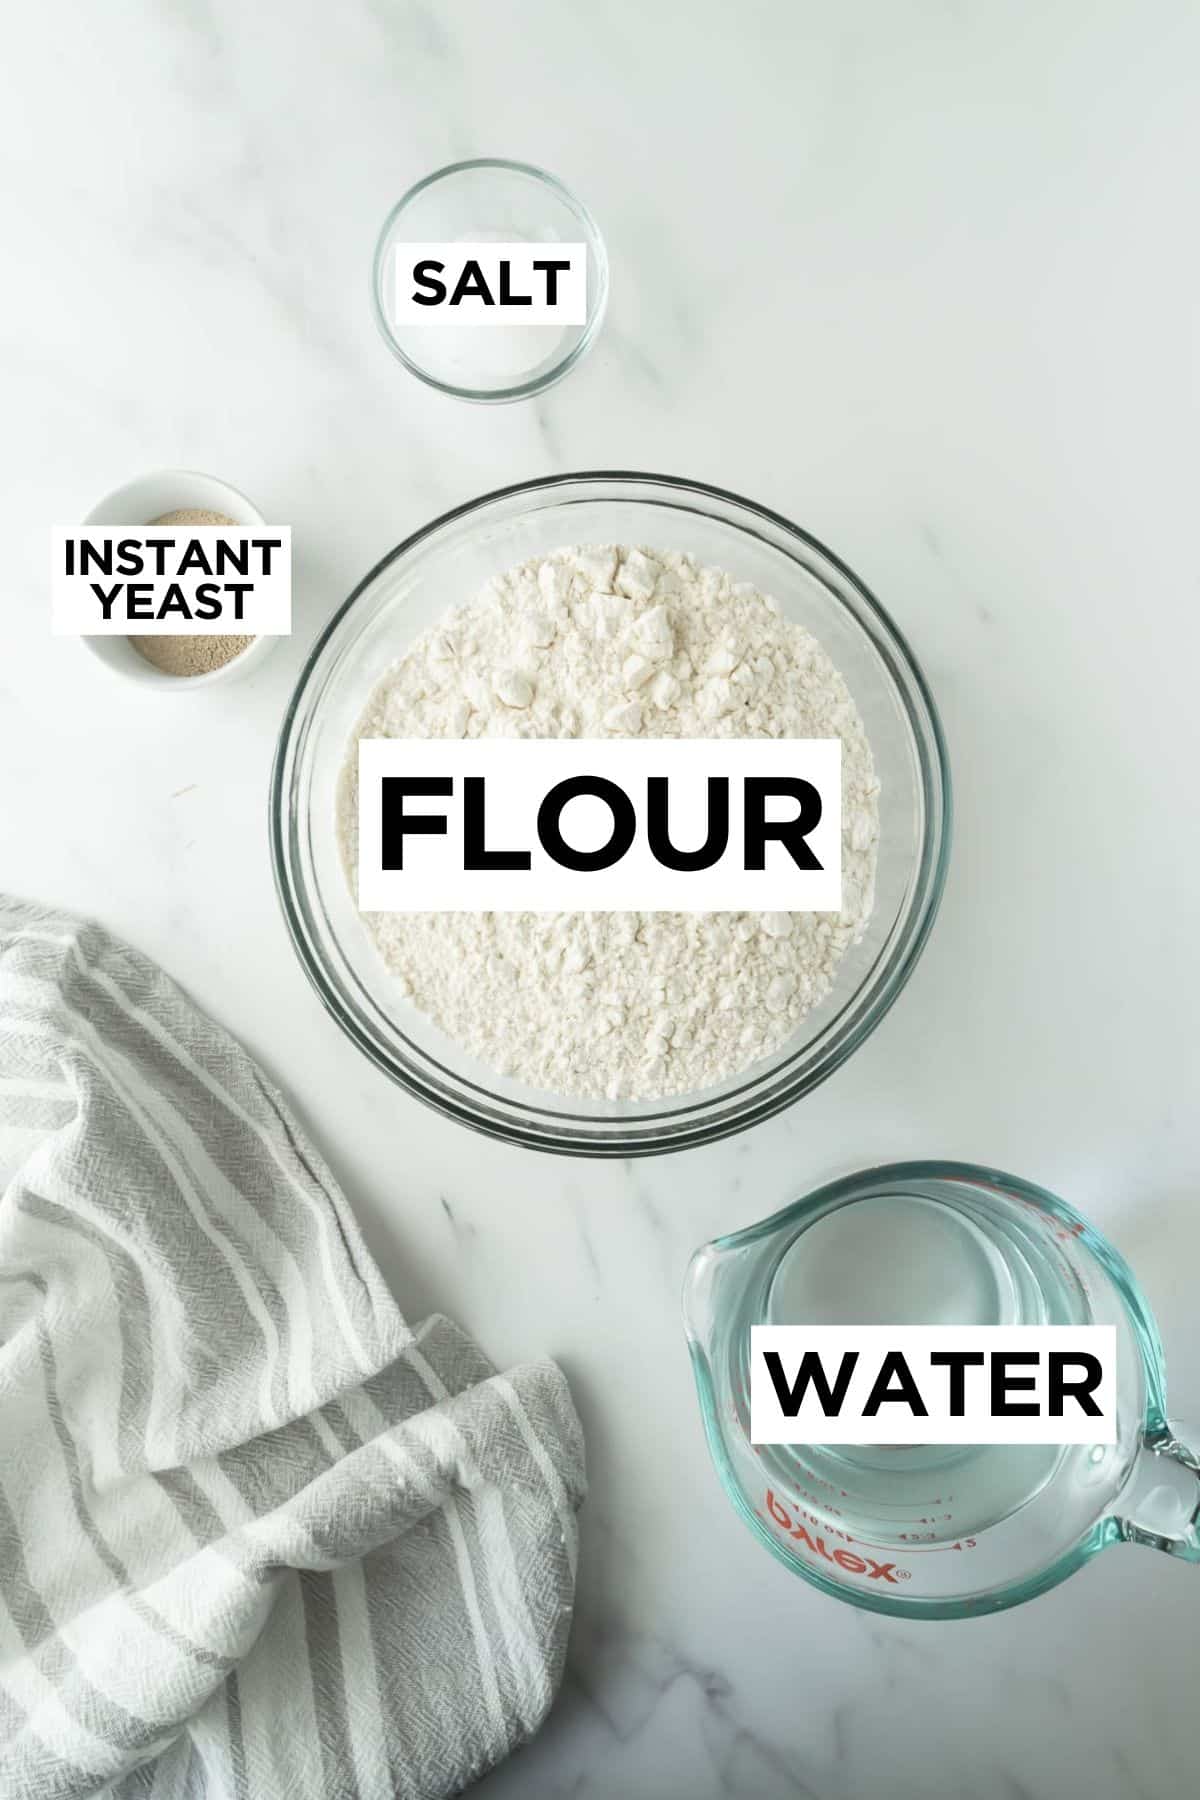
You don't need many ingredients to make homemade bread. You only need 4 to be exact:
- Flour: Flour gives the bread its structure. You can use all-purpose or bread flour. I typically use all-purpose flour since that's what I have on hand but bread flour will yield a slightly chewier bread.
- Yeast: You can use instant or active dry yeast, but I highly recommend instant yeast for best results. I always use Fleischmann's Yeast. This bread rises for 12 hours or overnight.
- Salt: I always use coarse sea salt when making homemade bread; I find the flavor is significantly better.
- Water: Whenever you use yeast, I recommend using a warm liquid because it helps the yeast work faster. You want the water to be about 100ºF. Using an instant-read thermometer makes it easier.
2 Important Success Tips
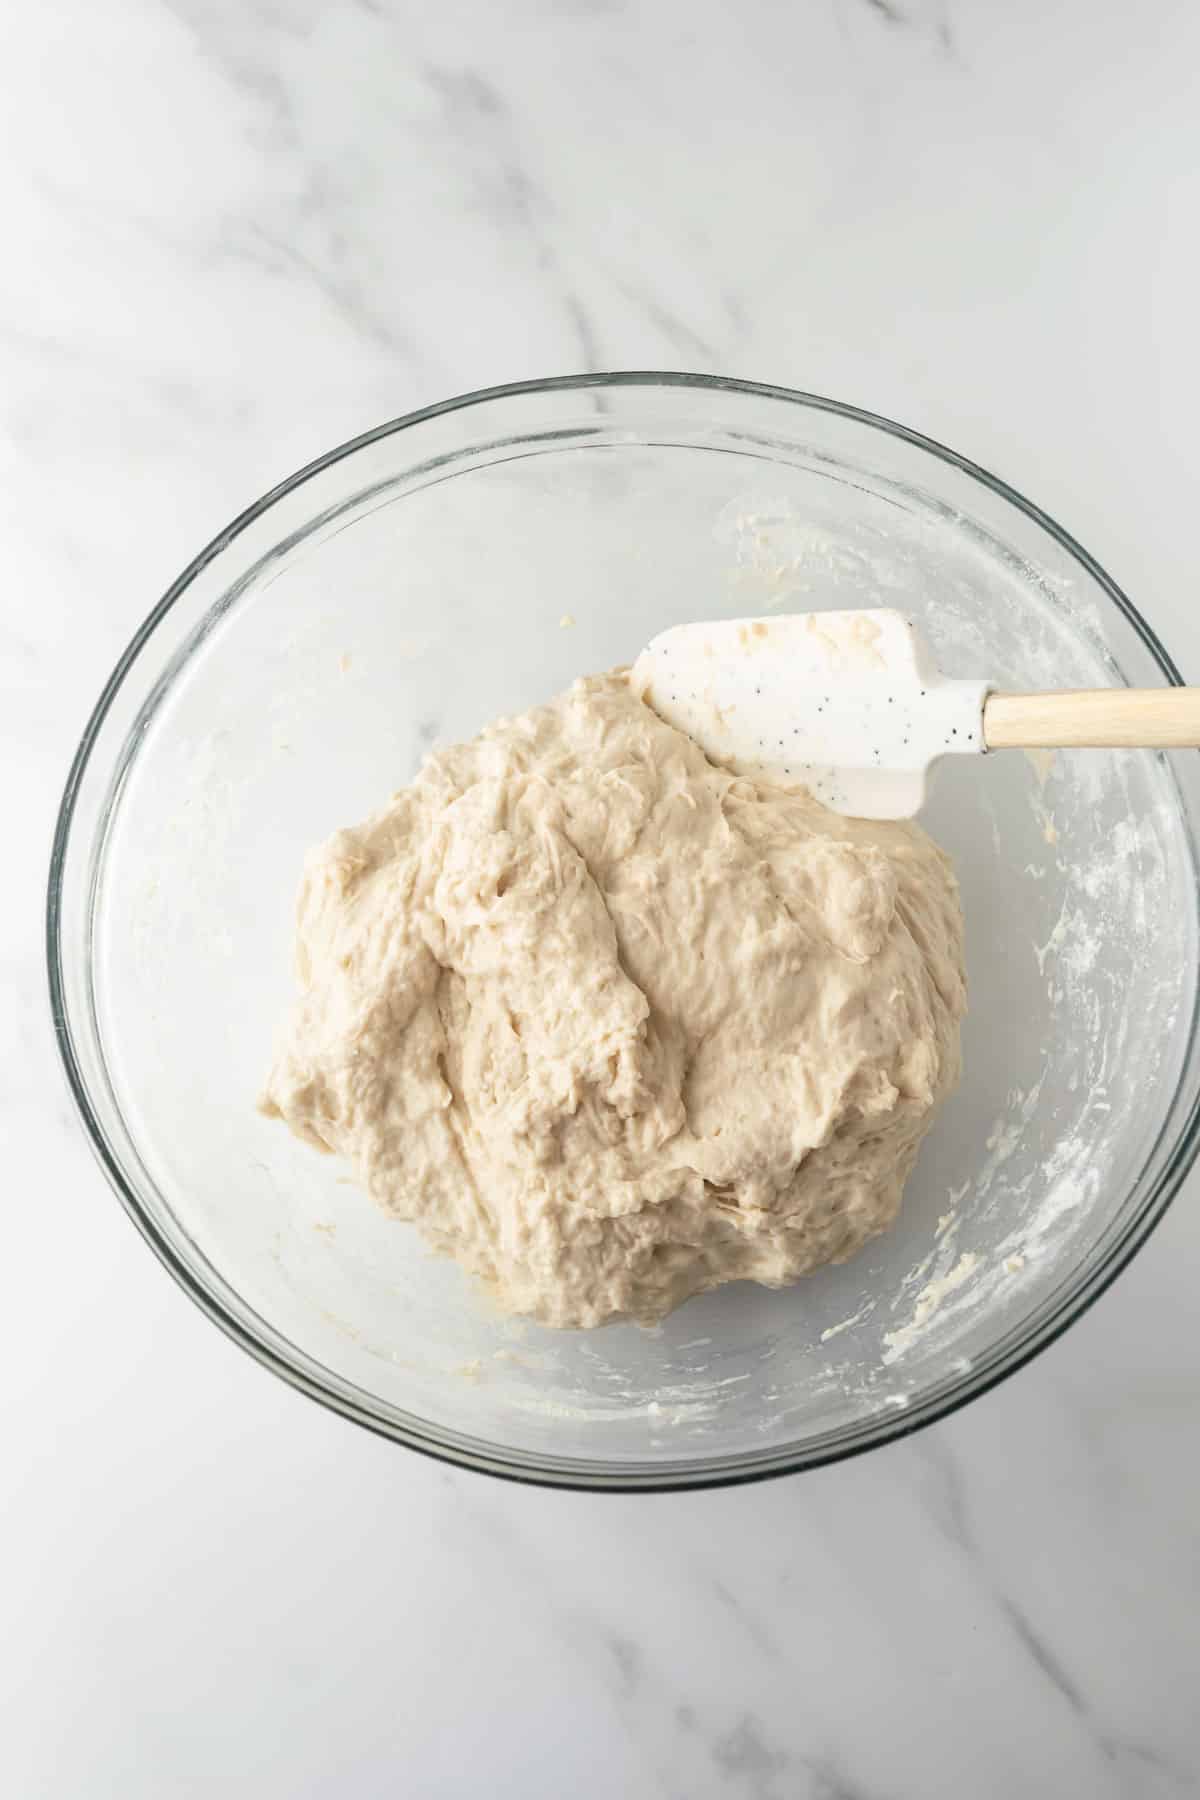
It's extremely important to NOT to add more flour to the dough- it's tempting, but you WANT sticky dough. It's a long rise and you need to keep the flour hydrated.
Pick a spot that you won't need to move the dough while it rises. You don't want to disturb it at all.
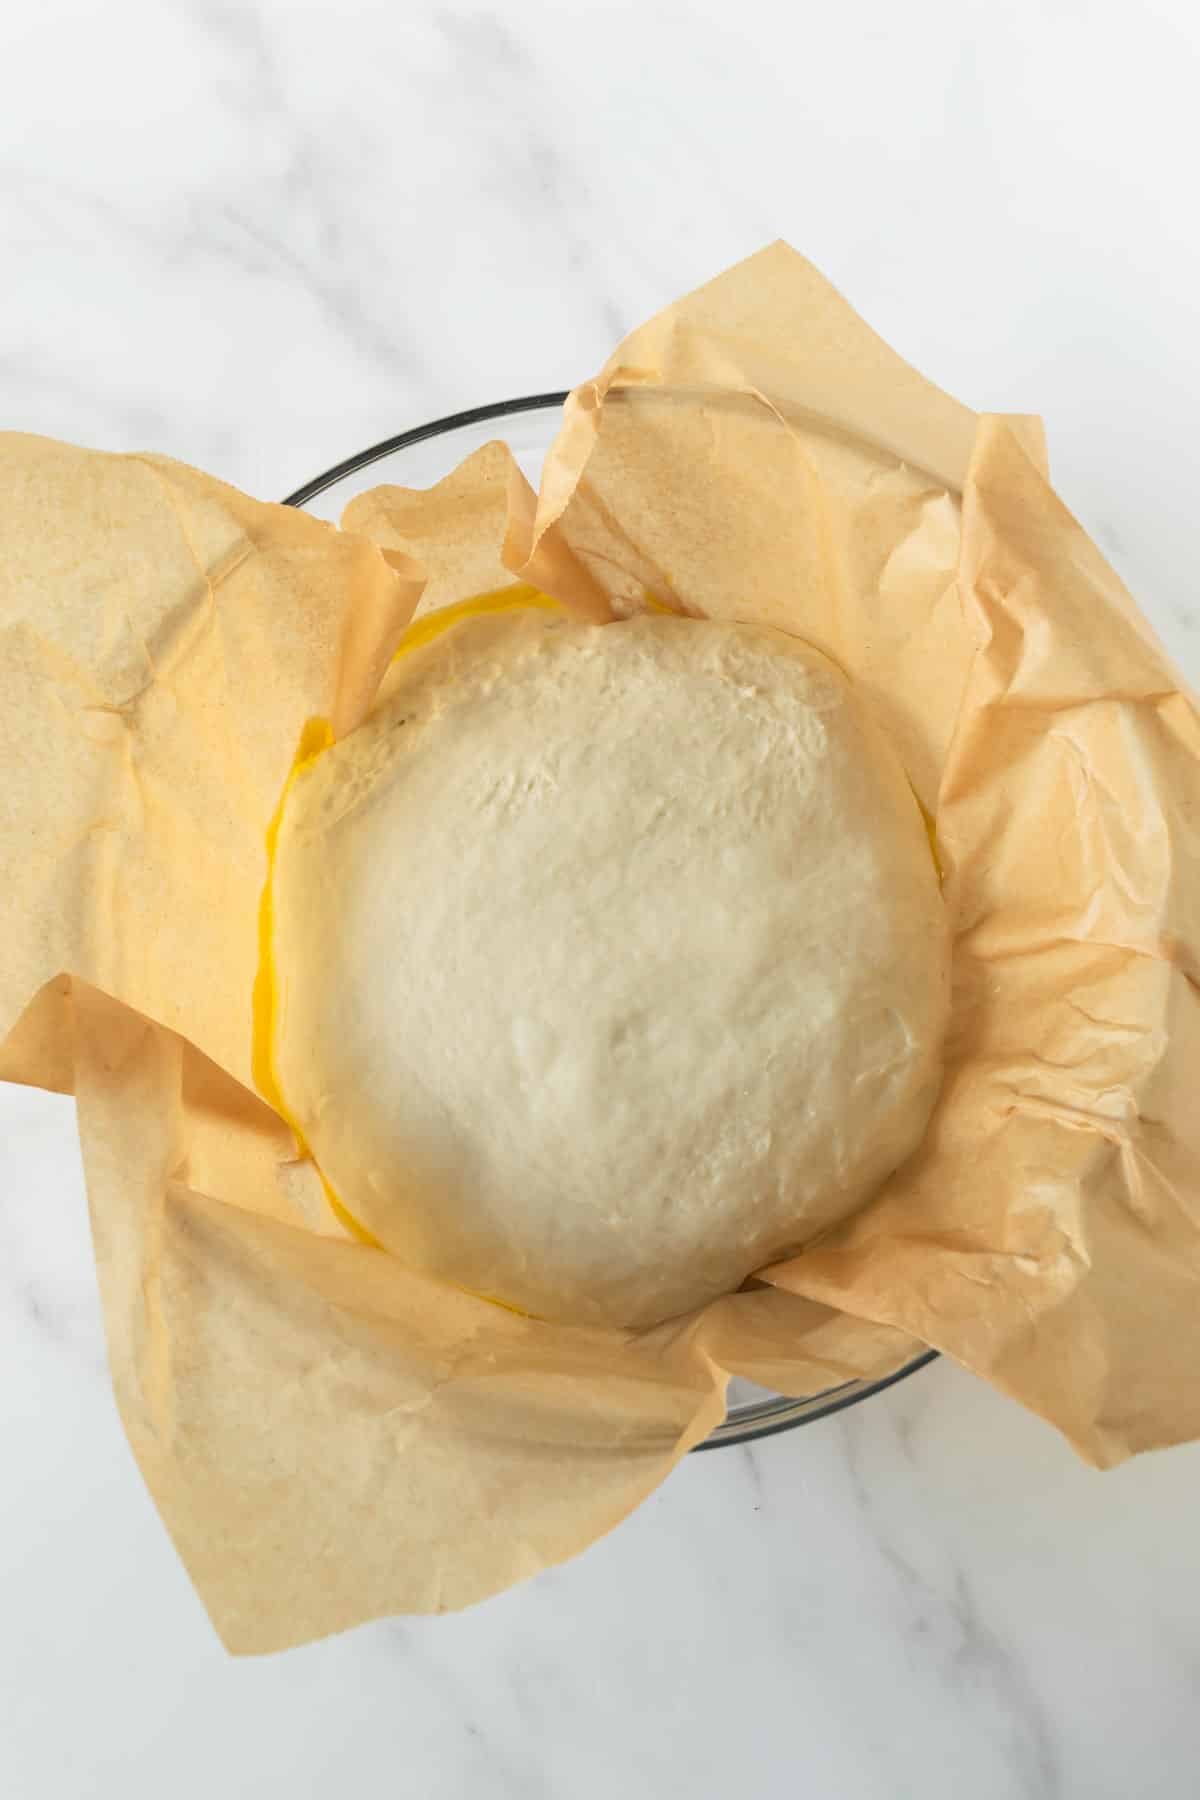
Overview: How To Make No Knead Dough
This minimal work, no-knead bread uses a long fermentation time instead of kneading to form the gluten strands that are necessary to give the bread its texture. This method includes about a 16-hour rise time. (Yes! It seems like a lot but during this time you don't need to do anything. Just set it on your counter and forget about it. The magic happens when you're not looking!)
- Step 1: Stir ingredients together. You don't even break out your mixer. This will be a very sticky dough. You do NOT need to add more flour even though you may want to. It will (and should) stick to your hands.
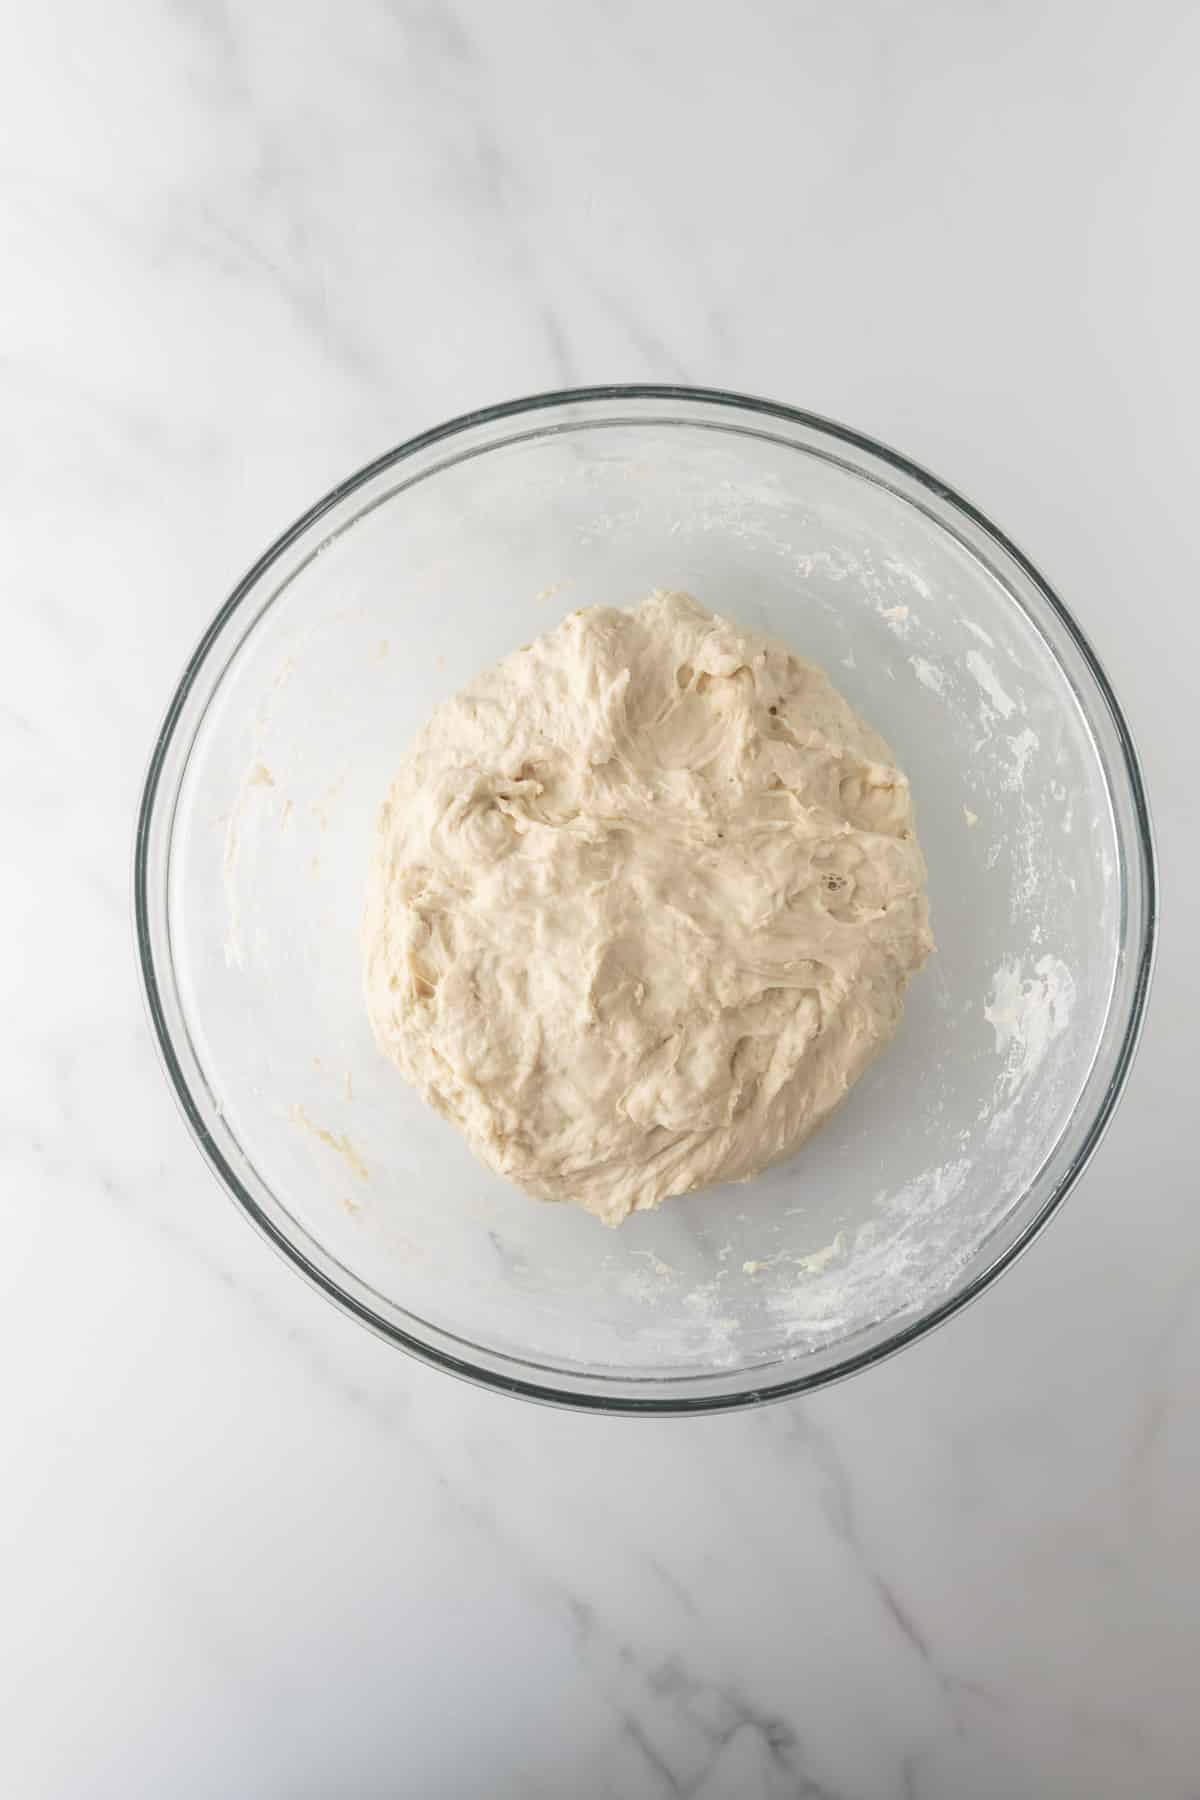
- Step 2: Cover the dough and leave it. Let the dough rise at room temperature for 14-16 hours. You'll know that the dough is ready when it has doubled in size and air bubbles have formed. During the cooler months it may take closer to 18 hours, while in the warmer months, it may be as little as 12 hours.
- Step 3: The dough will still be sticky once it rises, that's normal! Using very lightly floured hands, form the dough into a ball and place on parchment paper. Score the top with a sharp knife and allow to rest for 30 minutes while the oven preheats.
- Step 4: Preheat a large dutch oven. You want to bake the bread in a very hot dutch oven which will help create the crusty exterior.
- Step 5: This bread bakes for about 40 minutes. First with the lid on, then with the lid off.
FAQ About No-Yeast Bread
The gluten begins to form when the flour comes in contact with water. Allowing the flour to stay hydrated for this length of time, the gluten continues to form, without needing hands to knead it. That's why it's so important to have sticky dough.
It could be that the yeast is too old or expired, or you didn't allow the dough to rest for enough time after shaping it and before baking.

No Knead Bread
Description
Ingredients
- 4 cups all-purpose flour
- 2 ¼ teaspoons yeast, instant or rapid rise (1 standard packet)
- 1 teaspoon salt
- 2 cups water
Instructions
- In a large bowl using a silicone spatula, stir the ingredients together. The dough will be very sticky; don't be tempted to add more flour. Gently shape into a ball as best you can. Cover tightly.
- Set on the counter at room temperature and allow to rise for 14-16 hours. The dough will be double in size, stick to the sides of the bowl, and will have air bubbles on the top.
- Turn the dough out onto a very lightly floured work surface and using lightly floured hands, shape the dough into a ball as best you can. Transfer the dough to a large piece of parchment paper that will fit inside the pot. Lift the parchment paper with the ball of dough and place into a bowl so the dough doesn't spread while it rests. Using a very sharp knife, gently score an X into the top. Cover the dough loosely with plastic wrap or kitchen towel and allow it to rest for 30 minutes.
- While the dough rests, preheat the oven to 450ºF. Place the dutch oven, with the lid, in the oven while it preheats. (You want the pot very got before placing the dough inside.) Carefully remove the dutch oven and remove the lid. Place the dough inside by lifting it up with the parchment paper and placing it, including the parchment paper, inside the pot. Cover with the lid.
- Bake for 30 minutes with the lid on. Carefully remove the lid and bake for an additional 8-10 minutes until the bread is golden brown.
- Remove the pot from the oven and carefully remove the bread. Allow it to cool on a wire rack for at least 20 minutes before slicing. Leftovers stay at room temperature for up to 1 week.
Notes
- Make Ahead Instructions: With the long rise time, this is a wonderful recipe to make ahead.
- Freezing Instructions: Bake the bread as directed and allow it to cool completely. Wrap in plastic wrap, then place in a freezer-safe bag, and freeze for up to 3 months. Thaw overnight in the refrigerator and bring to room temperature before serving.
- Dutch Oven: It's recommended to use a dutch oven, though any oven-safe heavy duty pot with a lid will work.
- Flour: You can use all-purpose or bread flour. Using bread flour will yield a slightly chewier bread.
- Yeast: You can use instant or active dry yeast. I always use Fleischmann's Yeast.



Leave a Reply